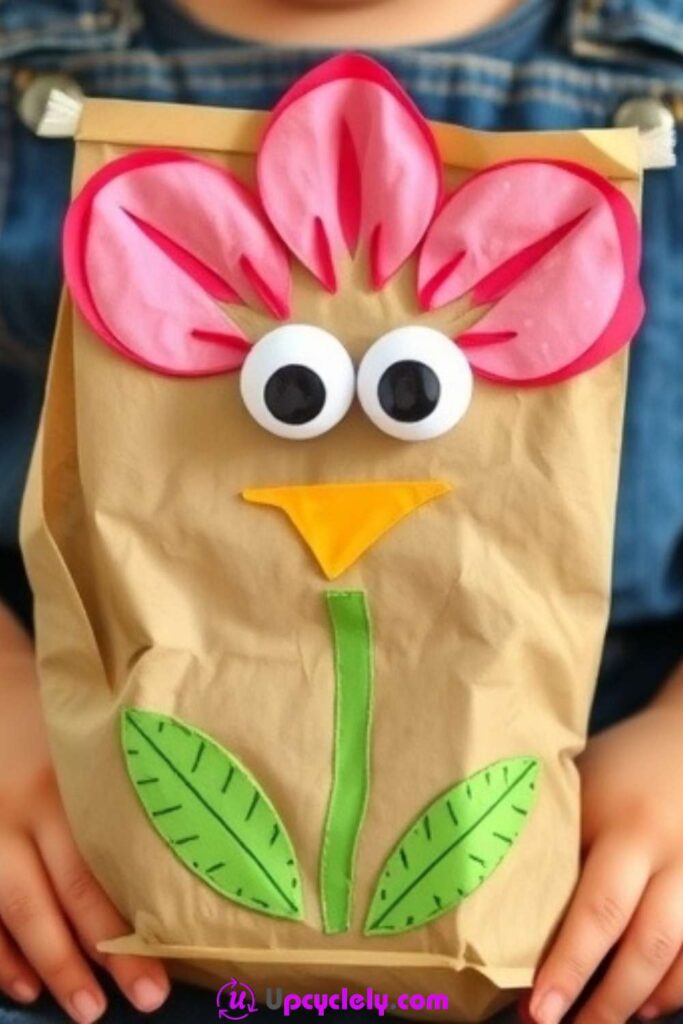
Paper Bag Puppet Flower
Materials Needed
- Brown paper bag
- Pink construction paper or cardstock
- Googly eyes
- Orange construction paper for the beak
- Green construction paper for the stem and leaves
- Markers or crayons (optional for decoration)
- Glue stick or craft glue
Step-by-Step Instructions
- Shape the Petals
Cut five large, rounded petal shapes from pink construction paper. To add texture, use a darker pink marker to draw lines or patterns on the petals. Encourage kids to explore their creativity here! - Build the Bag’s Personality
Glue the googly eyes to the upper portion of the brown paper bag where the flat fold creates the “face.” Below the eyes, cut a small triangle from orange paper and glue it on as the “beak.” - Attach the Petals and Stem
Secure the petals onto the top of the brown bag’s open end, arranging them in a circular pattern to mimic a flower. Then, cut out a long green stem and two leaves from green paper, and glue them onto the lower half of the bag. - Add Finishing Touches
Encourage the kids to customize their puppet flower! They can draw additional patterns, add glitter, or give their flower a name. This step is perfect for fostering emotional connection with their craft.
Pro Tip
Give each child a chance to perform a mini puppet show with their flower creations! This boosts their confidence and communication skills while they get to show off their hard work.
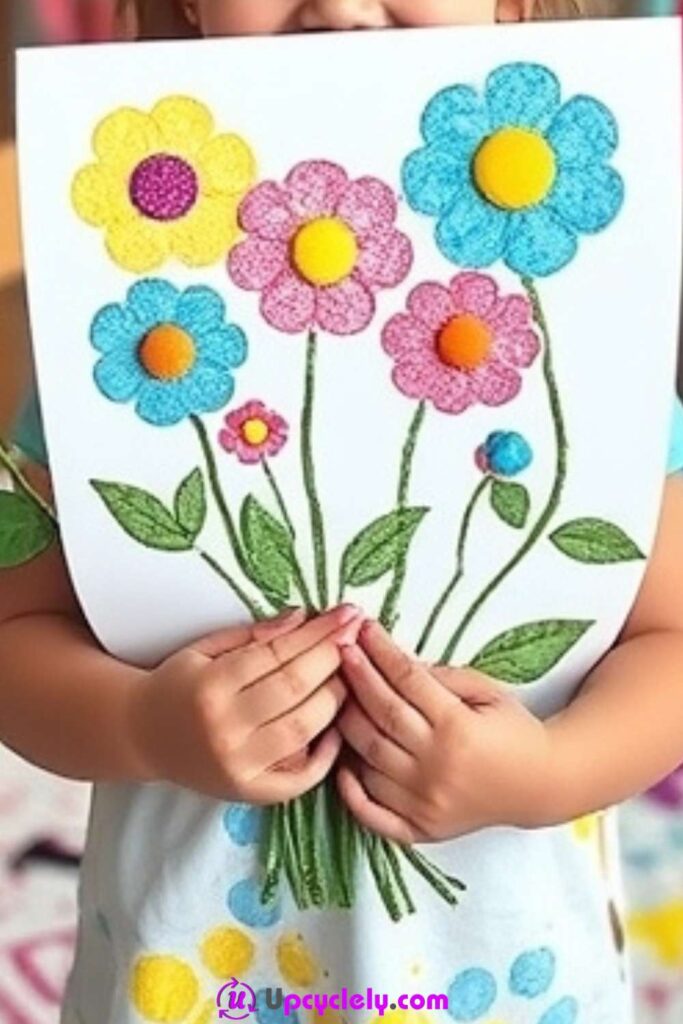
Bubble Wrap Printed Flowers
Materials Needed
- Bubble wrap
- Paints in bright colors (yellow, blue, pink, orange)
- A sheet of white paper
- Green marker or paint for stems
- Paper plates (for paint palettes)
- Paintbrush
Step-by-Step Instructions
- Prepare the Bubble Wrap
Cut the bubble wrap into manageable squares. Give each child their own square to prevent mess-sharing (because we know how preschoolers love sharing paint… all over themselves). - Add the Paint
Squeeze different paints onto plates. Have the children use a brush to spread paint on the bumpy side of the bubble wrap. Talk about how it feels to make this a sensory experience. - Press and Print
Carefully press the painted side of the bubble wrap onto the white paper. Slowly peel it up to reveal a dotted pattern. Repeat this step to create several flower shapes in different colors. - Draw the Stems
Once the paint has dried, use a green marker or paintbrush to draw stems and leaves connecting the flowers. Encourage the children to create wavy, swirly stems instead of straight ones for a whimsical look.
Pro Tip Create a framed “garden” with everyone’s artwork to display on the classroom wall. Seeing their creations admired boosts kids’ sense of pride and accomplishment!
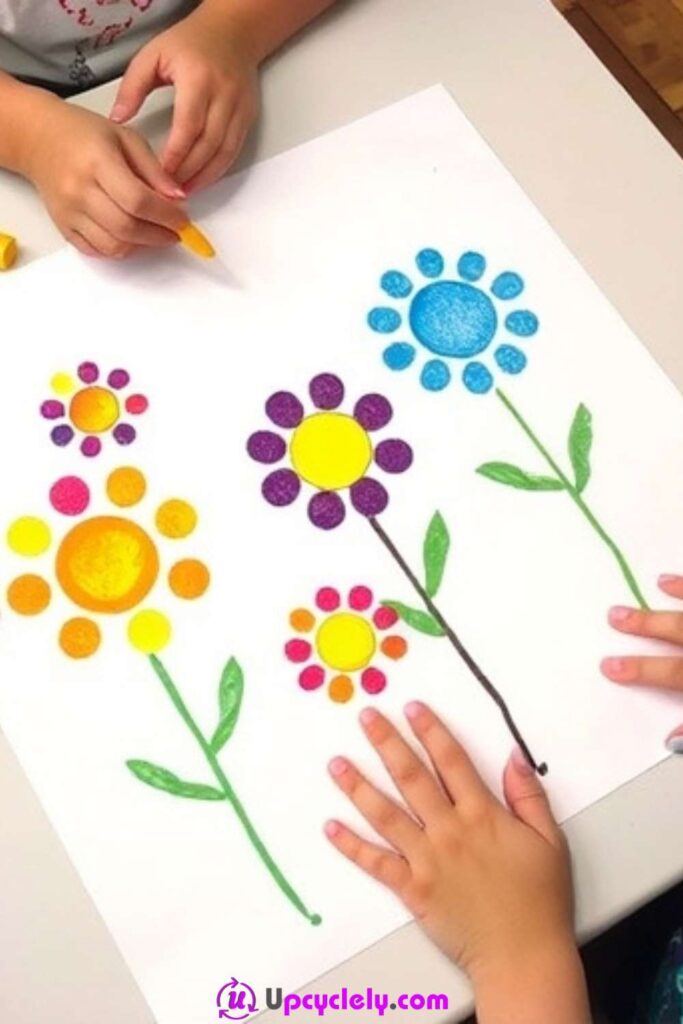
Dot Marker Flowers
Materials Needed
- White paper
- Dot markers in various colors (yellow, red, blue, pink, and green)
- Table covering or tray (to contain the mess)
Step-by-Step Instructions
- Set Up the Workspace
Cover the table with newspaper or a plastic mat. Hand each child a sheet of paper and a palette of dot markers. - Create the Flower Shapes
Encourage the children to use one color to make a big circular flower center. Then, form the petals around it by stamping dots in a new color. They’ll love watching their flowers bloom dot by dot! - Add the Greenery
Use green dot markers to add stems and leaves. The kids can make multiple flowers across the paper and connect them for a garden effect. - Layer Colors
Guide children to lightly layer dots of different colors over the petals for a playful, textured look. This helps them experiment with color mixing.
Pro Tip
Dot markers are washable, but extra supervision with tiny hands is always a good idea! Keep a damp towel nearby for quick clean-ups.
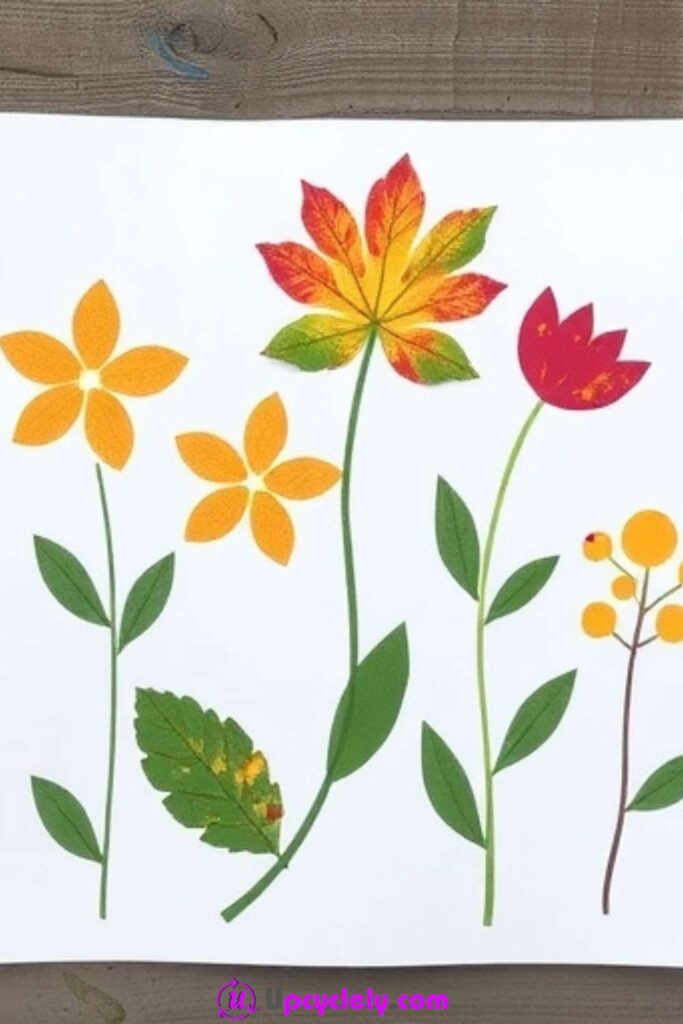
Leaf Stamp Flowers
Materials Needed
- Real leaves of various sizes and shapes
- Paint in different colors
- Blank white paper
- Paintbrushes
Step-by-Step Instructions
- Find the Perfect Leaves
On a nature walk, ask the kids to pick their favorite leaves in different shapes. Discuss how each leaf is unique, just like people. - Coat the Leaves with Paint
Set the leaves vein-side up. Brush a thin, even coat of paint onto the textured side. Start with one color per leaf to keep the prints clean and defined. - Stamp Onto Paper
Press the painted side of the leaf onto the paper. Gently pat down the edges to transfer the design. Peel the leaf off carefully to reveal the print. - Create Flower Shapes
Arrange the stamped leaves in circular or abstract patterns to form your “flowers.” Add stems and leaves with green paint to complete the look.
Pro Tip
Encourage kids to layer prints or experiment with mixing paints on the leaves before stamping; it often leads to stunning surprises!
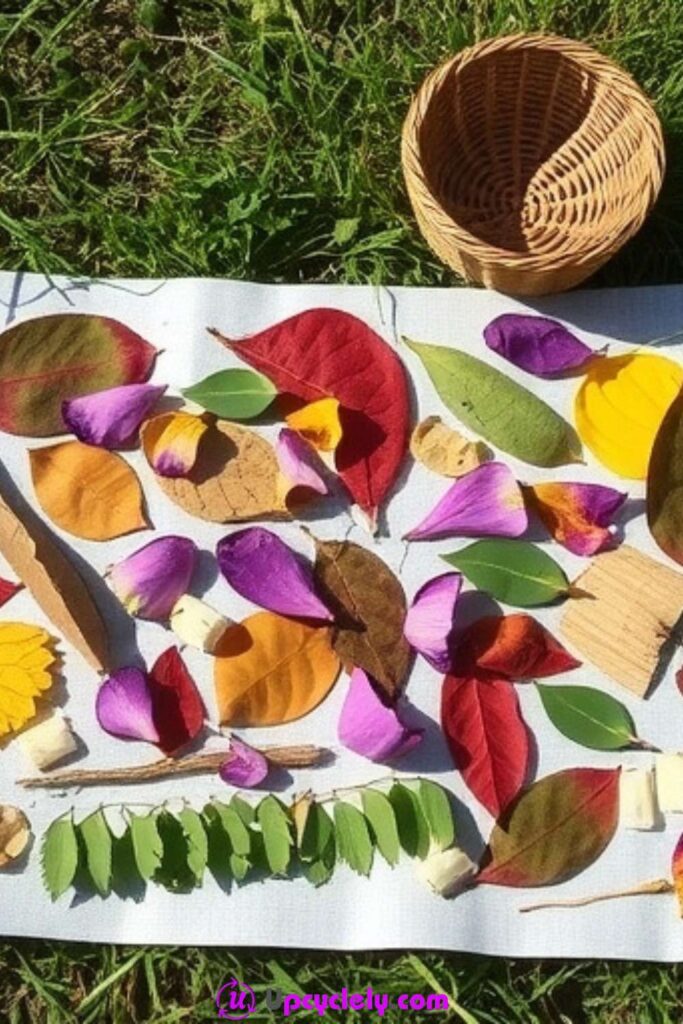
Nature Glue Collage
Materials Needed
- Assorted leaves and petals in various colors
- Small twigs or bark pieces
- White craft glue
- White or colored cardstock for the base
- Small woven basket for collecting materials
Step-by-Step Instructions
- Go on a Nature Hunt
Take the children outside to collect natural items like petals, leaves, and small twigs. This teaches them to appreciate the beauty of their surroundings. - Sort and Plan
Have the children spread their finds onto the table and decide on a collage design. Ask them how they’d like to arrange their materials to express their vision. - Start Gluing
Help the kids drizzle glue onto the cardstock where they want to place their items. Carefully press the leaves, petals, and sticks onto the glue. Layer materials for added depth. - Secure Loose Bits
Once the arrangement is complete, check for any pieces sticking out too far or starting to fall off. Dab extra glue at those spots to keep everything secure.
Pro Tip
Turn the finished collages into seasonal cards for parents or wall art for the classroom. Adding a special purpose makes the craft more meaningful!
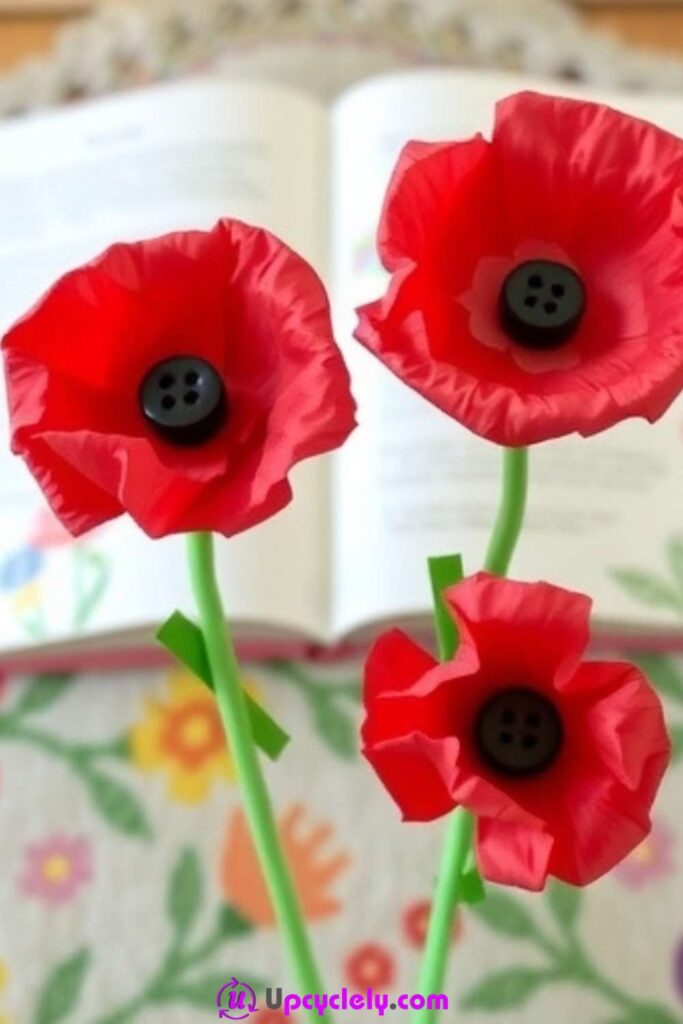
Tissue Paper Poppies
Materials Needed
- Red tissue paper
- Black buttons for the centers
- Green pipe cleaners for the stems
- Scissors
- Glue
Step-by-Step Instructions
- Prepare the Poppy Petals
Cut the red tissue paper into rectangular strips. Layer three to four strips together and crumple them slightly to give the petals texture. Flatten them back out to create a delicate, lifelike effect. - Form the Flower Center
Use a glue gun (with adult supervision!) or craft glue to stick a black button at the center of the layered tissue paper. This will form the focal point of your poppy. - Attach the Stem
Make a small hole through the tissue paper layers and thread a green pipe cleaner through. Twist it just below the flower head to secure it, leaving the rest dangling as the stem. - Shape Your Poppies
Gently fan out the tissue paper layers to make your poppies look fuller and more vibrant. Encourage kids to make each flower unique in shape!
Pro Tip
Have the children place the poppies into books to create a nature-inspired bouquet that doubles as bookmarks. Every time they read, they’ll smile.
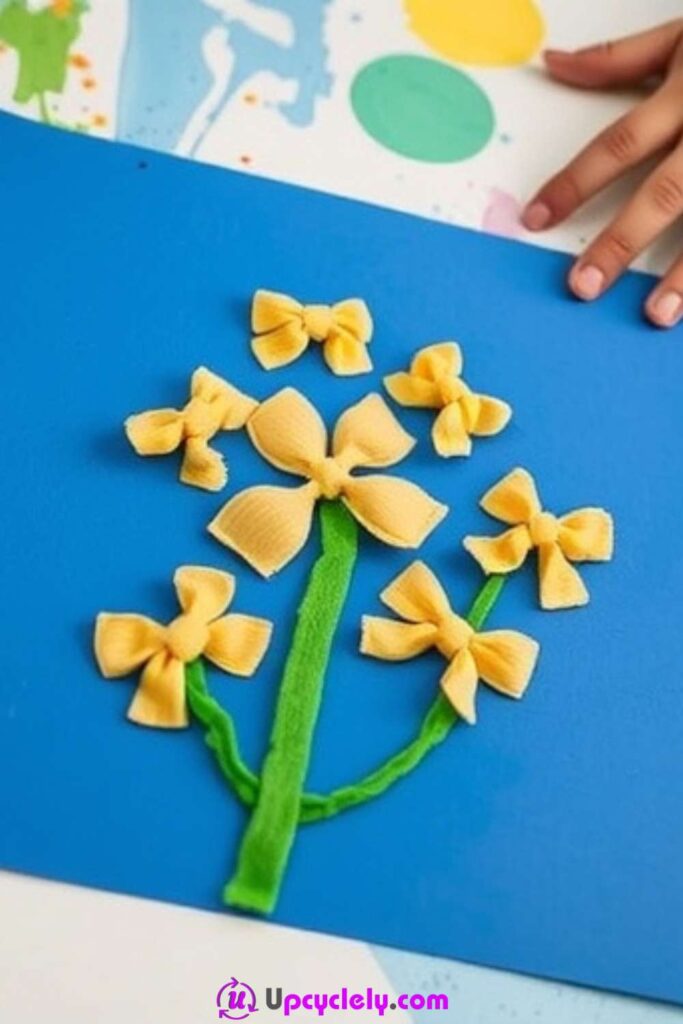
Pasta Flower Collage
Materials Needed
- Bow-tie pasta (ziti or elbow pasta for variety)
- Green markers or paint for stems
- Blue construction paper for the background
- Glue
Step-by-Step Instructions
- Paint the Pasta
Before starting the collage, help the children paint the bow-tie pasta in bright colors like yellow or orange to resemble flower petals. Allow the pasta to dry completely. - Draw the Green Stems
Using green markers or paint, have the children draw vertical lines on the blue construction paper to serve as the flower stems. Add a couple of leaves along each stem for realism. - Create a Flower Arrangement
Glue the painted bow-tie pasta to the tops of the stems, arranging them in circular patterns to create the flower heads. Younger children might need help placing the pasta symmetrically. - Add Final Details
Complement the flowers with small additional details, like tiny buds or insects drawn onto the background. Pretend they are building a whole flower garden!
Pro Tip
Spray a light varnish over the collages to preserve these cute masterpieces! They could make great gifts for grandparents or friends.
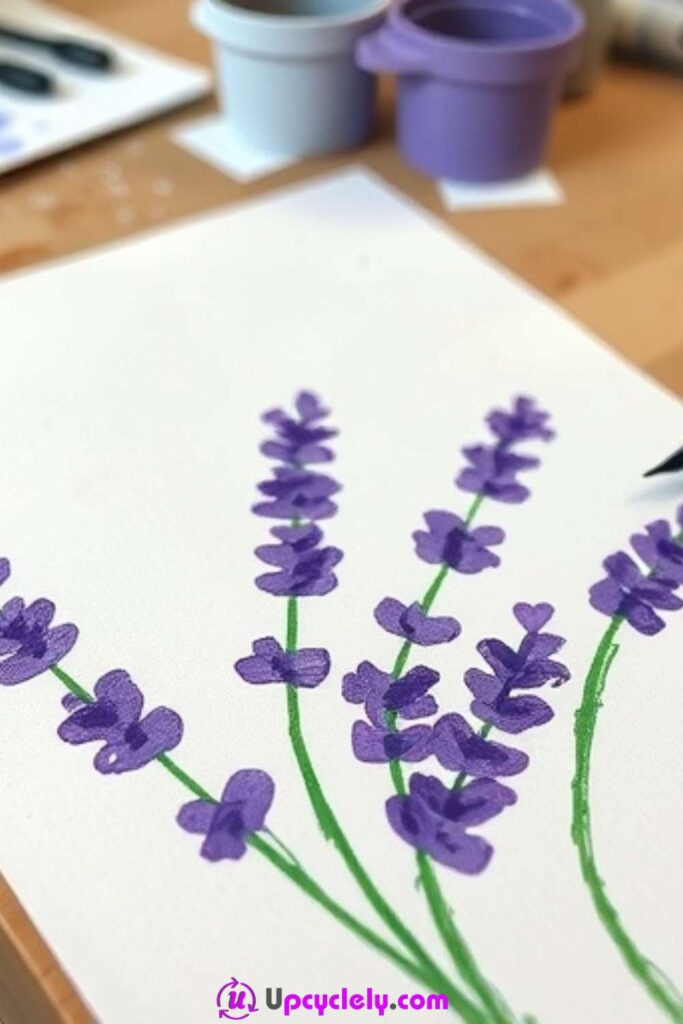
Q-Tip Painted Lavender
Materials Needed
- White paper
- Purple and green paint
- A bundle of Q-tips
- A small rubber band to hold the Q-tips together
Step-by-Step Instructions
- Create a Painting Tool
Bundle together five or six Q-tips with a rubber band. This will serve as a unique paintbrush for creating lavender flowers. - Paint the Stems
Use a regular brush or even a single Q-tip to paint thin and elegant green stems on the white paper. - Stamp the Flowers
Dip the bundled Q-tip “brush” into purple paint and dab it above each stem. Each dab will create the effect of small clusters of lavender flowers. Experiment by varying the pressure for different textures. - Layer for Realism
Once the paint is dry, add lighter or darker purple shades on top to create depth and texture. Discuss what lavender looks and smells like with the kids for a sensory connection!
Pro Tip
Frame each lavender painting and gift them to parents or caregivers on special occasions like Mother’s Day. It’s a keepsake everyone will cherish!
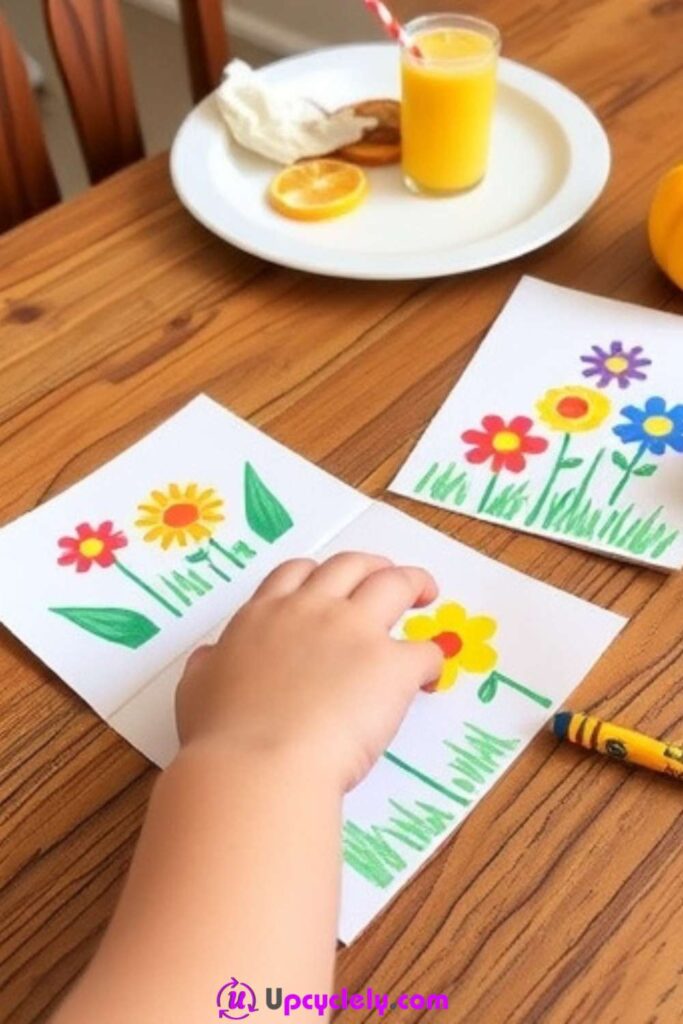
Sticker Flower Cards
Materials Needed
- Blank cards or cardstock
- Flower stickers
- Crayons or markers
- Glue
Step-by-Step Instructions
- Design the Card’s Base
Fold your cardstock into a card shape. For a pop of color, decorate the edges with crayons or markers before adding any stickers. - Create a Floral Scene
Provide an assortment of flower stickers for children to place on the card. Encourage them to create a garden, bouquet, or abstract design. - Draw Surrounding Details
With crayons or markers, add extra elements like stems, butterflies, or a sunny sky. Kids can even write a short message inside the card for someone special. - Secure the Stickers
To make sure the stickers stay in place, dab a small bit of glue under each one. Adding this step ensures their masterpiece lasts longer.
Pro Tip Host a mini “card exchange” among the kids, teaching the value of sharing kindness and seeing others appreciate their hard work.