Are you tired of struggling with your plastic projects, wondering which paint pen will give you that perfect, smooth finish?
Whether you’re revamping an old piece of furniture, customizing your plastic crafts, or simply adding vibrant details to everyday plastic items, choosing the right paint pen can be a game-changer.
With countless options flooding the market, how do you choose the best paint pens for plastic painting? This guide will break it all down for you, step by step.
I’ll walk you through the essential factors to consider, provide tips and tricks for using paint pens effectively, and share common mistakes to avoid so you can get the best results every time.
| Product Image | Product Name | Features | Price |
|---|---|---|---|
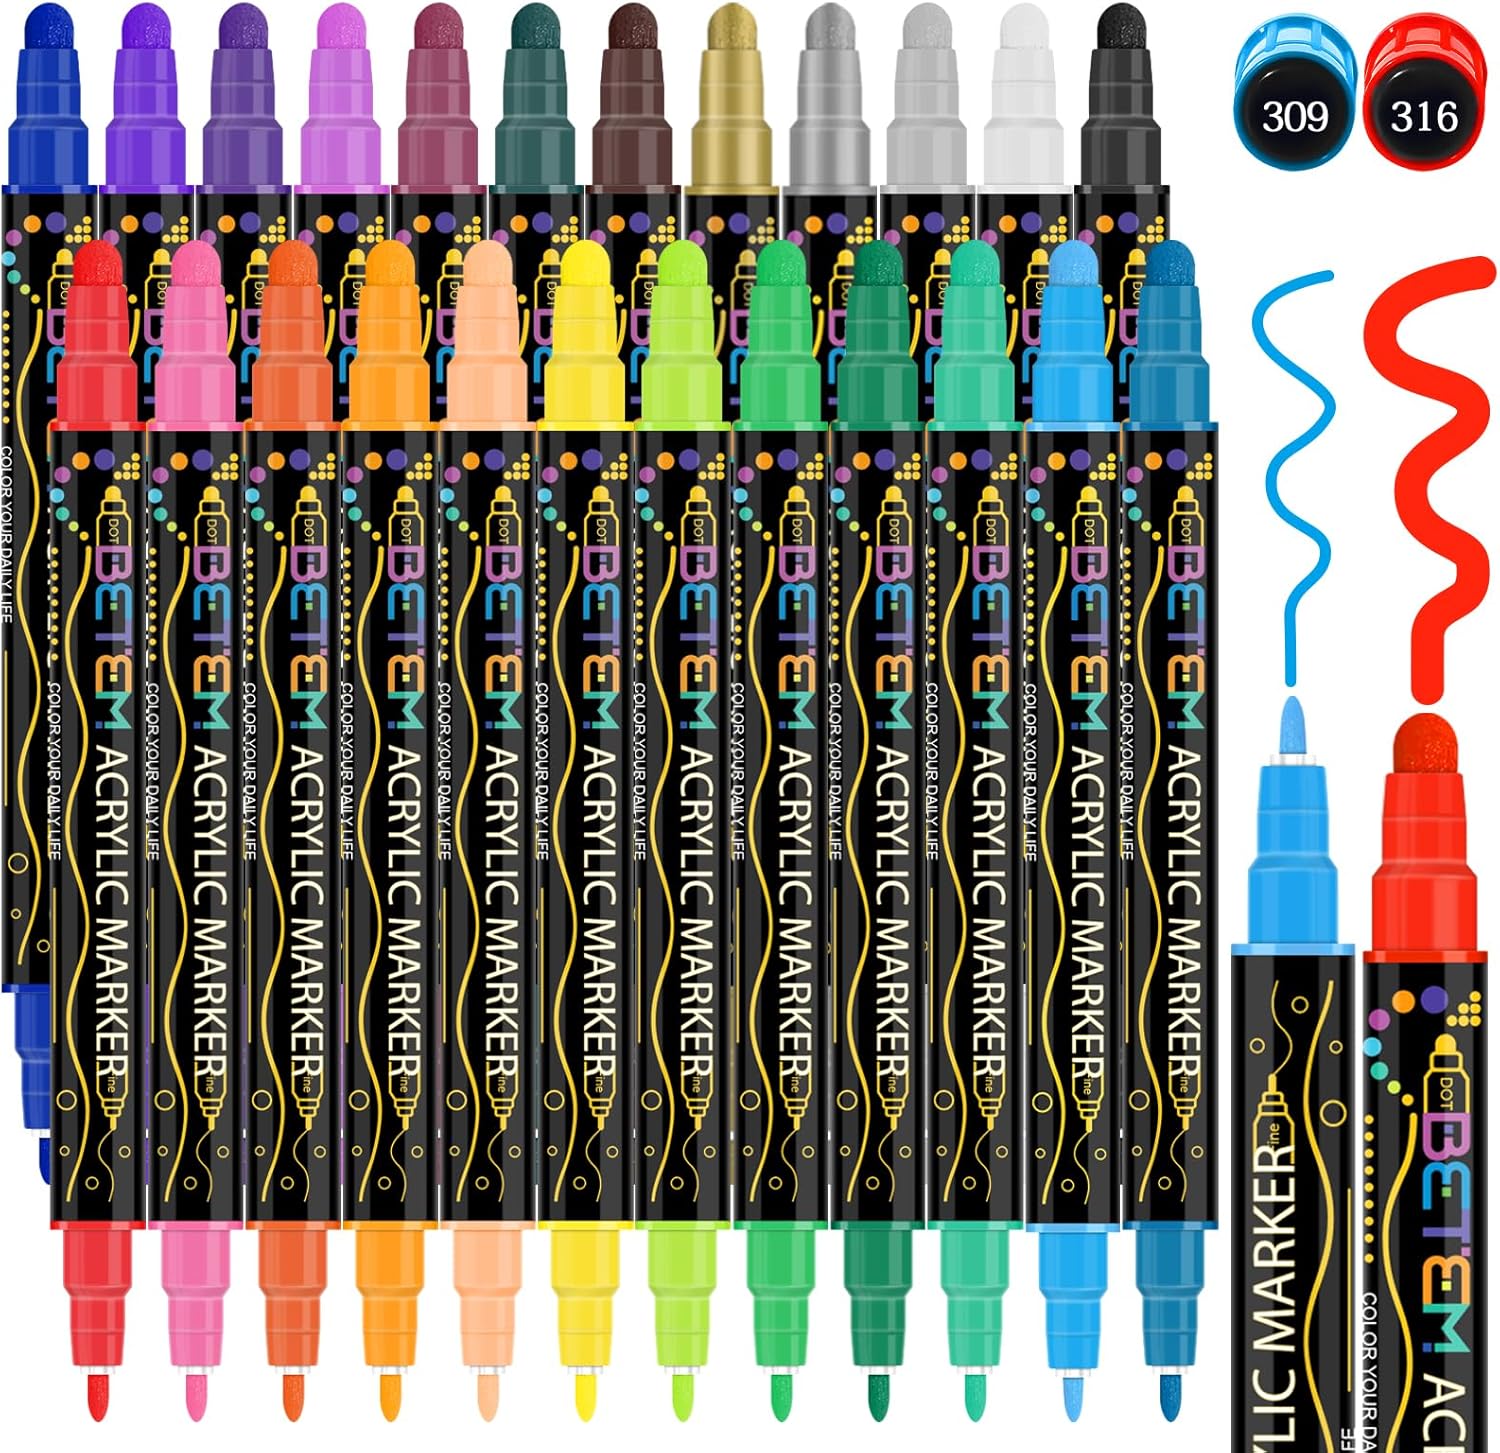 |
Betem 24 Colors Dual Tip Acrylic Paint Pens Markers | 1mm fine nib for precision outlining and detail work Cotton Nib Innovation Fast-drying & mess-free 24 Rich, Blendable Colors |
Check Price |
 |
Sharpie Creative Markers | Bright pigments that pop on both light and dark surfaces No-Bleed, Water-Based Ink Build depth and dimension with smooth layering |
Check Price |
 |
NAWOD 35 Premium Acrylic Paint Marker Pens | Includes 20 extra fine tip pens for precision work Double-boxed for durability and long-term use Ideal for both smooth and porous surfaces |
Check Price |
 |
Acrylic Paint Markers Dual Tip (12 Pack) | Works beautifully on wood, fabric, canvas, glass, plastic, and more Water-based & non-toxic ink Easy cleanup while wet, permanent when dry |
Check Price |
 |
Paint Pens Acrylic Markers |
Filled with 50% more highly pigmented acrylic ink Mix colors easily for custom shades Smooth ink flow with excellent coverage |
Check Price |
 |
JKC 48 Colors Acrylic Paint Markers Set | Includes 36 classic colors and 12 shimmering metallics High-Quality Water-Based Ink Adjust pressure for fine detailing or bold strokes |
Check Price |
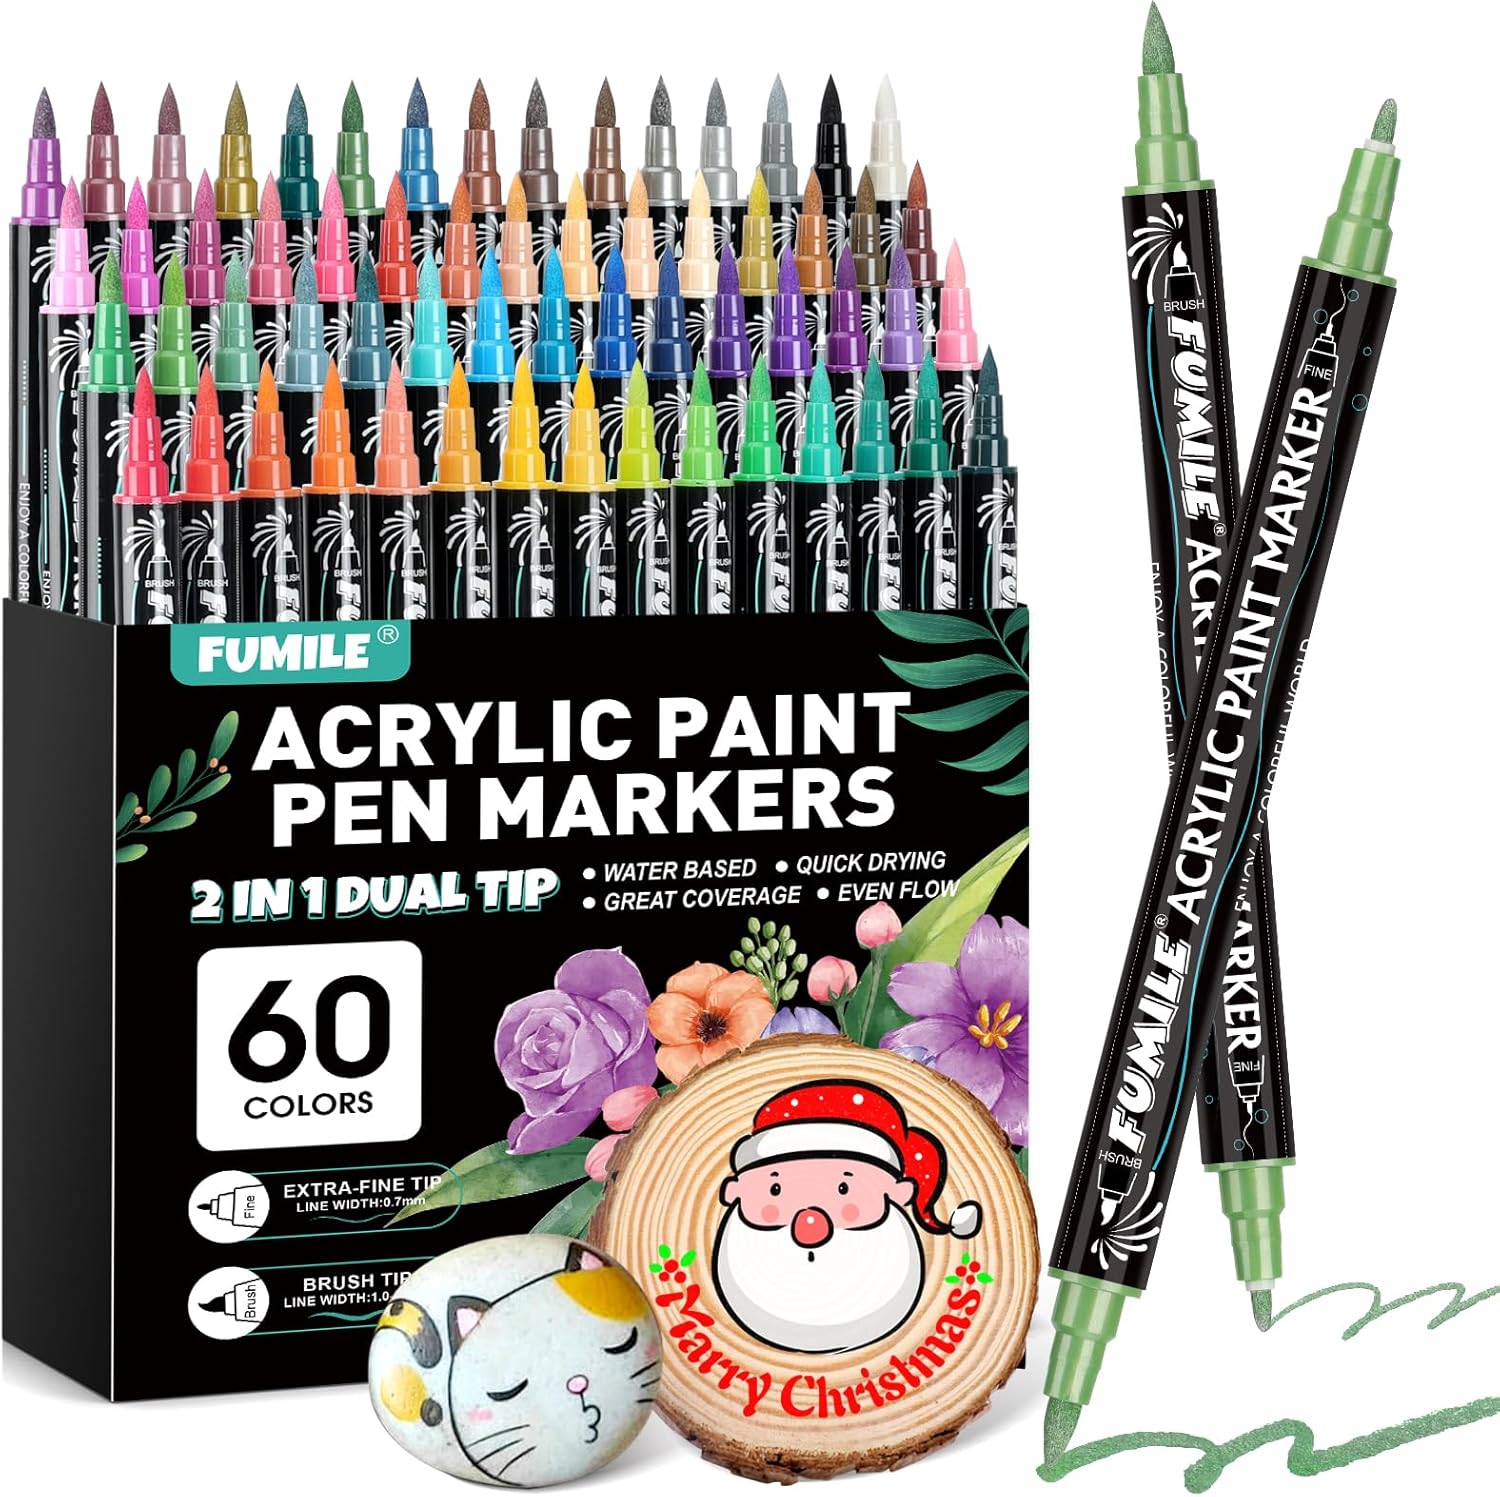 |
FUMILE 60 Colors Acrylic Paint Markers Dual Tip | Quick-drying, vivid ink for both porous and non-porous surfaces Cotton nibs allow direct use 0.7mm extra fine tip for outlining and detail work |
Check Price |
Why Paint Pens for Plastic?
Well, if you’ve ever tried painting plastic with a regular brush, you know how challenging it can be. The paint often doesn’t adhere well, and the results may look uneven or patchy.
That’s where paint pens come in. These pens are designed specifically for use on plastic surfaces, offering convenience, precision, and vibrant color that sticks and lasts.
They’re perfect for adding fine details, touching up designs, or completing DIY projects on materials like plastic, resin, or acrylic.
How to Choose the Best Paint Pen for Plastic
Choosing the right paint pen for your plastic project may seem like a daunting task, but it doesn’t have to be. Let’s break it down. Here are the main factors to consider when selecting a paint pen for plastic:
1. Type of Paint Used in the Pen
Not all paint pens are created equal. The most common types of paint pens for plastic are oil-based and water-based. Here’s how they differ:
- Oil-Based Paint Pens: These pens offer vibrant, long-lasting colors and are known for their durability. They are perfect for outdoor plastic items, as they withstand wear, UV light, and harsh weather. Oil-based pens tend to dry faster and are more resistant to chipping.
- Water-Based Paint Pens: These are easier to use and clean up, but they may not be as durable as oil-based options. They’re ideal for indoor projects or for beginners looking for easier handling.
2. Tip Size and Shape
The size of the tip plays a huge role in the quality of your work. Paint pens come with various tip sizes, from ultra-fine to broad tips.
- Fine Tips: Best for detailing, thin lines, or intricate designs.
- Medium Tips: Great for general use, filling larger areas, or creating bolder designs.
- Chisel Tips: Offer versatility, allowing you to make both thick and thin lines.
3. Color and Finish
The finish of the paint can significantly affect the look of your project. Paint pens for plastic typically come in several finishes, including:
- Glossy: Provides a shiny, sleek finish ideal for high-contrast designs.
- Matte: Offers a more subtle, soft finish, perfect for a vintage or understated look.
- Metallic: These pens provide a shiny, metallic finish, giving your projects a modern or sophisticated vibe.
4. Drying Time and Durability
Different pens have different drying times. Some dry within minutes, while others may take a bit longer. If you’re working on a large project, you might prefer pens that dry quickly to avoid smudging.
- Quick-Drying Paint Pens: Ideal for projects that require precision and layers.
- Longer-Drying Paint Pens: Can be great for larger projects but may need more careful handling.
5. Brand Reputation
It’s always a good idea to consider the reputation of the brand you’re buying from. Look for customer reviews and ratings, as well as testimonials from people who have used the product for similar projects.
Step-by-Step Instructions for Using Paint Pens on Plastic
Now that you know what factors to look for, it’s time to dive into the process. Here’s a simple, step-by-step guide on how to effectively use paint pens for plastic projects:
Step 1: Prepare the Surface
Before applying paint, it’s crucial to clean the plastic surface. Dust, dirt, and oil can prevent the paint from adhering properly. Use a mild soap solution or rubbing alcohol to clean the surface and allow it to dry completely.
Step 2: Prime the Surface (Optional)
If you’re working with a non-porous plastic, it might be beneficial to apply a primer first. This will give the paint better adhesion and durability. Make sure to choose a primer designed for plastic surfaces.
Step 3: Shake the Paint Pen
Shaking the pen will ensure that the paint inside is well-mixed and ready for use. For oil-based pens, you may need to shake it for a longer time to get a smooth, consistent flow.
Step 4: Test the Pen on Paper
Before starting your project, it’s always a good idea to test the pen on a piece of scrap paper or cardboard. This ensures that the pen is flowing properly and gives you a chance to adjust the tip or the pressure you apply.
Step 5: Start Painting
Now you can start painting on the plastic surface. For fine lines, apply gentle pressure on the pen; for thicker lines, press a little harder. Work in small sections at a time to avoid smudging.
Step 6: Allow Time for Drying
Once you’ve finished, give the paint ample time to dry. If you’re working with multiple layers or colors, wait for each layer to dry before applying the next. For best results, refer to the drying times specified by the manufacturer.
Step 7: Seal the Paint (Optional)
If your project will be exposed to heavy use or the elements, consider sealing it with a clear acrylic sealer to protect your design.
Common Mistakes to Avoid
Here are a few common mistakes to watch out for when using paint pens for plastic:
Not Preparing the Surface Properly
Many people skip cleaning or priming the plastic before painting, which leads to poor adhesion and a lackluster finish. Always clean the surface and consider priming it to ensure long-lasting results.
Using the Wrong Type of Pen
Choosing the wrong type of paint pen for your project can result in cracked, faded, or chipped paint. Always check the type of paint (oil or water-based) and match it with your project needs.
Not Allowing Enough Drying Time
Rushing the drying process can lead to smudging or poor finishes. Be patient and give your work the time it needs to dry completely before moving on to the next step.
Not Using a Sealer
If you’re working on an item that will be used or handled often, skipping a clear protective sealer can cause your work to wear off quicker. A good acrylic sealer can extend the lifespan of your design.
Overloading the Tip with Paint
Excessive paint can lead to messy strokes and uneven coverage. Always keep the tip clean and free from excess paint to maintain precision.
Final Thoughts
Working with paint pens for plastic is a fun and rewarding way to add your creative touch to various projects.
Whether you’re customizing plastic furniture, revamping plastic toys, or just adding color to an accessory, the right paint pen can make all the difference.
Remember, preparation is key. Taking the time to clean your surface, select the right pen, and let your layers dry properly will lead to a professional-looking finish.
Don’t be afraid to experiment with different colors, techniques, and tips to find what works best for you.
Conclusion
To sum up, the best paint pens for plastic are the ones that meet your project’s needs, whether that means choosing oil-based or water-based paint, selecting the right tip size, or opting for a glossy or matte finish.
By following the right steps and avoiding common mistakes, you can achieve stunning results on plastic surfaces.
If you’ve tried any of these tips or have a favorite paint pen you love, share it with me in the comments below! And don’t forget to share this guide with anyone you think might find it helpful.
FAQs
Q1: Can I use regular paint pens on plastic?
Regular paint pens are not always designed for plastic and may not adhere well. It’s best to use pens specifically designed for plastic to ensure the paint sticks and lasts.
Q2: How do I prevent my paint pen from smudging on plastic?
Let your work dry completely before handling it. For extra protection, you can apply a clear acrylic sealer to prevent smudging.
Q3: How long does it take for paint pens to dry on plastic?
Drying time can vary depending on the paint type and layer thickness. Typically, it takes 1-2 hours for paint pens to dry on plastic, but it’s always best to follow the manufacturer’s recommendations.
Q4: Can I use paint pens for outdoor plastic projects?
Yes, oil-based paint pens are great for outdoor projects, as they offer durability and resistance to UV light and weather.
Q5: Can I remove paint from plastic if I make a mistake?
You can use rubbing alcohol or a plastic-safe solvent to remove mistakes before the paint dries completely. Once dried, it may be more difficult to remove.