Wood is a durable and versatile material, but like everything else, it can deteriorate over time due to exposure to the elements. Wind, rain, sun, and even temperature fluctuations can cause wood to crack, split, and wear down. This is where wood fillers come in.
They allow you to repair and restore wood, preventing further damage and enhancing the appearance of your outdoor structures.
But not all wood fillers are created equal. Choosing the right one is crucial for the longevity of your repair job. In this guide, I’ll take you through the ins and outs of selecting the best wood filler for outdoor use.
I’ll cover what you need to consider when choosing the right product, step-by-step instructions on how to apply it, common mistakes to avoid, and some additional tips to help you get the best results.
| Product Image | Product Name | Features | Price |
|---|---|---|---|
 |
J-B Weld Tan KwikWood Wood Repair Epoxy Putty | Hand-mixable two-part epoxy putty formulated for household wood repairs. Sets in 15–25 minutes, fully cures in 1 hour; dries to a light tan finish. Lap shear strength of 900 PSI; won’t shrink or rot. Ideal for fixing window/door hinges, dry rot, furniture gouges, knot holes, and gaps. |
Check Price |
 |
Minwax Wood Putty, Colonial Maple , 3.75 oz. | Pre-mixed and ready to use ideal for quick touch-ups. Blends seamlessly with Minwax Colonial Maple and Gunstock stains. Fills nail holes, scratches, gouges, and minor imperfections in bare, painted, stained, or finished wood. Easily applied with a putty knife for fast, mess-free fixes. |
Check Price |
 |
Aqua Coat Water-Based Clear Wood Grain Filler Gel | Small particle gel seals pores to reduce topcoat absorption. Recommended for use under clear finishes; use Aqua Coat White for painted surfaces. Water-based, low VOC, low odor, non-flammable, and made in the USA. Creates a glass-smooth surface before staining or topcoating. |
Check Price |
 |
Wood Filler, White Oak Wood Putty, | Includes 280g wood putty, 2 scrapers, and 2 sandpapers for all-in-one convenience. Repairs nail holes, dents, cracks, and gouges with smooth texture and easy sanding. Ideal for cabinets, tables, wood floors, doors, and other wood furniture or crafts. Designed for professionals and easy enough for DIY enthusiasts to use confidently. |
Check Price |
 |
DAP Plastic Wood All Purpose Latex Wood Filler | Looks and acts like wood ideal for corners and vertical surfaces. Repairs cracks, gouges, holes, and defects on furniture, molding, cabinets, doors, and more. Thick, knife-grade consistency fills any shape or imperfection Dries in 3–6 hours for shallow repairs; up to 36 hours for deeper fills. |
Check Price |
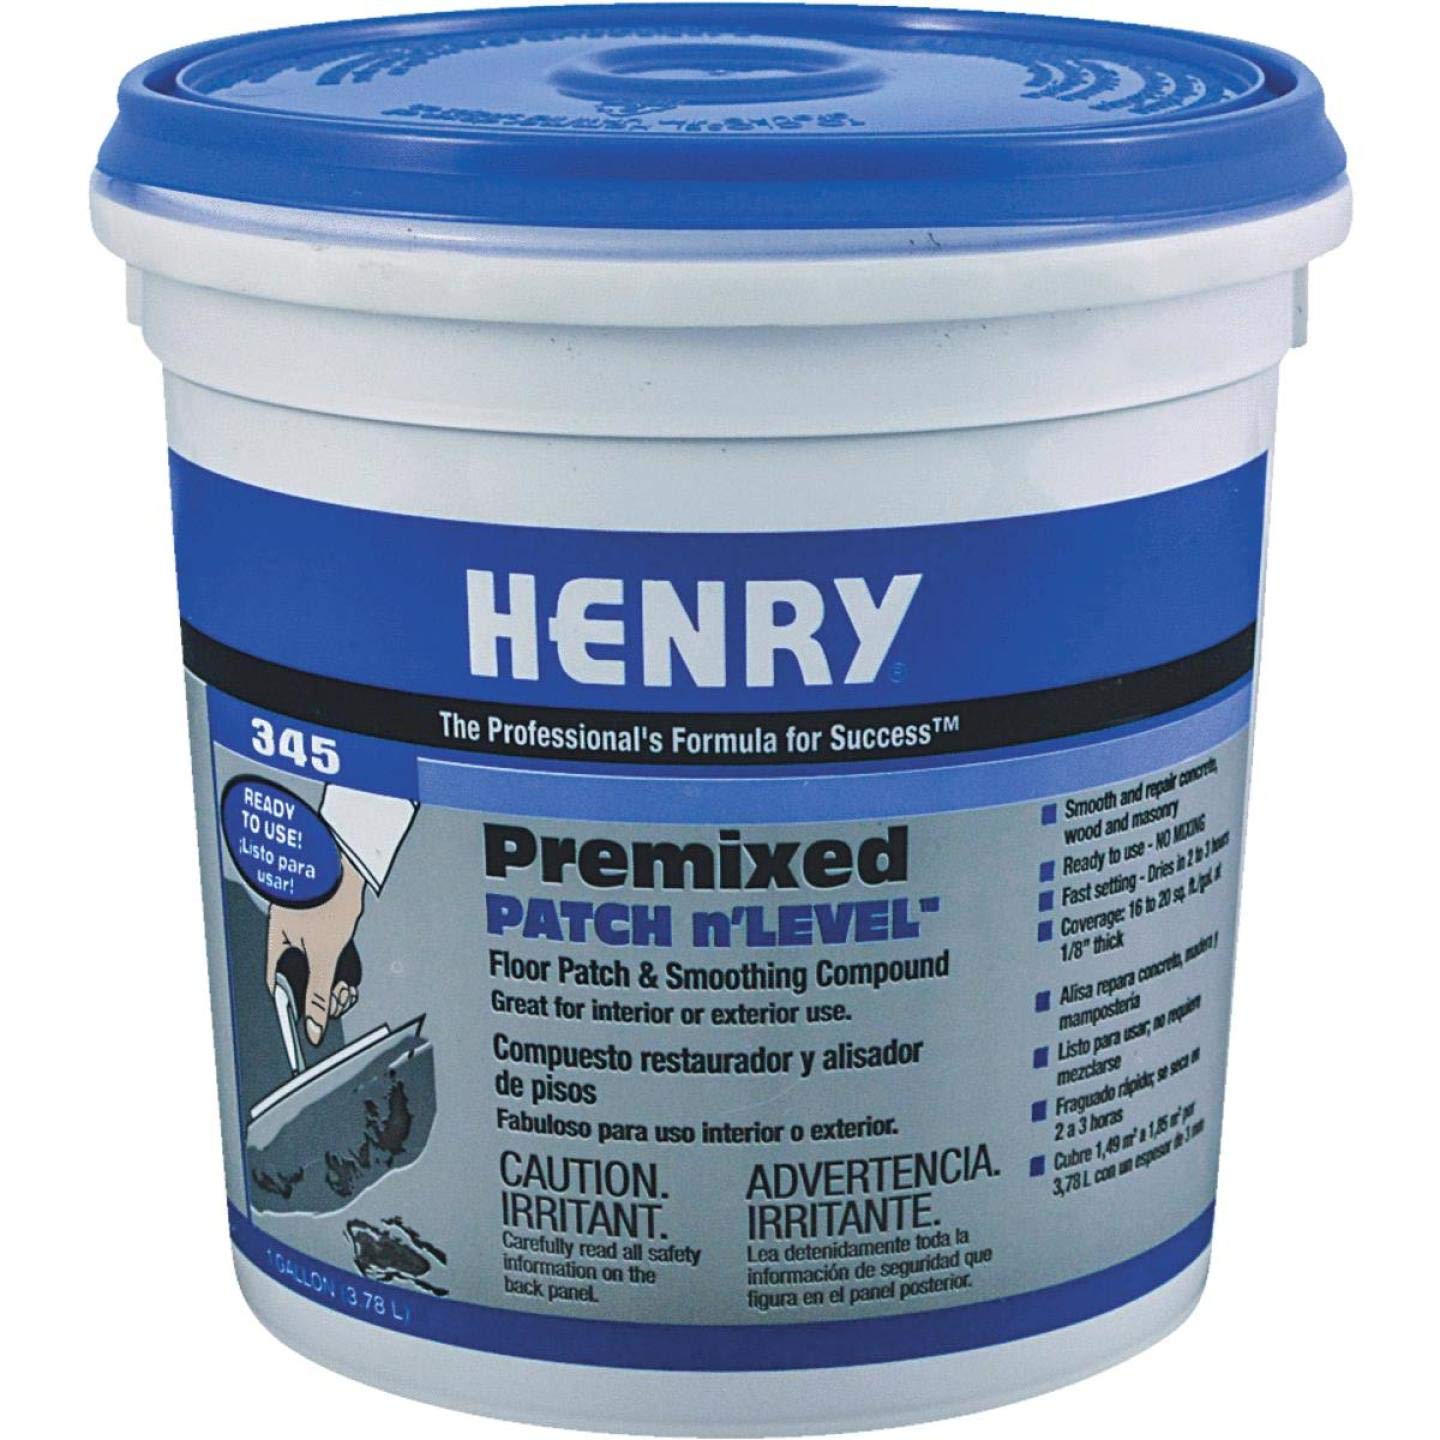 |
3 Set- Henry, W.W. Co. 12064 12064 Gallon Pre-Mixed Floor Patch | Pre-mixed formula designed for patching and leveling concrete, wood, and masonry subfloors. Ideal prep layer before installing floor coverings like tile, vinyl, or laminate. High-performance blend offers long-lasting results with simple application. |
Check Price |
 |
FamoWood 40042126 Latex Wood Filler – 1/4 Pint, Natural | Sets in just 15 minutes for quick project turnaround. Maintains shape and integrity no crumbling over time. Can be sanded, drilled, planed, stained, and painted like real wood. Suitable for both interior and exterior wood surfaces. Solvent-free formula cleans up easily with water. |
Check Price |
 |
Woodwise 14-lb Powered Wood Filler Maple/ash/pine | Accepts stains beautifully for seamless blending. Adheres tightly and sands easily for a smooth finish Mix with water to your preferred texture ideal for patching or full-trowel use. 30–35% cheaper than pre-mixed fillers with the same premium performance. |
Check Price |
Different Types of Wood Fillers
Before diving into the specifics of how to apply wood filler, it’s important to understand the different types available on the market. Each type is formulated differently to suit various applications, and some are better suited for outdoor use than others. Here’s a quick breakdown:
- Water-based Wood Fillers: These are the most commonly used fillers for indoor projects. They dry quickly, are easy to sand, and can be cleaned up with water. However, they’re not ideal for outdoor use as they don’t offer the best protection against moisture.
- Oil-based Wood Fillers: Oil-based fillers are more durable and resistant to moisture, making them a better choice for outdoor projects. They also tend to dry harder than water-based fillers, providing a more solid finish. However, they take longer to dry and require mineral spirits for cleanup.
- Epoxy Wood Fillers: These are two-part fillers that consist of a resin and a hardener. Once mixed, they create a strong, waterproof bond that is perfect for repairing outdoor wood exposed to harsh weather conditions. Epoxy fillers are excellent for structural repairs but may require more skill to apply than other fillers.
- Polyurethane Fillers: Polyurethane-based wood fillers are incredibly durable and resistant to weathering, UV damage, and moisture. They are perfect for high-traffic outdoor areas, like wooden decks or fences, but can be harder to work with and may require specialized tools for application.
- Exterior Wood Fillers: Some fillers are specifically formulated for outdoor use. These often combine the best features of other types of fillers—offering both durability and ease of use. They are designed to stand up to the rigors of outdoor environments.
What to Look for in a Wood Filler for Outdoor Use
Choosing the best wood filler for outdoor use involves considering several factors. Here are the key attributes to look for:
- Moisture Resistance: Since outdoor wood is constantly exposed to moisture, it’s essential to select a filler that is waterproof or highly water-resistant. A filler that doesn’t repel moisture will break down over time, causing further damage to the wood.
- UV Protection: Exposure to sunlight can cause wood to fade and deteriorate. The best outdoor wood fillers are designed with UV resistance in mind, helping to maintain the color and integrity of the wood.
- Durability: Outdoor wood fillers should be able to withstand the wear and tear of outdoor conditions, from temperature fluctuations to physical damage. Look for products that offer durability and flexibility to adapt to the natural expansion and contraction of wood.
- Ease of Application: Some wood fillers are easier to work with than others. For outdoor repairs, you want a product that is easy to apply, smooth out, and finish. You don’t want to waste time battling with a product that’s too thick or difficult to smooth.
- Compatibility with Stains and Paints: Once the filler is applied and dried, you’ll likely want to stain or paint the wood to match the surrounding surface. A high-quality wood filler should be compatible with paints and stains, ensuring a smooth and uniform finish.
Step-by-Step Guide: How to Apply Wood Filler for Outdoor Projects
Now that you know what to look for in a wood filler, let’s walk through the process of applying it correctly to ensure a professional finish. Here’s a step-by-step guide to help you get the best results:
Step 1: Prepare the Surface
Before applying wood filler, the surface needs to be clean and dry. Here’s what you need to do:
- Clean the Wood: Use a wire brush or sandpaper to remove any dirt, dust, or old paint from the damaged area.
- Dry the Wood: Ensure the wood is completely dry, especially if it’s been exposed to rain or humidity. You can let it air-dry or use a cloth to wipe off any moisture.
- Sand the Surface: Lightly sand the area to smooth out rough edges and to help the filler adhere better.
Step 2: Apply the Wood Filler
Using a putty knife or a similar tool, apply the wood filler directly into the cracks, holes, or gaps. Press the filler into the damaged area to ensure it fills the space completely. Be generous with the amount of filler you use it’s easier to sand off excess filler than to try to fill in missing spots later.
Step 3: Smooth Out the Filler
Once the filler is in place, use the putty knife to smooth out the surface as much as possible. The smoother the filler, the less sanding you’ll need to do later.
Step 4: Let It Dry
Allow the filler to dry fully before proceeding. Drying times will vary depending on the product, but it typically takes anywhere from a few hours to overnight. Check the manufacturer’s instructions for specific drying times.
Step 5: Sand the Area
After the filler has dried, sand the area with fine-grit sandpaper (around 220-grit). Sanding will smooth out the filler and blend it seamlessly into the surrounding wood. Be gentle to avoid sanding too much and exposing the surrounding wood.
Step 6: Finish the Wood
Once the filler is sanded and smooth, you can apply stain or paint to match the surrounding area. If you’re staining, be sure to use a stain that’s compatible with the filler. If you’re painting, apply a primer before painting for the best adhesion.
Common Mistakes to Avoid
When using wood filler for outdoor repairs, there are several common mistakes you’ll want to avoid. Here are some of the most frequent errors and how to prevent them:
Not Using the Right Filler for Outdoor Use: As I mentioned earlier, indoor wood fillers are not suitable for outdoor projects. Always opt for a filler specifically designed for exterior use.
Applying Filler to Wet Wood: If the wood is wet or damp, the filler won’t adhere properly and will break down quickly. Always ensure the wood is dry before applying filler.
Rushing the Drying Process: It might be tempting to apply a second coat of filler or sand the area too soon, but this can lead to poor results. Allow the filler to dry thoroughly before proceeding.
Using the Wrong Sandpaper: Don’t use coarse sandpaper on your filler. It can leave unsightly marks on the surface. Stick to fine-grit sandpaper for a smooth, flawless finish.
Not Sealing the Wood: After filling and finishing the wood, consider applying a weatherproof sealant to further protect the wood and filler from moisture and UV damage.
Additional Tips for Successful Outdoor Wood Repair
To take your outdoor wood repair to the next level, here are a few extra tips:
Work in Ideal Weather Conditions: Avoid applying wood filler in extremely hot or cold conditions. The ideal temperature is between 50°F and 80°F (10°C to 27°C).
Test the Filler: If you’re unsure about how the filler will look once dried, test it in a small, inconspicuous area first. This way, you can ensure that the color matches and the texture is smooth.
Use a Sealant: To enhance the durability of your outdoor repairs, always apply a weatherproof sealant or finish after the filler has dried and been sanded.
Table: Comparison of Outdoor Wood Fillers
| Wood Filler Type | Advantages | Disadvantages |
| Water-based Fillers | Fast-drying, easy to clean, smooth finish | Not suitable for outdoor use, moisture damage |
| Oil-based Fillers | Durable, strong, and moisture-resistant | Takes longer to dry, requires mineral spirits for cleanup |
| Epoxy Fillers | Extremely durable and waterproof | Requires mixing, more difficult to apply |
| Polyurethane Fillers | UV resistant, durable, and weatherproof | Can be tricky to apply and finish |
| Exterior Wood Fillers | Designed for outdoor use, moisture-resistant | May be harder to work with |
Conclusion
Choosing the right wood filler for outdoor use is crucial to the success of your project. By understanding the different types of fillers, knowing what to look for, and following the correct application steps, you can achieve a lasting and professional finish.
Avoiding common mistakes and taking extra steps like applying a weatherproof sealant will further enhance the longevity of your repair.
So, the next time you’re facing a wood repair project outdoors, keep this guide in mind, and you’ll be well on your way to restoring your wood surfaces to their former glory!
FAQs
How do I know if the wood filler is completely dry?
The filler should be hard to the touch, with no soft spots. If you’re unsure, give it a little more time to dry.
Can I use wood filler on a wooden deck?
Yes! Wood fillers are commonly used on decks, especially for filling gaps or holes caused by weathering.
What is the best way to finish wood filler after application?
After sanding, use a compatible paint or stain to finish the repair, followed by a protective sealant to prevent future damage.
Can I apply wood filler over paint?
Yes, but make sure to properly sand the paint surface before applying the filler to ensure better adhesion.