Are you ready to elevate your next wood crafting project? Whether you’re making personalized coasters, creating rustic furniture, or just adding a little flair to your DIY wooden art, the right Mod Podge can make all the difference.
But with so many options out there, how do you choose the best Mod Podge for your wood creations?
Let’s dive into the world of Mod Podge, what it is, and why choosing the right type is crucial for the success of your project.
In this guide, I’ll walk you through everything you need to know about Mod Podge for wood how to choose the right one, the different types available, and step-by-step instructions for getting the best results.
By the end of this post, you’ll have the knowledge to tackle any wood project with confidence.
Why Mod Podge?
Let’s start with the basics. If you’ve ever done a craft project, chances are you’ve come across Mod Podge. It’s a popular decoupage medium, and it does much more than just glue things together.
Mod Podge is an all-in-one glue, sealer, and finish, making it perfect for a variety of crafts, especially wood projects. It helps bind materials, protects the surface, and provides a smooth finish.
But why is it so commonly used for wood projects? Well, wood can be tricky to work with because of its porous surface.
The right Mod Podge ensures a durable bond without compromising the natural beauty of the wood.
| Product Image | Product Name | Features | Price |
|---|---|---|---|
 |
Mod Podge Gloss Sealer | Dries clear with a durable & high-shine coating Quick-Drying & Surface-Friendly Easy Cleanup Non-toxic |
Check Price |
 |
Mod Podge Matte Sealer | Combines glue, sealer, and finish in one convenient formula Versatile Surface Compatibility Durable Matte Finish Quick-Drying & Buildable |
Check Price |
 |
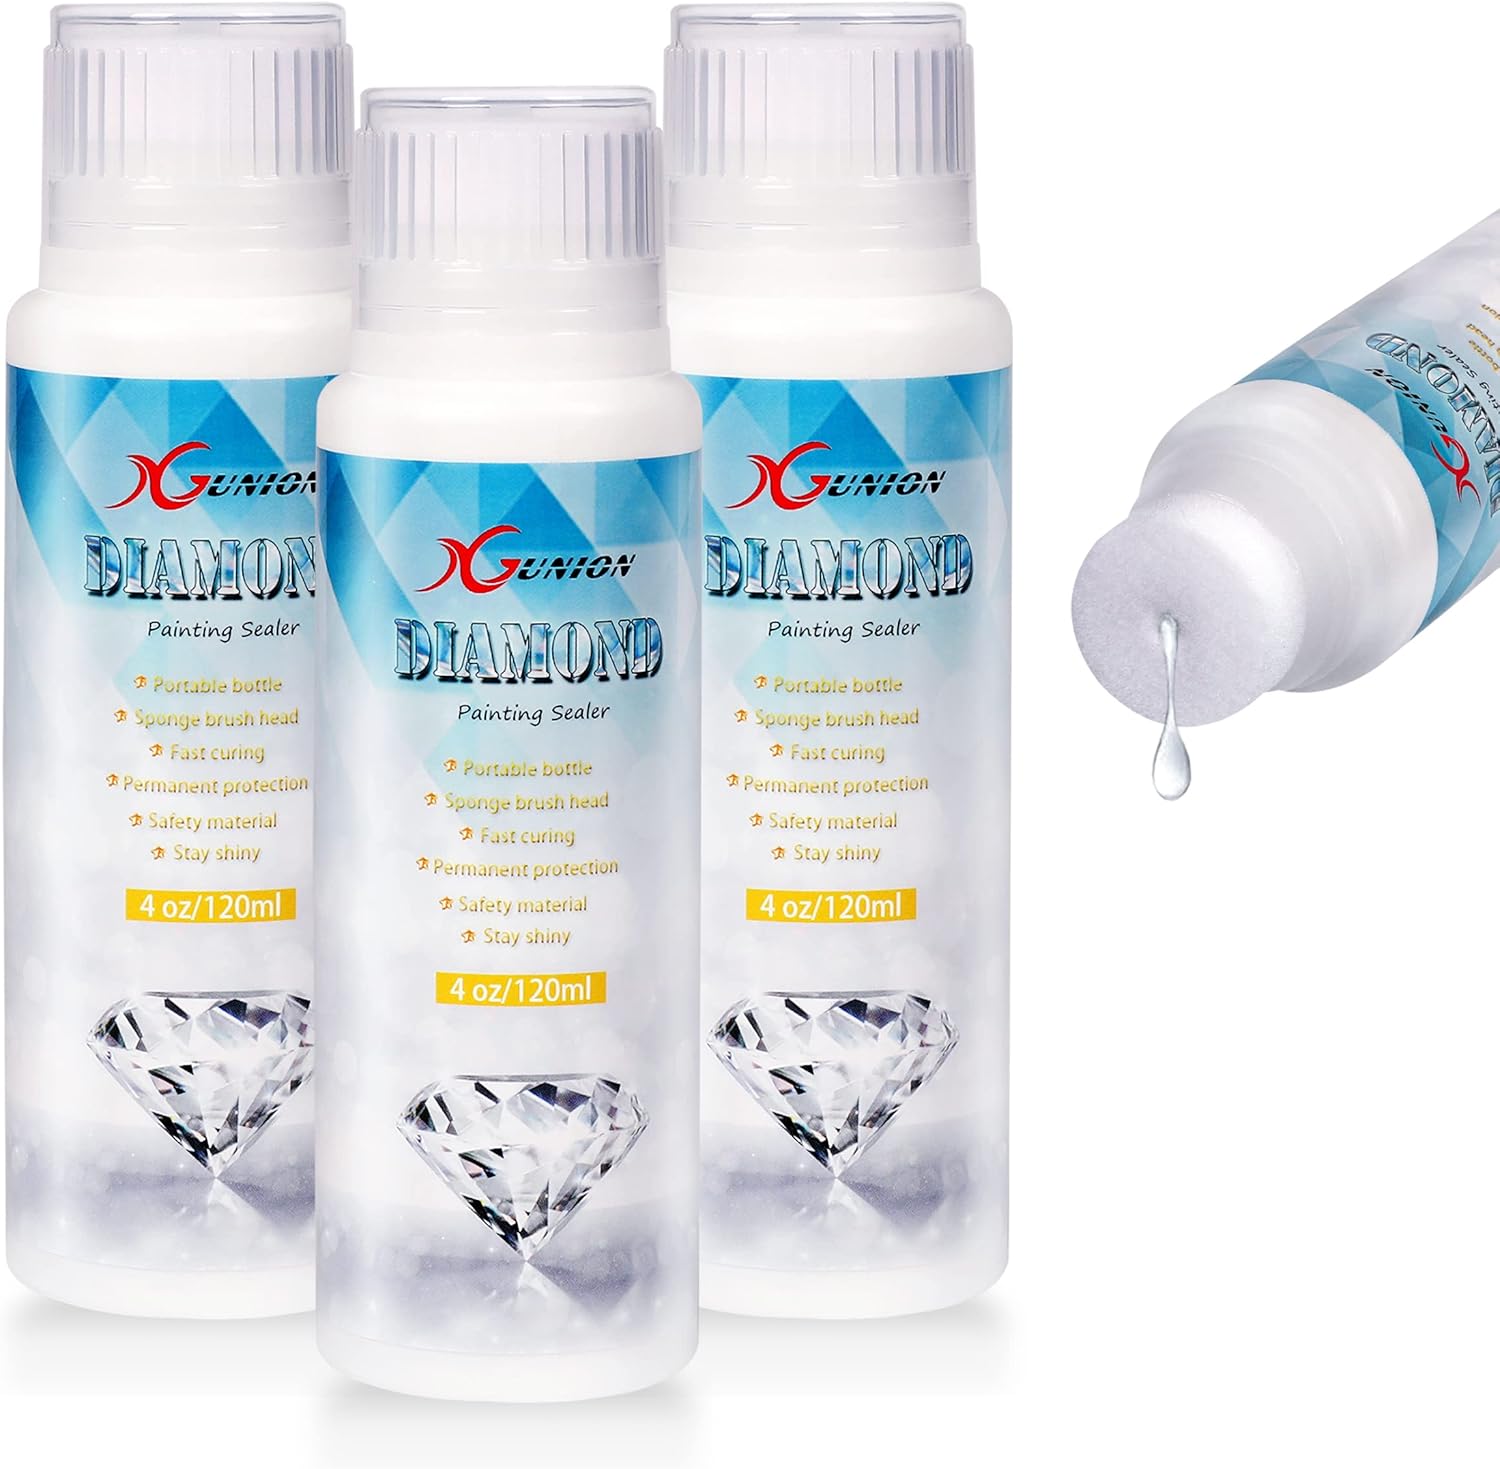
Faburo 2pcs Diamond Painting Sealer | Ready-to-use 120ml bottle Non-Toxic Formula Waterproof & Dust-Proof Protection Prevents diamond paste from falling off |
Check Price |
 |
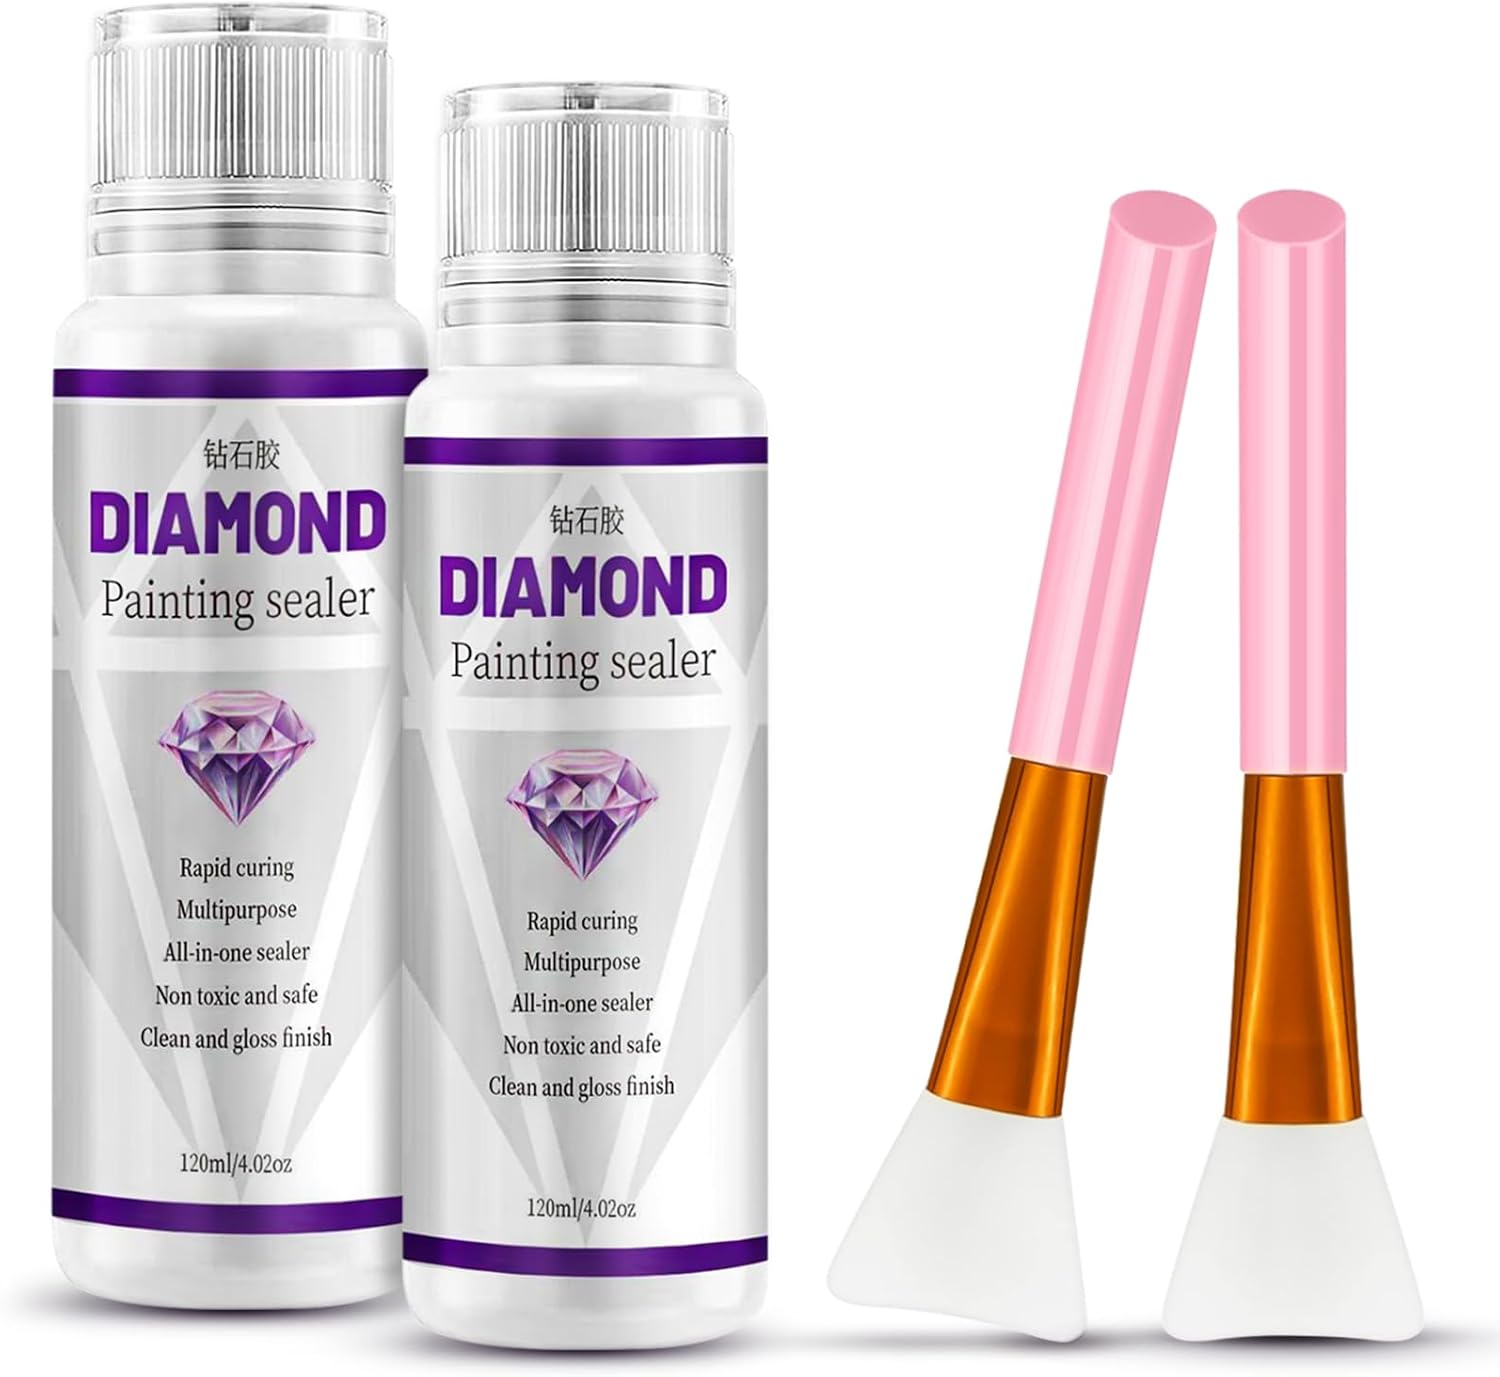
Diamond Painting Sealer 250ML with Silicone Brush | Dries fully in just 2 hours Safe & Non-Toxic Formula Large 250ml bottle covers multiple projects Permanent Hold & Gloss Finish |
Check Price |
 |
ARTDOT 16 oz Diamond Art Sealer Kits for Adults | Quick-Drying for Fast Results Silicone brush ensures smooth, bubble-free coverage Lint roller compacts beads and removes impurities |
Check Price |
 |
Diamond Painting Sealer 3-Pack 360ML | Long-Lasting Shine Safe & Non-Toxic Formula Rapid Curing Time urface cures in just 15 minutes, fully cured in about 30 minutes Adds a high-gloss finish |
Check Price |
 |
SCORCH MARKER – Maker’s Magic Sealer | Crystal-clear gloss finish with mirror-like shine Flexible & waterproof Leaves no clumps or residue Fast-Drying & Easy Cleanup |
Check Price |
 |
Yunnuo Diamond Painting Sealer Kits 240ML with 2 Silicone Brushes | Permanent Hold & Gloss Finish Safe & Non-Toxic Formula Fully cures in about 2 hours Large 240ml (8 oz) bottle |
Check Price |
 |
2 Pack Diamond Painting Sealer | Includes 2 bottles × 120ml Comes with a built-in sponge brush for smooth Surface dries in 15 minutes, fully cured in 30 minutes |
Check Price |
 |
Mereido Diamond Art Glue Painting Sealer | Multi-Purpose Craft Sealer Surface cures in 15–25 minutes; fully cured in 30–60 minutes Creates a clear and protective layer |
Check Price |
Types of Mod Podge for Wood Projects
Mod Podge Gloss
- What it is: The most common type of Mod Podge, Gloss provides a shiny, reflective finish to your wood projects.
- Best for: Adding a vibrant, glossy sheen to coasters, signs, frames, or any wood surface where you want a high-gloss finish.
- When to use: If you want your wood project to have that extra pop of shine and sparkle.
Mod Podge Matte
- What it is: This formula dries with a non-reflective, smooth matte finish.
- Best for: Creating a more subdued, rustic look. Great for vintage-style wooden signs, furniture, or other projects where you want to reduce gloss and highlight textures.
- When to use: If you prefer a smooth, non-reflective finish, or you want a more natural look to your wood pieces.
Mod Podge Satin
- What it is: A middle ground between gloss and matte, providing a soft, satin-like finish.
- Best for: Projects where you want just a hint of shine without going full-gloss.
- When to use: If you want a sophisticated, smooth look with a bit of sheen but not too much gloss.
Mod Podge Outdoor
- What it is: Formulated specifically for outdoor use, this type of Mod Podge is weather-resistant and durable.
- Best for: Wood projects that will be exposed to the elements, such as garden signs, outdoor furniture, and planters.
- When to use: If your wood project will be outside and exposed to sunlight or rain, choose this formula for extra protection.
Mod Podge Fabric
- What it is: Designed for fabric, this type of Mod Podge is used to adhere fabric to surfaces like wood.
- Best for: Crafting projects where you’re working with fabric and wood, like making personalized fabric-covered wood signs or projects that need extra flexibility.
- When to use: If your wood project involves fabric and you need extra adhesive strength.
Key Factors to Consider When Choosing Mod Podge for Wood
Here are a few questions you should ask yourself when selecting the best Mod Podge for your project:
- Do I want a glossy or matte finish? Glossy finishes will enhance the colors of your wood project, while matte finishes provide a more subtle, rustic look.
- Will my project be outside? If your project will be outdoors, choose Mod Podge Outdoor for added weather resistance.
- How much durability do I need? For more durable finishes, consider Mod Podge Outdoor or Mod Podge for furniture.
- What’s the texture of my wood? If your wood is rough or textured, Mod Podge Matte may be better for hiding imperfections, whereas Gloss will highlight the wood’s features.
Step-by-Step Instructions for Applying Mod Podge to Wood
Now that we’ve covered the basics of what Mod Podge is and how to choose the right one, let’s walk through a step-by-step guide to applying Mod Podge to your wood project.
Materials Needed:
- Wood surface (coasters, sign, box, etc.)
- Mod Podge (based on your choice from earlier)
- Foam brush or paintbrush
- Sandpaper (optional, if you want a smoother finish)
- Paper towels or a clean cloth
- Scissors (for cutting paper or fabric, if needed)
1. Prepare the Wood
Start by ensuring your wood is clean and smooth. Sand the surface with fine-grit sandpaper if needed to remove any rough patches. Wipe the wood down with a clean cloth to remove any dust or debris.
2. Apply the First Coat of Mod Podge
Using your foam brush or paintbrush, apply a thin, even layer of Mod Podge to the surface of the wood. Make sure to spread it evenly across the entire area. Avoid heavy globs, as these can create an uneven finish.
3. Let it Dry
Allow the first layer to dry completely. This typically takes around 15–20 minutes, depending on the Mod Podge type and the ambient humidity in your workspace.
4. Apply Additional Coats
Once the first layer is dry, apply additional coats of Mod Podge for added durability. Two to three coats are typically sufficient, but you may want more depending on your desired finish. Allow each layer to dry before applying the next.
5. Sand Between Layers (Optional)
If you want a super smooth finish, gently sand between layers with a fine-grit sandpaper once each coat has dried. This step helps remove any bumps or bubbles that may have formed during the application process.
6. Final Drying and Curing
After your final coat is applied, let the project cure for 24 hours before handling it. This ensures that the Mod Podge has fully hardened and offers maximum protection.
Common Mistakes to Avoid When Using Mod Podge on Wood
While Mod Podge is a fantastic crafting tool, it’s easy to make some mistakes during application. Here are a few common pitfalls and how to avoid them:
- Applying Too Much Mod Podge: It’s tempting to slather on a thick layer of Mod Podge, but this can lead to uneven finishes and bubbles. Always apply thin, even layers.
- Not Allowing Layers to Dry Fully: Rushing through the process by not letting each layer dry completely can cause smudging and imperfections.
- Using the Wrong Mod Podge Type: Always choose the right formula for your project. Using regular Mod Podge outdoors or on fabric may lead to poor results.
- Skipping Sanding: If you want a super-smooth surface, don’t skip the sanding step between layers. It helps ensure a flawless finish.
- Touching the Project Before It’s Cured: Even though Mod Podge feels dry to the touch within hours, it takes 24–48 hours to fully cure. Patience is key to a durable finish.
Conclusion: Bringing Your Wood Projects to Life
In this guide, we’ve explored the many types of Mod Podge available and how to choose the best one for your wood crafting projects.
We’ve walked through step-by-step instructions on how to apply Mod Podge for the perfect finish, as well as the common mistakes to avoid to ensure your projects turn out great every time.
Remember, the key to a successful Mod Podge wood project is patience and attention to detail. Don’t rush the process take your time to apply thin layers, let them dry completely, and add extra layers for durability.
So, whether you’re crafting a rustic sign or refurbishing a piece of furniture, Mod Podge is the versatile tool you need to bring your wood projects to life. Try out these tips on your next project, and share your results I’d love to see what you create!
FAQs: Answering Your Burning Questions
Q1: Can Mod Podge be used on wood furniture?
Yes! Mod Podge is a great choice for wood furniture projects. Just make sure to use the right formula, like Mod Podge Furniture or Outdoor, for durability.
Q2: Can I use Mod Podge to seal wood after staining it?
Absolutely! Mod Podge works as an excellent sealer for stained wood. Apply it after the stain has dried to protect the color and finish.
Q3: How do I remove Mod Podge from wood if I make a mistake?
If you need to remove Mod Podge from wood, simply dampen a cloth and gently rub the area until the Mod Podge lifts off. For stubborn spots, use a bit of sandpaper.
Q4: Can I use Mod Podge for outdoor wood projects?
Yes, for outdoor projects, make sure to choose Mod Podge Outdoor. It’s designed to withstand the elements and will give your project lasting durability.
Q5: Does Mod Podge make wood waterproof?
While Mod Podge provides some water resistance, it is not fully waterproof. If your project will be exposed to heavy moisture, consider using a more durable, waterproof sealant.