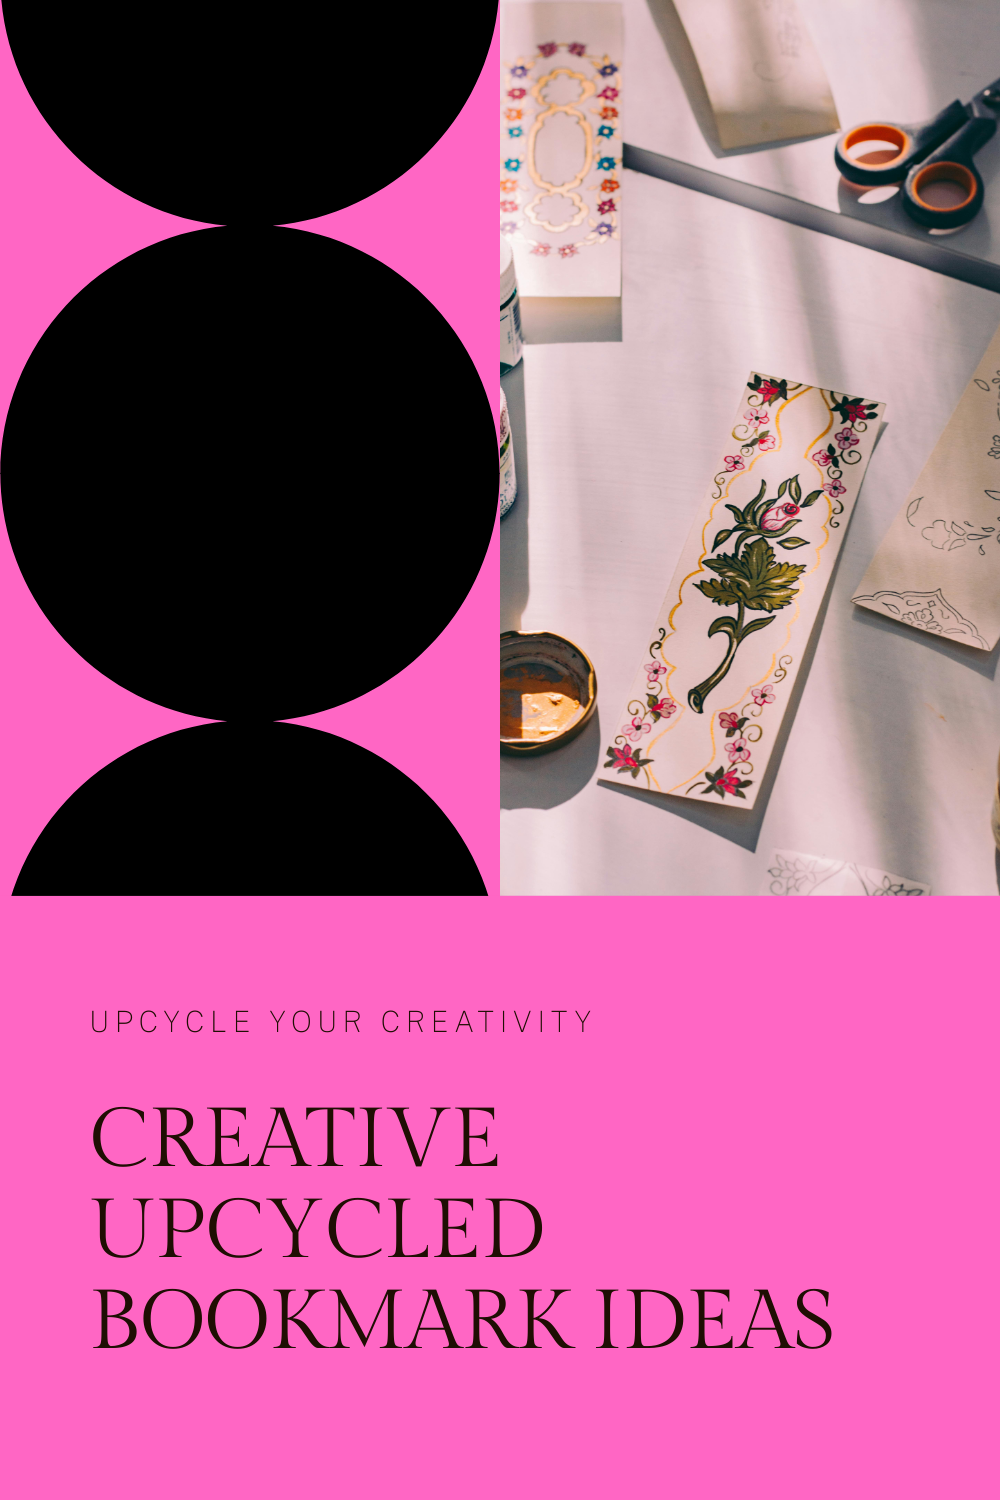
Cardboard Upcycled Bookmarks Ideas You’ll Adore
4 Steps to Create Upcycled Bookmarks with Cardboard
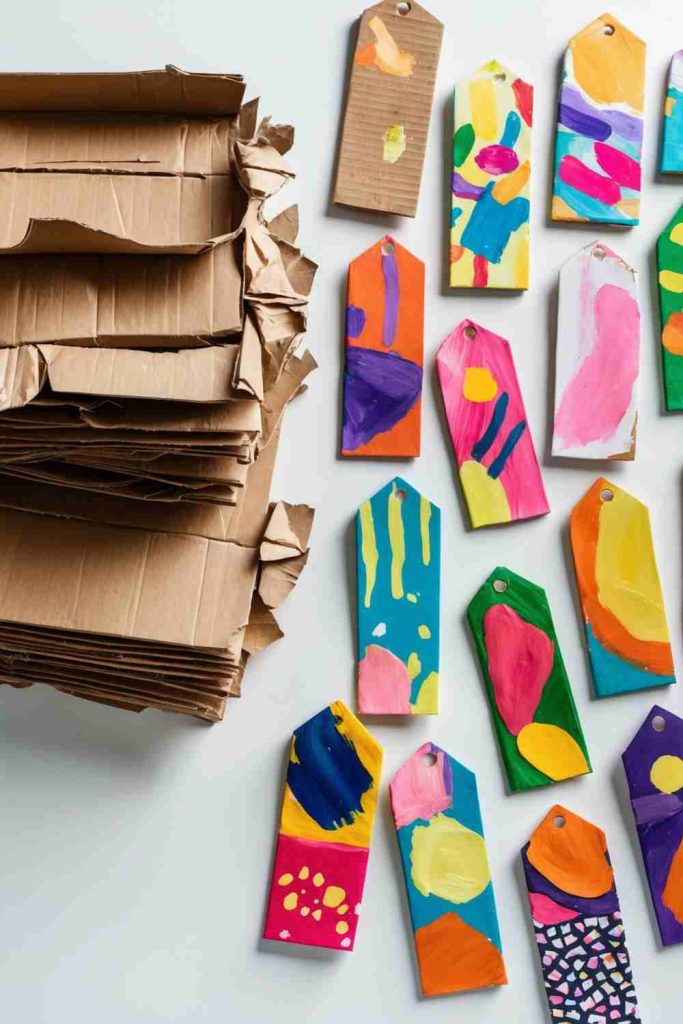
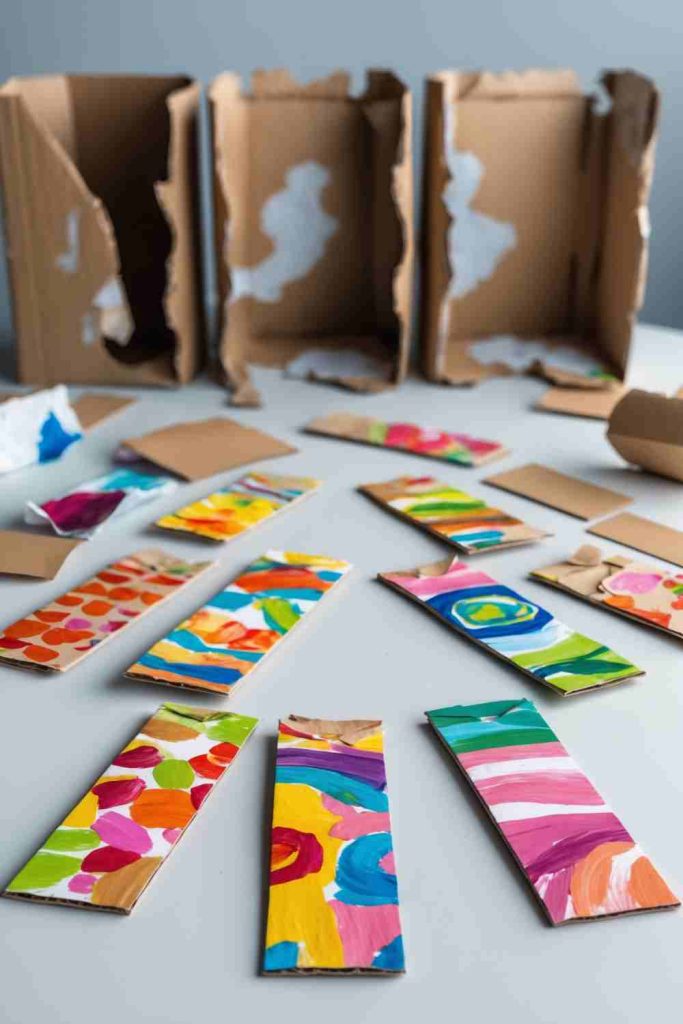
- Prepare Your Cardboard
Cut sturdy cardboard into bookmark-sized pieces. Rectangles work best, but feel free to try fun shapes like hearts or leaves for variety. - Decorate Your Base
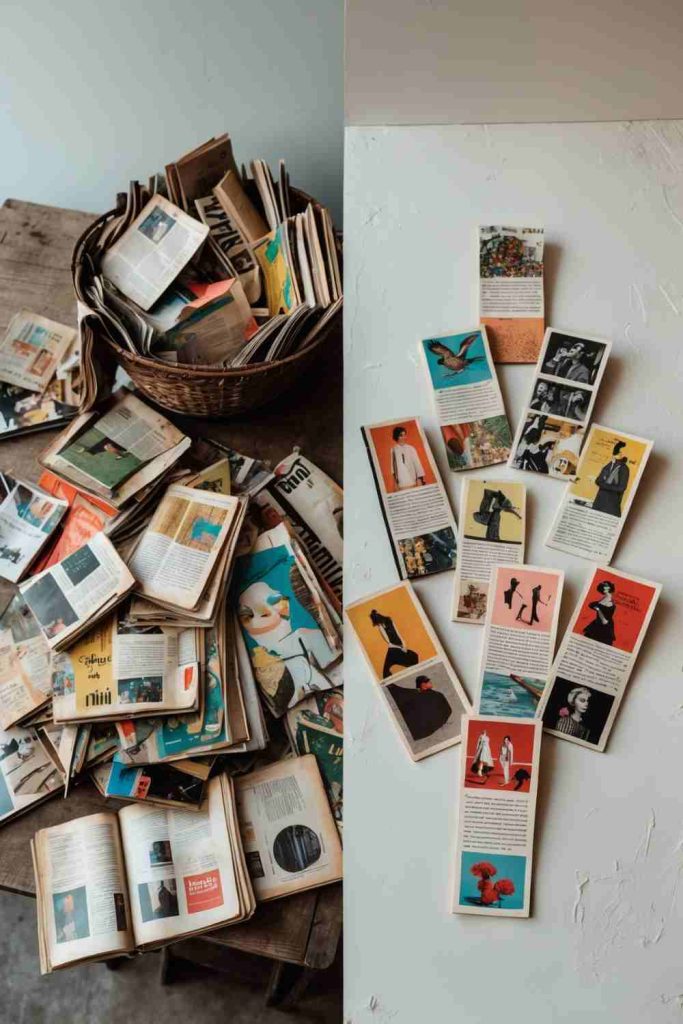
Paint your cardboard in bright colors or patterns. Use acrylic paints, markers, or even magazine clippings for a collage effect. Add stickers or doodles for extra flair! - Personalize with Details
Write your favorite quote, add pressed flowers, or glue on fabric scraps for a textured look. Mix and match materials to create layered designs. - Seal and Add a Tassel
Cover your bookmark with clear tape or laminate it for durability. Punch a hole at the top and attach a string, ribbon, or tassel to finish your masterpiece!
Chic Upcycled Bookmarks Ideas for Creative Readers
4 Steps to Create Upcycled Bookmarks
- Select Your Base
Gather materials like old playing cards, cereal boxes, fabric scraps, or even glossy magazine sheets. These will form the base of your bookmark. - Shape and Size
Snip your chosen material into rectangular or artistic bookmark shapes. You can play around with curvy edges or fun designs for a custom feel. - Personalize with Details
Add flair with doodles, quotes, stickers, or pressed flowers. Highlight texture by layering fabric or ribbons for a premium touch. - Protect and Finish
Laminate with clear tape or coat with Mod Podge to enhance durability. Add a tassel or bead at the top for an eye-catching finish!
Craft Beautiful Upcycled Bookmarks Ideas with Ease
4 Steps to Create Upcycled Bookmarks
- Find Materials to Repurpose
Hunt for unused paper scraps, fabric offcuts, old cards, or sturdy packaging materials. These provide a great base for your bookmarks. - Cut Out Your Shapes
Use scissors or a craft knife to trim your materials into bookmark shapes. Rectangular designs work best, but feel free to get creative with stars, hearts, or other unique shapes. - Get Creative with Decoration
Add character with hand-drawn designs, fun stickers, pressed flowers, or even stitched patterns. Experiment to make your bookmark truly yours! - Reinforce and Finish Off
Apply clear tape to protect the surface or glue your creations onto a thicker backing for strength. Punch a small hole to add a ribbon or tassel for extra style.
Upcycled Bookmarks Ideas to Spark Your Creativity
4 Steps to Create Upcycled Bookmarks
- Collect Scrap Materials
Gather items like old postcards, wrapping paper, fabric pieces, or leftover cardboard boxes. These will serve as the canvas for your bookmark designs. - Cut and Shape
Trim the materials into your desired bookmark shapes—classic rectangles or something funky like clouds or animals. Play with creativity to reflect your personality! - Decorate and Embellish
Add your personal touch with things like washi tape, stickers, doodles, pressed flowers, or handwritten quotes. Mix and match materials for fun textures or a layered look. - Seal and Finish
Use clear tape or glue for durability. You can also add a fun tassel or loop a string through for a polished final touch!
Upcycled Bookmarks Ideas You’ll Love to DIY
4 Steps to Create Upcycled Bookmarks
- Gather Your Supplies
Collect paper scraps, cereal boxes, old greeting cards, or fabric pieces. Any sturdy material works great as the base for your bookmark. - Trim to Shape
Cut your materials into bookmark sizes and shapes. A standard rectangle is timeless, but don’t hesitate to experiment with other fun shapes like leaves or geometric designs. - Decorate Your Bookmark
Add stickers, stamps, hand-drawn art, or small embellishments like buttons or lace. You can also glue on pressed flowers or even write inspiring quotes. - Seal and Add a Finishing Touch
Cover your design in clear tape or laminate for durability. Punch a hole at the top and thread a colorful ribbon or twine for a charming tassel.
DIY Upcycled Bookmarks Ideas for a Greener Touch
4 Steps to Create Upcycled Bookmarks
- Choose Your Materials
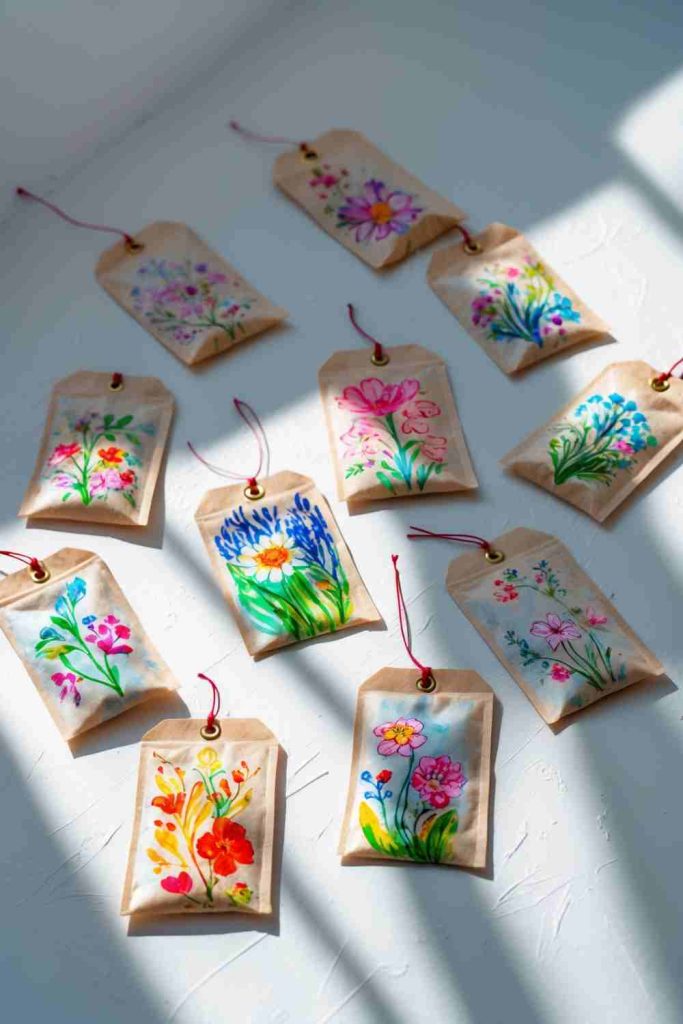
Collect anything from old paper bags, vintage postcards, fabric remnants, or cereal boxes as the base of your bookmark. - Cut into Desired Shapes
Snip your materials into simple rectangles or play with unique shapes like flowers, animals, or abstract forms for added personality. - Decorate to Impress
Bring your bookmark to life with stamps, pressed flowers, colorful doodles, washi tape, or inspiring quotes. Layer materials for a textured look! - Protect and Add Finishing Touches
Cover your design in clear tape or Mod Podge for durability. Add a ribbon, bead, or tassel at the top to make it gift-worthy and eye-catching!
Upcycled Bookmarks Ideas Made Easy and Fun

4 Steps to Create Upcycled Bookmarks
- Gather Materials
Use an old pair of denim jeans or other scrap fabric. Collect buttons, lace, or ribbons to add flair. - Cut and Shape Your Denim
Trim the denim into bookmark-sized strips. Keep the edges frayed for a rustic look or hem them for a polished style. - Add Embellishments
Sew buttons along the length for added texture. Attach lace trim, brightly colored stitching, or even small fabric patches to personalize your design. - Seal and Finish
For added durability and style, add a backing material or keep it simple. Punch a small hole at the top to thread a ribbon or tassel for easy use.
Upcycled Bookmarks Ideas with Stunning Floral Cards
4 Steps to Create Upcycled Bookmarks with Floral Cards
- Collect and Prep Your Cards
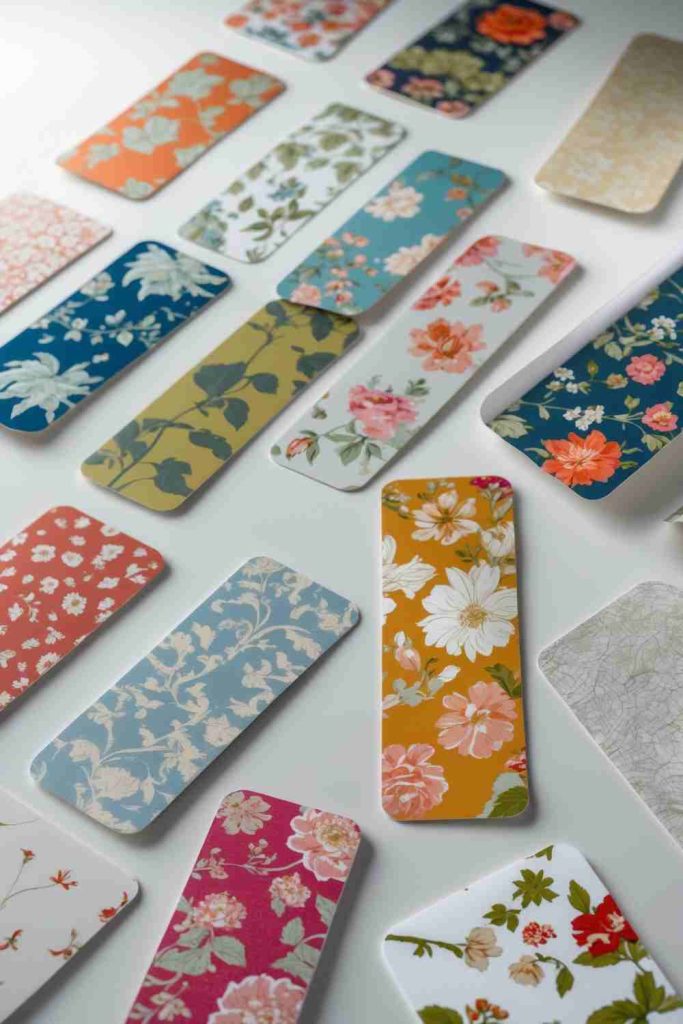
Find unused or discarded floral-patterned cards. Trim them into bookmark-sized rectangles or experiment with creative shapes like arches or tags. - Add Decorative Elements
Use glitter pens, stickers, or corner punches to enhance the floral design. Write an inspiring word or quote to personalize your bookmark. - Seal for Durability
Cover the bookmark with clear packing tape or laminate for a smooth, long-lasting finish. This also makes it resilient against wear and tear. - Punch and Accessorize
Punch a hole at the top and add a tassel, yarn bow, or colorful ribbon to make your bookmark elegant and easy to use.
Upcycled Bookmarks Ideas Using Colorful Ribbons
4 Steps to Create Upcycled Bookmarks with Ribbons
- Gather Ribbons and Supplies
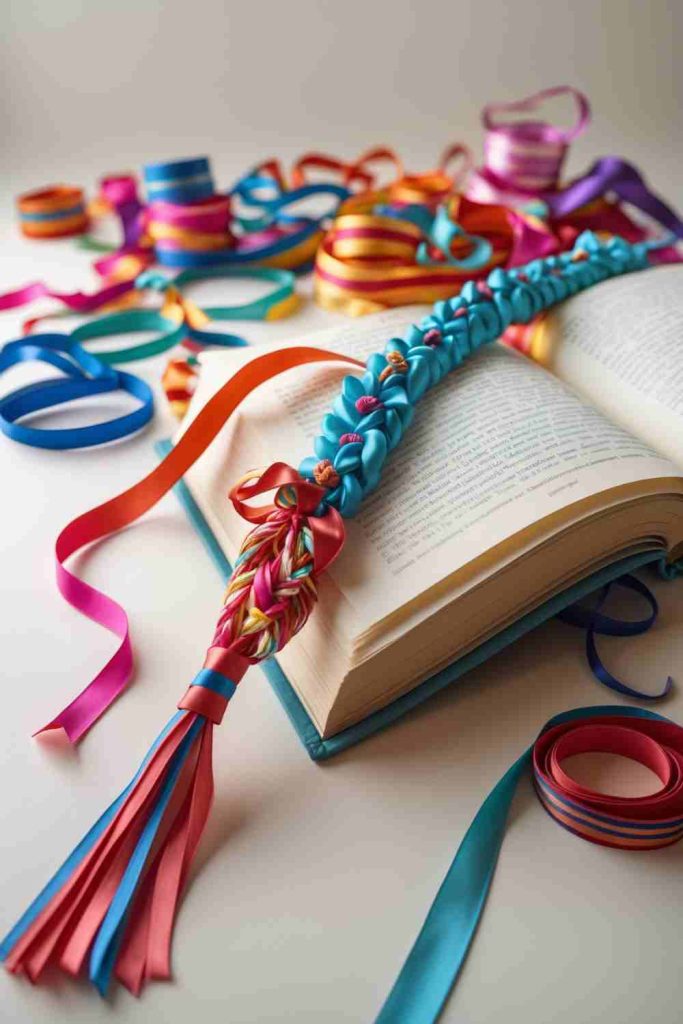
Collect vibrant ribbons of different colors and widths. You’ll also need scissors, glue, and optional accessories like beads or small charms. - Cut and Arrange
Trim your ribbons to desired lengths. For added texture, layer different ribbons or braid them together for a unique look. - Decorate Your Ribbons
Attach beads, charms, or small tassels to one end of your ribbon. Experiment with tying knots or weaving in decorative threads to make the bookmark truly special. - Attach Securely: To keep your bookmark sturdy, seal the ends with glue or add metal ribbon clamps. Clip or tie your finished ribbon bookmark to your favorite book and enjoy!
Upcycled Bookmarks Ideas with Embossed Floral Designs You’ll Love

4 Steps to Create Upcycled Bookmarks with Embossed Floral Designs
- Choose Your Material
Find sturdy paper, old greeting cards, or any material with embossed floral patterns. Cut them into bookmark-sized shapes, such as rectangles or curved edges. - Enhance the Design
Add color to the embossed patterns using metallic paints, pearl markers, or ink pads. This will bring out the texture and add a pop of vibrancy. - Personalize the Bookmark
Adorn your piece with details like a hand-drawn quote, sequins, or pressed flowers. For a vintage touch, distress the edges with ink or paint. - Finish and Accessorize
Seal the design with a protective coat like clear sealing spray or laminate for durability. Punch a small hole at the top and thread a string or ribbon loop to complete your customized bookmark.
Upcycled Bookmarks Ideas Using Leather Scraps for a Rustic Touch
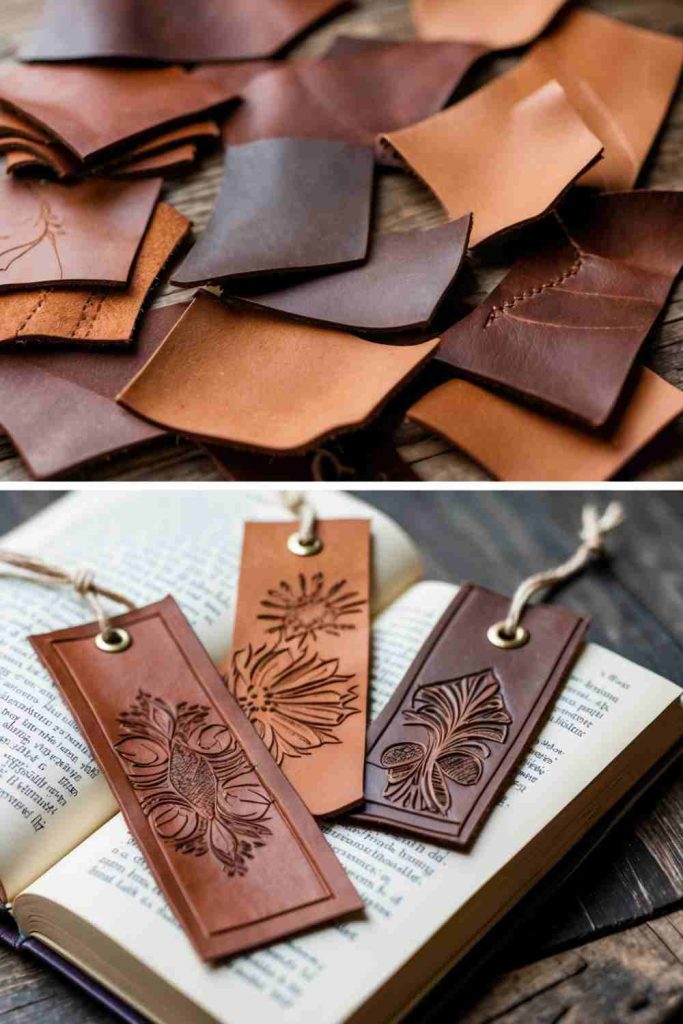
4 Steps to Create Upcycled Bookmarks with Leather Scraps
- Gather Leather Scraps
Collect pieces of leather in various shades. Choose sturdy and soft scraps for flexibility, and trim them into bookmark-sized rectangles or shapes of your choice. - Create Embossed Patterns
Use an embossing tool or stamps to press floral or geometric patterns onto the leather. For added contrast, highlight the designs with leather-safe metallic or acrylic paint. - Punch and Design
Punch a small hole at the top of each bookmark and insert a grommet. Thread a string, rustic twine, or decorative ribbon through the hole to add a functional and stylish finish. - Seal for Longevity
Apply a leather conditioner or clear sealant to preserve the texture and protect the bookmark. Allow to dry before using in your favorite book!
Upcycled Bookmarks Ideas with Vintage Map Pages for Travel Lovers
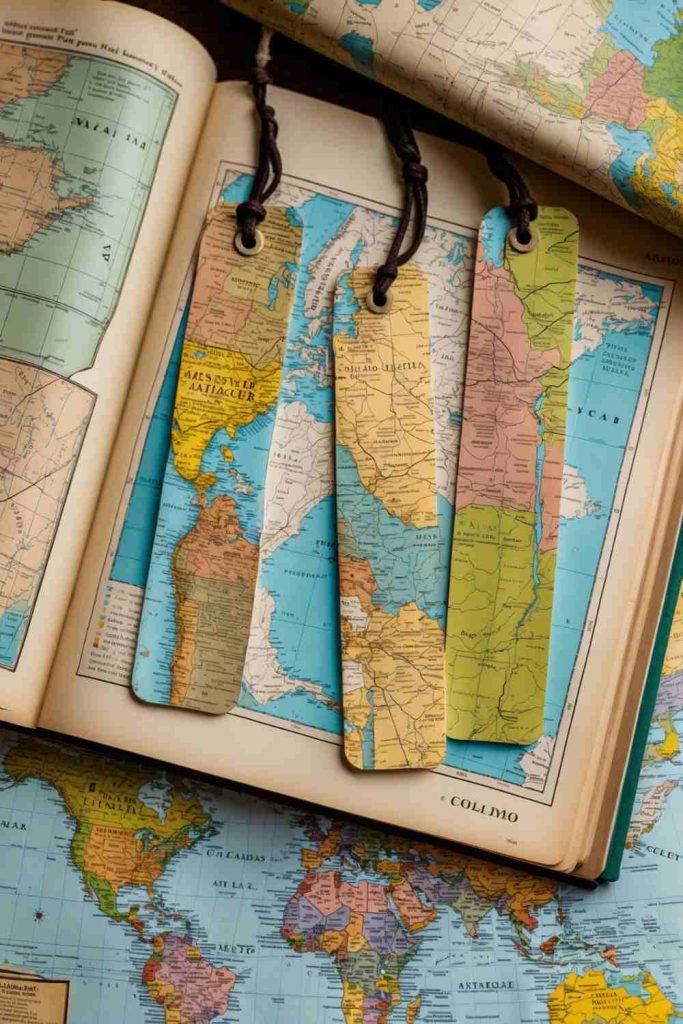
4 Steps to Create Upcycled Bookmarks with Vintage Map Pages
- Select and Cut Your Maps
Choose interesting or colorful sections from vintage map pages. Use scissors or a craft knife to cut them into bookmark-sized rectangles. - Add Durability
Back the map pieces with sturdy cardstock or laminate them for extra strength. This ensures they’ll last through plenty of reading adventures. - Personalize the Design
Punch a hole at the top of each bookmark and thread a string, ribbon, or twine. Consider adding a charm or bead for a creative finishing touch. - Seal for Protection: Apply a layer of mod podge or clear sealant to protect the map design and prevent wear and tear. Allow them to dry completely before use.
Upcycled Bookmarks Ideas Using Old Calendar Pages
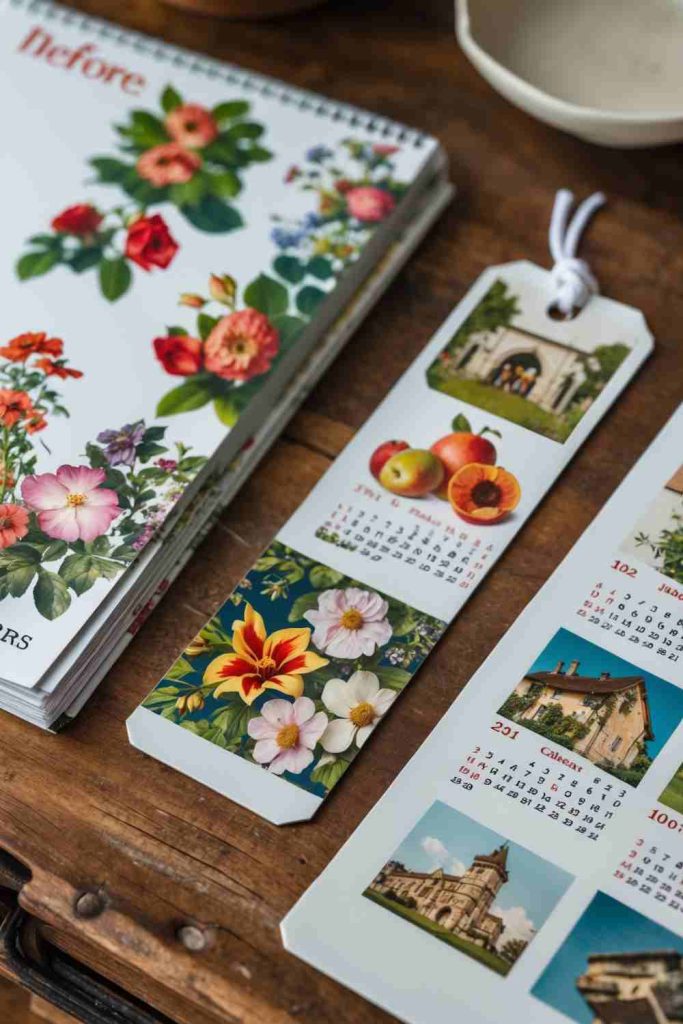
4 Steps to Create Upcycled Bookmarks with Old Calendar Pages
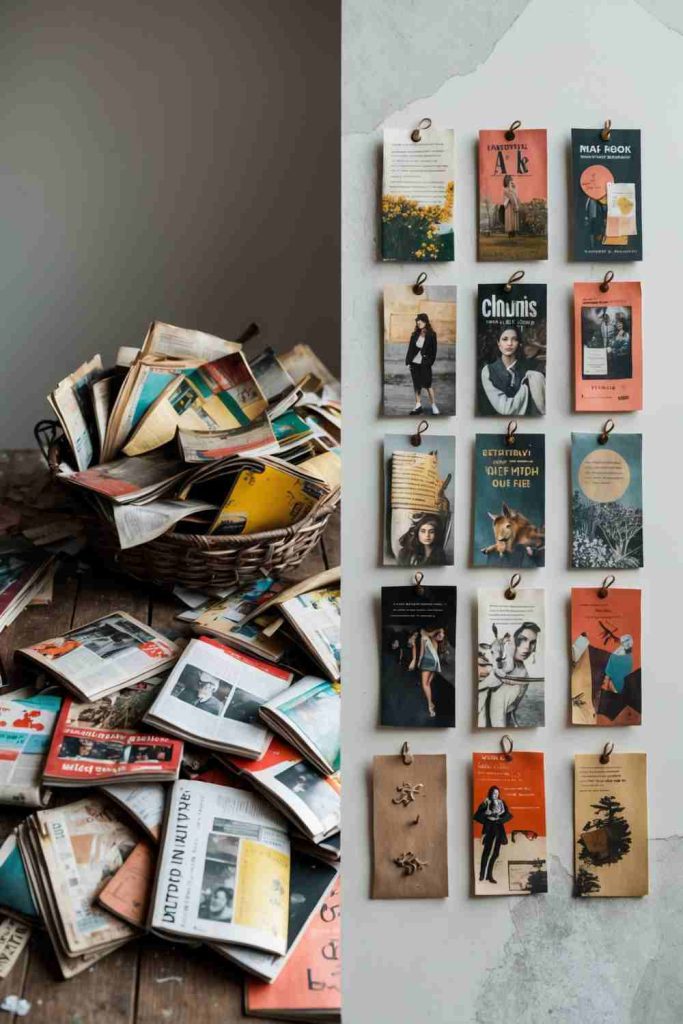
- Select Your Favorite Images
Pick visually interesting sections from outdated calendar pages, like floral designs or scenic photos. Cut them into rectangle-sized bookmarks. - Add Support
Glue your cutouts onto sturdy cardstock or laminate them for extra durability. This ensures they’ll last through your reading adventures. - Personalize Your Bookmark
Punch a hole at the top and add a string, ribbon, or even a tassel. You can also decorate with stickers, quotes, or glitter for a unique touch. - Seal and Protect
Apply a thin layer of mod podge or clear sealant to protect your creation from wear and tear. Allow it to dry completely before using.