Have you ever stared at your door and thought, “This could use a fresh coat of paint”? A door is more than just an entry point it’s often the first thing visitors notice when they enter your home.
But getting that sleek, smooth finish on your door isn’t just about choosing the right color. The type of paintbrush you use can make a world of difference.
In this post, I’ll walk you through everything you need to know about choosing the best paintbrush for doors.
From brush types to techniques, we’ll dive into the nitty-gritty of achieving that flawless finish. Whether you’re painting wooden doors, metal doors, or even PVC, this guide is designed to help you pick the perfect tool for the job.
| Product Image | Product Name | Features | Price |
|---|---|---|---|
 |
Wooster Brush Q3211-2 Shortcut Angle Sash Paintbrush | Flexible Shergrip Handle Dual-Fiber Bristles Brass-Plated Steel Ferrule Brush Thickness |
Check Price |
 |
Chalk Paint Brushes Set, Pack of 2 Wax Brush | Dual Brush Sizes for Versatility Premium Natural Bristles Multi-Medium Compatibility Rust-resistant and securely crimped to prevent shedding |
Check Price |
 |
Pro Grade Paint Roller Kit, Brush & Roller, | Paint Brushes for Walls & Detail Work 9-Inch Paint Rollers Durable materials allow for multiple uses |
Check Price |
 |
Mister Rui Foam Paint Roller | Includes 5 high-density foam roller covers Designed for smooth, even finishes on flat surfaces Works with water-based and oil-based paints |
Check Price |
 |
U.S. Art Supply 3 Pack of Variety Size Synthetic Bristle Paint | Includes 1-inch, 2-inch, and 3-inch wide brushes Designed for a smoother finish Comfortable grip with a natural finish |
Check Price |
 |
Richard 80833 Goose Neck Angular Paint Brush | 2.5-Inch Brush Width Flagged Synthetic Bristles Angled Filaments for Accuracy Handle bends to any shape Works with latex and oil-based paints |
Check Price |
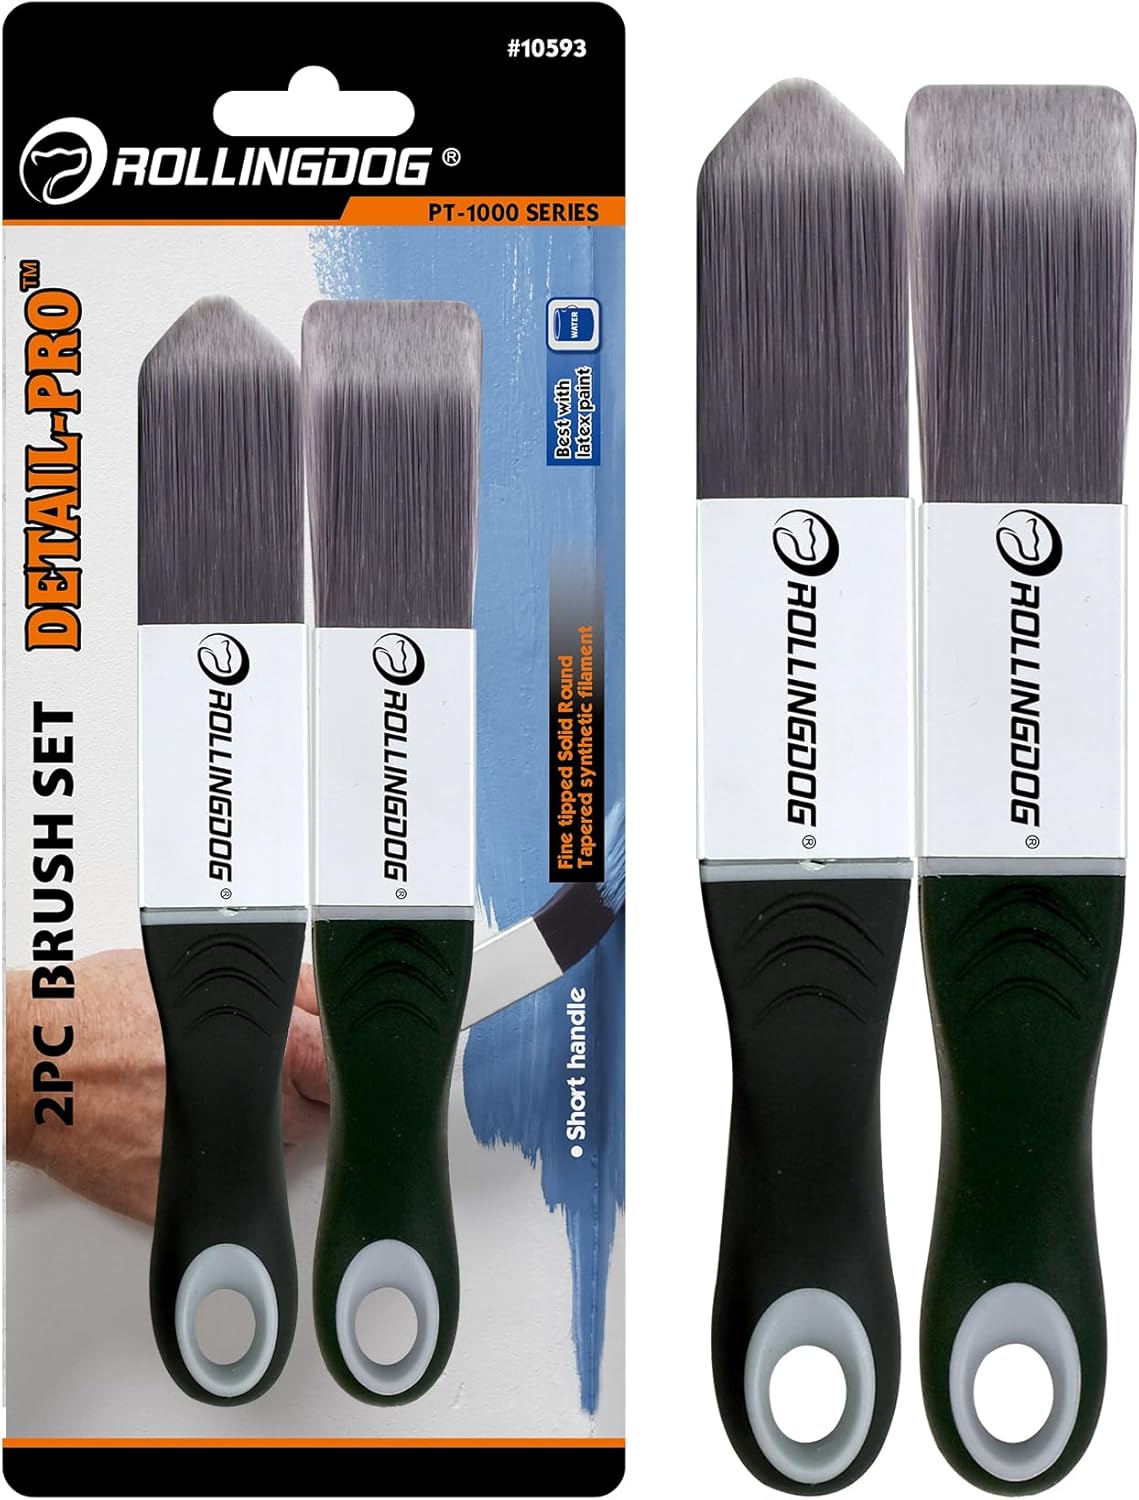 |
ROLLINGDOG Paint Brush | Solid Round Tapered Filaments Durable, rust-resistant ferrules Perfect for edging around doors Works well with latex, oil-based, and specialty paints |
Check Price |
 |
Paint Roller -Small Paint Tray Set with High-Density Foam Mini Roller | Complete 12-Piece Kit 4-Inch Roller Width Professional & Domestic Use Sturdy Roller Frame |
Check Price |
 |
PinStone 3 Pack Professional Paint Brushes Set | Versatile Size Assortment Premium Synthetic Bristles Pressure-Relief Rubber Handles Stainless Steel Ferrules Nail-free design for easy cleaning |
Check Price |
What to Look for in a Paint Brush for Doors
Before we dive into the specifics of the best paintbrushes for doors, let’s talk about some basic factors to consider when picking out a brush.
Brush Type and Shape:
- Flat vs. Angled: Flat brushes are great for larger, flat surfaces like panels, while angled brushes allow you to reach corners and edges with precision.
- Bristle Type: Natural bristles (like hog hair) are great for oil-based paints, while synthetic brushes (nylon or polyester) work best for water-based paints.
- Bristle Density: A denser brush gives you more control and helps you avoid visible brush strokes.
Handle Length:
- A longer handle helps you reach high places, while a short handle offers more control for close-up work.
Material Compatibility:
- Wooden Doors: Synthetic bristles are often the go-to choice for a smooth, even coat on wood.
- Metal Doors: Look for a stiff brush with natural bristles to avoid streaks or uneven texture.
- PVC Doors: Synthetic bristles will also work here, especially with water-based paints.
Types of Paint Brushes for Doors
Not all paintbrushes are created equal, so understanding the different types will help you choose the best one for your project. Let’s break it down:
Flat Paint Brushes:
Best for: Large, flat surfaces like door panels.
Flat brushes are the most common type of brush, and they’re perfect for covering broad areas like the flat surface of a door. Their wide bristles allow you to apply a lot of paint in one stroke, saving you time.
Angled Paint Brushes:
Best for: Edges, corners, and trim.
Angled brushes are ideal for areas that require more precision, like the door frame or the edges where the door meets the trim. The angled bristles allow you to apply paint without getting it on the surrounding surfaces, providing a clean, sharp line.
Round Paint Brushes:
Best for: Detail work and tight spaces.
Round brushes are smaller in size and are typically used for fine detailing or getting into the nooks and crannies of your door’s design. While they aren’t ideal for covering large areas, they can be invaluable when painting intricate parts of the door.
Purdy vs. Wooster: A Brush Battle
Both Purdy and Wooster are some of the most popular and trusted brands in the painting industry. So, what’s the difference?
Purdy brushes are well-known for their smooth finish and great coverage, while Wooster offers more variety in handle lengths and bristle types. In the end, your choice depends on your personal preference.
Choosing the Right Paintbrush for the Job
Now that you know the types of brushes available, let’s talk about how to choose the right one for your door. Different doors require different brushes based on the material and the type of paint you’ll be using.
| Door Material | Ideal Brush Type | Recommended Bristles |
| Wooden Doors | Flat or Angled | Synthetic bristles for a smooth finish with water-based paints |
| Metal Doors | Flat | Stiff, natural bristles for oil-based paints |
| PVC Doors | Angled | Synthetic bristles for even coating with water-based paints |
For Wooden Doors:
Wood is the most common material for doors, and it’s one of the easiest to paint, but it can show brush strokes if not painted properly.
I recommend using a flat or angled brush with synthetic bristles to ensure a smooth finish. Synthetic brushes are best because they hold more paint and distribute it evenly.
If you’re using oil-based paint, you can go with natural bristles, but for water-based paints, synthetic is the way to go.
For Metal Doors:
Metal doors require a stiffer bristle brush, especially if you’re using an oil-based paint, which tends to be thicker.
A flat brush with natural bristles is perfect for getting into the grooves of metal doors without leaving streaks. Ensure the bristles are stiff enough to handle the thick consistency of oil-based paints.
For PVC Doors:
PVC doors are quite different from wood or metal, but you’ll still want an angled synthetic brush for better control.
Synthetic bristles work great for this material because they help distribute water-based paints evenly and give you a clean, smooth finish.
Step-by-Step Instructions for Painting Your Door
To achieve that perfect, professional-looking finish, follow these simple steps:
- Prepare Your Surface
Start by cleaning your door thoroughly. Remove any dirt, dust, and grease using a mild detergent and water. Allow the door to dry completely before beginning your painting project. - Choose the Right Paint
The type of paint you use plays a huge role in the final result. For wooden doors, I recommend using a satin or semi-gloss finish for a smooth, durable look. For metal doors, an oil-based paint will provide extra durability, while PVC doors work best with a water-based paint. - Select Your Brush
Based on the material of your door (refer to the table above), select the appropriate brush. For instance, choose a flat synthetic brush for wooden doors or an angled brush for getting clean edges. - Start Painting
Begin with the edges of the door, especially around the frame and the door handles, using the angled brush. This will help you avoid getting paint on areas you don’t want to cover. Once the edges are done, switch to the flat brush and work on the panels. - Use Smooth, Even Strokes
When painting the flat surfaces of the door, use long, even strokes to avoid streaks or visible brush marks. Always paint in the direction of the wood grain for wooden doors, or in straight lines for metal doors. - Let It Dry
Allow your first coat to dry completely before applying a second coat. Most doors will need two coats for a professional finish. If you’re painting over a darker color, you might need an extra coat to achieve the desired look. - Touch Up Any Mistakes
After the final coat, inspect your door for any missed spots or uneven coverage. Use a small brush to touch up these areas.
Common Mistakes to Avoid When Painting Doors
Painting a door might seem simple, but there are a few common mistakes that could affect the outcome of your project:
- Not Choosing the Right Brush for the Material
Using the wrong brush for your door material can result in streaks, uneven paint application, and wasted time. Be sure to select the appropriate brush based on the material of your door. - Skipping the Primer
A good primer can make a huge difference in how the paint adheres to your door. Skip this step, and your paint may not last as long or may peel off more easily. - Not Sanding the Surface First
If your door has any imperfections or rough patches, sanding is essential. Failing to sand before you paint can leave the door looking bumpy and uneven. - Overloading Your Brush with Paint
Overloading your brush will cause drips and uneven paint coverage. Dip your brush into the paint and gently tap off the excess to avoid this issue. - Not Letting the Paint Dry Fully Between Coats
If you don’t wait long enough for the paint to dry before applying a second coat, you’ll risk smudging or streaking the paint. Always give each coat time to dry thoroughly.
Conclusion: Achieving a Flawless Finish on Your Door
Choosing the right paintbrush is crucial for achieving a smooth, flawless finish on your door. By following the guidelines I’ve provided, you’ll not only select the perfect brush for the material but also improve your painting technique.
Whether you’re using a flat, angled, or round brush, the key is to pick one that matches the door’s material and your paint type.
Remember, patience is key when it comes to painting, and with the right tools and technique, your door will look as good as new in no time.
Now that you’ve got the best tips for painting doors, it’s your turn to give it a try! Do you have any favorite paintbrush brands or techniques?
Share your experience in the comments below. If you found this guide helpful, don’t forget to share it with others who are looking to spruce up their doors!
FAQs
1. Can I use a roller instead of a paintbrush for doors?
While rollers are good for large, flat surfaces, a paintbrush offers more control for the edges and details of a door. It’s better to use a brush for the entire door if you want a professional finish.
2. How do I clean my paintbrush after use?
To clean your brush, use warm water and soap for water-based paints or mineral spirits for oil-based paints. Gently rinse and reshape the bristles before laying the brush flat to dry.
3. Should I use a primer on my door before painting?
Yes! A primer will help the paint adhere better and provide a more even finish. It’s especially important for new wooden doors or when painting over a dark color.
4. How many coats of paint should I apply to my door?
Two coats are usually sufficient for most doors, but if you’re painting over a dark color or using a lighter shade, you might need three coats for full coverage.
5. Can I paint my door in cold weather?
It’s best to paint doors in mild weather conditions, ideally between 50°F and 85°F (10°C to 29°C). Cold temperatures can cause the paint to dry too slowly or even affect the finish.