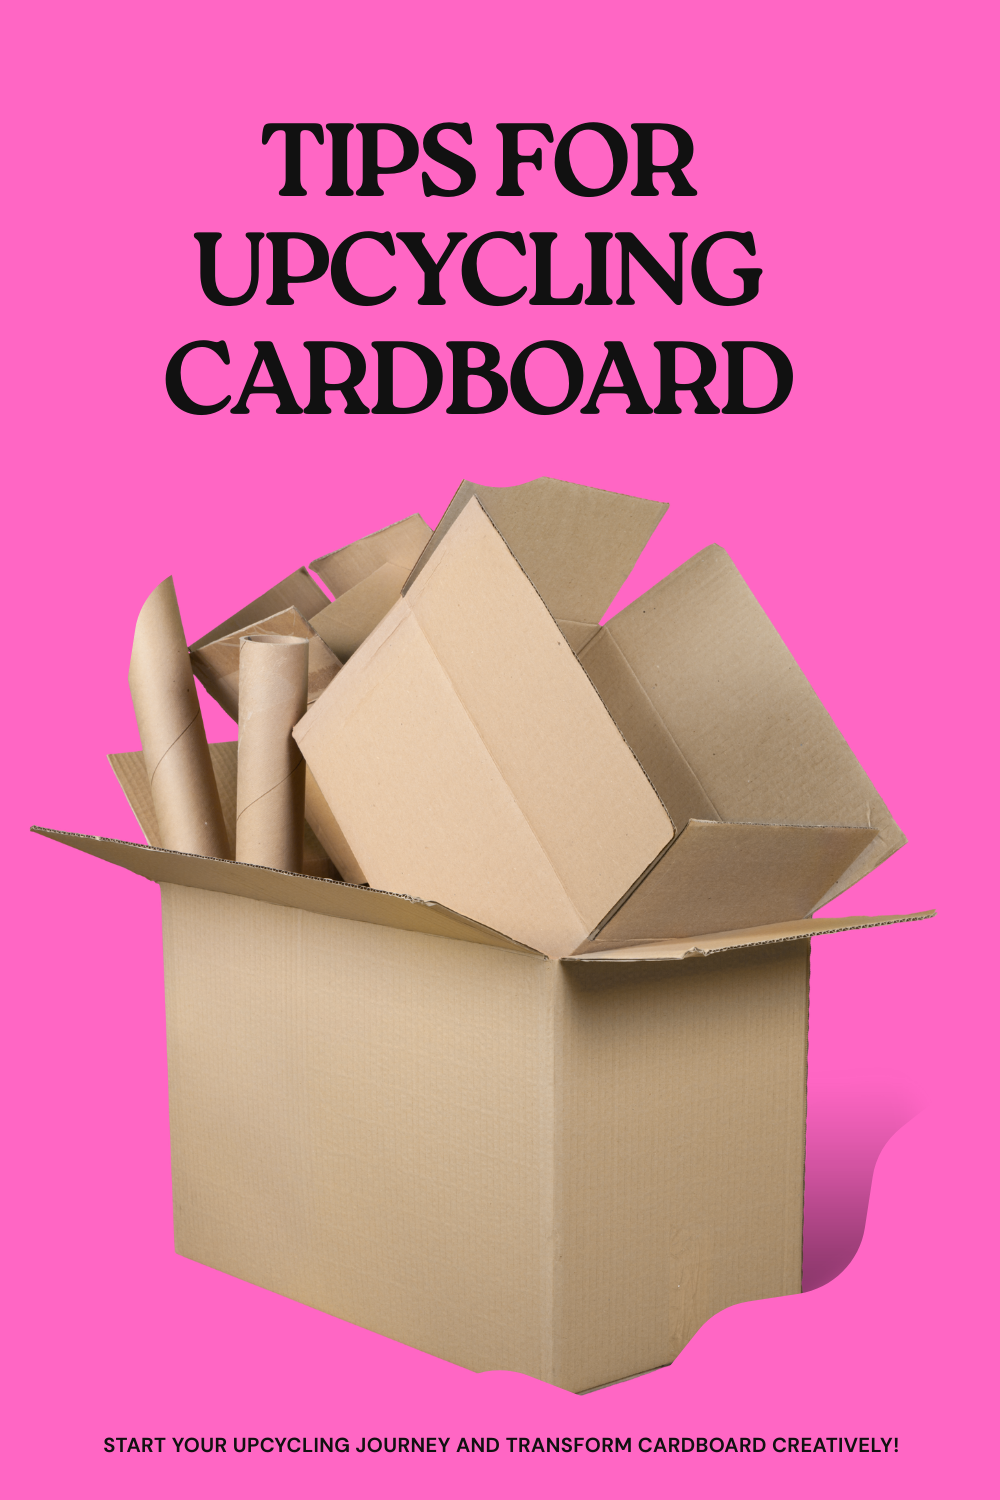
Cardboard is everywhere—from the boxes that deliver your online orders to the packaging lining supermarket shelves.
While it’s great to know that cardboard is recyclable, did you know it can also be upcycled into incredible DIY creations?
By repurposing cardboard, you’re not only reducing waste but also fueling your creative instincts. This post dives into everything you need to know about upcycling cardboard, from basic tools to advanced project ideas.
Buckle up, eco-warriors and craft lovers—your next masterpiece may be just a cardboard box away.
The Environmental Impact of Cardboard Waste
Every year, millions of tons of cardboard waste end up in landfills despite its recyclable nature. While recycling plays a role in managing waste, it requires energy and water.
Upcycling, on the other hand, gives cardboard a second life without the added environmental footprint. By upcycling, you can turn trash into treasure and contribute to reducing waste—a win for both the planet and your creativity.
Basic Tools and Materials for Upcycling Cardboard
Before you get started, you’ll need a few essential tools and materials to work your cardboard magic. Here’s a quick checklist to prepare your DIY station:
Tools:
Utility knife or craft knife: A sharp blade is essential for clean cuts.
Metal ruler: Use this to ensure straight cuts and precise measurements.
Cutting mat: Protect your surfaces with a cutting mat for neat and safe crafting.
Hot glue gun: Perfect for securing cardboard pieces quickly and sturdily.
Brushes: Use foam or standard brushes for painting and decorating.
Materials:
Cardboard boxes: Gather a variety of sizes; thicker cardboard works well for furniture, while thinner ones are great for decorations.
Paints and markers: Acrylic paint, spray paint, and permanent markers add color and creativity.
Decorative paper and fabric scraps: Great for crafting colorful accents.
Mod Podge or sealants: Essential for finishing touches that make your project durable.
By having the right tools and materials on hand, you’ll make the entire crafting process smoother and more enjoyable.
Creative Projects for Beginners
Not sure where to start? Try easing into upcycling with simple, fun projects that require minimal effort but deliver maximum satisfaction. Here are some beginner-friendly ideas:
1. Desk and Drawer Organizers
Need a home for your office supplies or makeup brushes? Create organizers by cutting and folding cardboard into compartments. Decorate with washi tape or patterned paper for a personal touch.
2. Kids’ Toys
Cardboard is a fantastic material for kids’ playthings. Make mini dollhouses, play kitchens, or even a cardboard castle. These creations are affordable, customizable, and easy to replace if damaged.
3. Home Decorations
Bring personality to your space with DIY cardboard decorations. You can craft photo frames, wall art, or even light fixtures. Cardboard can be layered to create stunning textures and designs.
Projects like these are perfect for unleashing your creativity while practicing the basics of cutting, folding, and glueing.
Advanced Projects for the Daring Crafter
Feeling ambitious? Take your upcycling skills to the next level with these advanced cardboard projects:
1. Furniture
Yes, you read that correctly cardboard furniture is a real thing! Use thick corrugated cardboard to craft stools, shelves, or even coffee tables. When layered and reinforced properly, cardboard furniture is surprisingly durable. Plus, it’s lightweight and eco-friendly.
2. Art Installations
Cardboard offers endless possibilities for large-scale art projects. Create stunning sculptures, intricate 3D wall art, or even a room divider with a bold geometric design. Perfect for making a statement while showcasing your artistic flair.
3. Storage Solutions
Build stackable storage boxes or custom shelving units for your home. These functional creations will help declutter your space while keeping your upcycled theme consistent.
Advanced projects might take more time and patience, but the end results are worth the effort. Plus, they make fantastic conversation starters.
Tips for Painting, Decorating, and Reinforcing Cardboard
Whether you’re working on a simple organizer or a large art piece, the way you decorate and reinforce your cardboard project can make all the difference. Here are some pro tips:
Painting:
Prime your surface: Apply a base coat of white acrylic paint to allow colors to pop.
Use a sealant: Protect painted surfaces from water exposure and wear.
Experiment with textures: Use sponges or brushes to create unique paint textures.
Decorating:
- Add patterns with stencils or stamps for a polished look.
- Layer decorative paper, fabric scraps, or even magazine cutouts for a collage effect.
Reinforcing:
Laminate layers of cardboard: Glue multiple layers together to increase strength.
Add beams or braces: For furniture or large structures, add cardboard strips as braces.
Seal with Mod Podge or varnish for extra durability.
With proper techniques, your cardboard creations will not only look amazing but also last a long time.
Start Your Cardboard Upcycling Journey Today
Cardboard upcycling is more than a craft—it’s a creative, eco-conscious way to minimize waste and make something meaningful. Whether you’re crafting simple organizers or constructing elaborate furniture, you’re contributing to a greener planet while unleashing your inner DIY star.
Looking for more inspiration? If you’re ready to kickstart your upcycling adventures but need some guidance, don’t hesitate to connect with like-minded eco-crafters and DIY enthusiasts in online communities or workshops.
Grab a box, gather your tools, and start turning waste into wonder. Your next great creation is right at your fingertips.