Have you ever looked at your old laminate furniture and thought, “I wish I could just make it look fresh again”? Maybe it’s an old coffee table, a worn-out kitchen cabinet, or even a vintage bookshelf.
We’ve all been there, wondering if there’s a way to restore the shine without breaking the bank. If you’re tired of staring at scratches, chips, and dull surfaces, you’re not alone.
Refurbishing laminate furniture can be one of the most satisfying DIY projects you’ll ever tackle.
Not only does it breathe new life into your existing pieces, but it also saves you money and helps you reduce waste.
If you’re ready to transform your laminate furniture into a statement piece, this step-by-step guide will show you how.
In this blog post, I’ll walk you through the process of refurbishing laminate furniture, provide you with helpful tips, and share some common mistakes to avoid.
Whether you’re a beginner or a seasoned DIY enthusiast, you’ll find everything you need to know right here.
Assessing the Condition of Your Laminate Furniture
Before diving into the refurbishing process, it’s important to take a good look at the condition of the laminate furniture you plan to work on.
You’ll need to determine whether the surface requires just a fresh coat of paint or a complete makeover. Here are the questions you should ask yourself:
- Is the laminate surface scratched or chipped?
- Small scratches can usually be buffed out or filled with a touch-up pen.
- Larger chips may require more extensive repair work, such as wood filler or veneer patches.
- Does the furniture feel sturdy?
- Check if the piece is still functional. Loose parts or wobbling legs may require tightening or fixing before proceeding with cosmetic work.
- What’s the overall finish like?
- If the laminate has become dull or stained, a fresh coat of paint or varnish can work wonders.
- If the color has faded unevenly, a complete sanding and re-staining job might be necessary.
After you’ve assessed these aspects, you can decide what kind of refurbishing work your furniture needs.
Essential Tools and Materials for Refurbishing Laminate Furniture
Let’s talk about what you’ll need for the job. Refurbishing laminate furniture isn’t overly complicated, but having the right tools and materials will ensure the best results.
| Tool/Material | Purpose | Where to Buy |
| Sandpaper (120-220 grit) | Smooths the surface and helps paint adhere better | Hardware store, Amazon |
| Primer (oil-based) | Prepares laminate surface for painting and seals it | Hardware store, Home Depot |
| Paint (latex or chalk) | Provides the color and finish you want | Paint store, Walmart |
| Paintbrush (foam or synthetic) | Ideal for applying paint without leaving brush marks | Hardware store, Amazon |
| Wood filler or putty | Fills in chips, dents, or scratches | Hardware store, Lowes |
| Varnish or topcoat | Seals the paint and provides a glossy finish | Home improvement stores |
Step-by-Step Guide to Refurbishing Laminate Furniture
Now that we’ve covered the basics, let’s dive into the actual refurbishing process. Here’s a step-by-step guide to help you get your laminate furniture looking brand new again.
Step 1: Clean and Prepare the Surface
Start by cleaning the furniture thoroughly to remove dust, dirt, and grease. You don’t want to paint over a surface that has any residue on it. Here’s what to do:
- Wipe down the surface with a damp cloth to remove any dirt.
- Clean with a mild dish soap solution to get rid of oils and grease. This is especially important for kitchen furniture or cabinets.
- Allow the piece to dry completely before moving on to the next step.
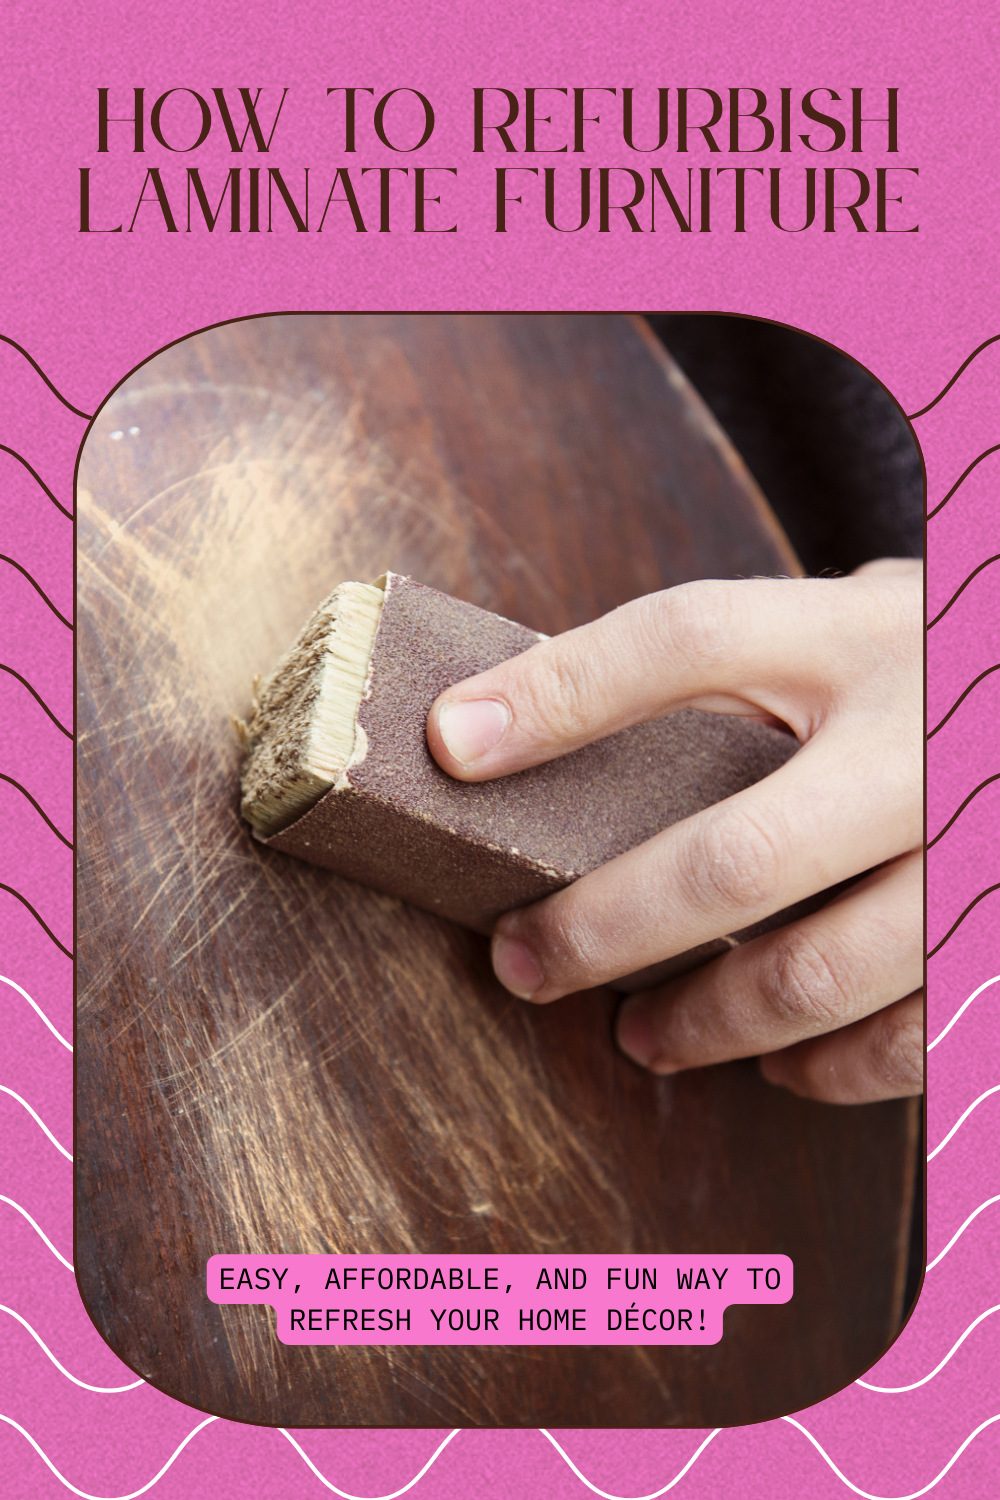
Step 2: Sand the Surface
Sanding is an essential step that you shouldn’t skip. It helps create a rough texture for the paint to adhere to, preventing peeling later on. Here’s how to do it:
- Use a 120-grit sandpaper to gently sand the surface of the laminate. Focus on the areas that are scratched or chipped.
- Don’t press too hard; you just want to scuff up the surface enough to remove the glossy layer and give the paint something to grab onto.
- After sanding, wipe the surface with a damp cloth to remove any dust and debris.
Step 3: Fill Scratches and Chips
If there are any deep scratches or chips in the laminate, it’s a good idea to fill them in before you paint. You can use wood filler or putty for this.
- Apply a thin layer of wood filler or putty to any gouges or cracks.
- Let the filler dry completely according to the manufacturer’s instructions.
- Once dry, sand the area lightly to make it smooth and level with the rest of the surface.
Step 4: Prime the Furniture
Priming is crucial for ensuring that the paint sticks properly and that you get a smooth, even finish. Here’s what to do:
- Apply a coat of oil-based primer to the entire piece of furniture. Be sure to cover every area, including edges and corners.
- Use a foam roller or brush for a smooth application.
- Let the primer dry completely. This usually takes a few hours, but check the label for specific drying times.
Step 5: Paint the Furniture
Once the primer is dry, you can begin painting. Depending on the look you’re going for, you can choose from a variety of paints:
- Latex paint: Provides a durable and smooth finish.
- Chalk paint: Ideal for a matte, shabby-chic finish.
- Apply the paint using a synthetic brush to avoid streaks.
- Start with a light coat and allow it to dry. You can add additional layers for more coverage.
- Be patient and make sure each coat is completely dry before applying the next.
Step 6: Finish with a Topcoat
To protect your newly painted surface, apply a topcoat. This will seal the paint and provide a glossy finish.
- Choose a polyurethane or varnish that matches the look you want. Satin finishes are great for a low-gloss, smooth look, while high-gloss finishes will make the furniture shine.
- Apply the topcoat evenly using a clean brush. Make sure you follow the direction of the wood grain if your laminate furniture has a wood-like pattern.
- Let the topcoat dry completely before handling the furniture.
Common Mistakes to Avoid When Refurbishing Laminate Furniture
While refurbishing laminate furniture is a rewarding DIY project, it’s easy to make mistakes along the way. Here are some common errors to watch out for:
- Skipping the sanding step: Skipping sanding can result in the paint peeling off quickly. Always take the time to sand the surface.
- Not cleaning the surface properly: If the surface isn’t clean, the paint won’t stick. Always clean thoroughly before starting the job.
- Using the wrong type of paint: Laminate surfaces require specific types of paint. Avoid using regular wall paint; instead, go for a paint that’s made for furniture or laminate.
- Rushing through the drying process: Drying time is crucial. Don’t rush; let each coat of primer, paint, and topcoat dry completely.
- Not applying enough coats of paint: One coat of paint may not be enough. To achieve full coverage, you might need to apply two or three coats.
Conclusion:
Refurbishing laminate furniture doesn’t have to be intimidating. With the right tools, a little patience, and a bit of creativity, you can give any laminate piece a fresh, updated look.
The key is preparation taking the time to properly sand, clean, and prime the surface before painting will ensure a durable and attractive finish.
By following this guide, you’ll not only save money by restoring your existing furniture but also get a sense of pride from doing it yourself.
Now that you have all the tools and knowledge you need, it’s time to put your skills to work! If you found this guide helpful, share it with your friends who might be looking to refresh their own laminate furniture.
Frequently Asked Questions (FAQs)
- Can I repaint laminate furniture without sanding it?
- While it’s possible to paint laminate furniture without sanding, sanding helps the paint adhere better and creates a more durable finish. It’s best to sand, even if lightly, for a more professional result.
- What kind of paint should I use for laminate furniture?
- Latex or chalk paints work best for laminate furniture. They provide good coverage and durability. Make sure to choose paint designed for furniture or laminate surfaces.
- How long does it take for the paint to dry?
- Drying time depends on the type of paint and environmental conditions. Generally, allow 2-4 hours for each coat of paint to dry before applying the next.
- Can I use laminate furniture outdoors?
- Laminate furniture is not ideal for outdoor use, as it can warp or fade due to exposure to the elements. However, if you plan to use it outside occasionally, be sure to apply a protective topcoat for extra durability.
- How do I fix deep scratches in laminate furniture?
- For deep scratches, use wood filler or putty. Apply it to the scratch, let it dry, then sand it smooth before painting. For larger areas, you may need to replace the laminate entirely.