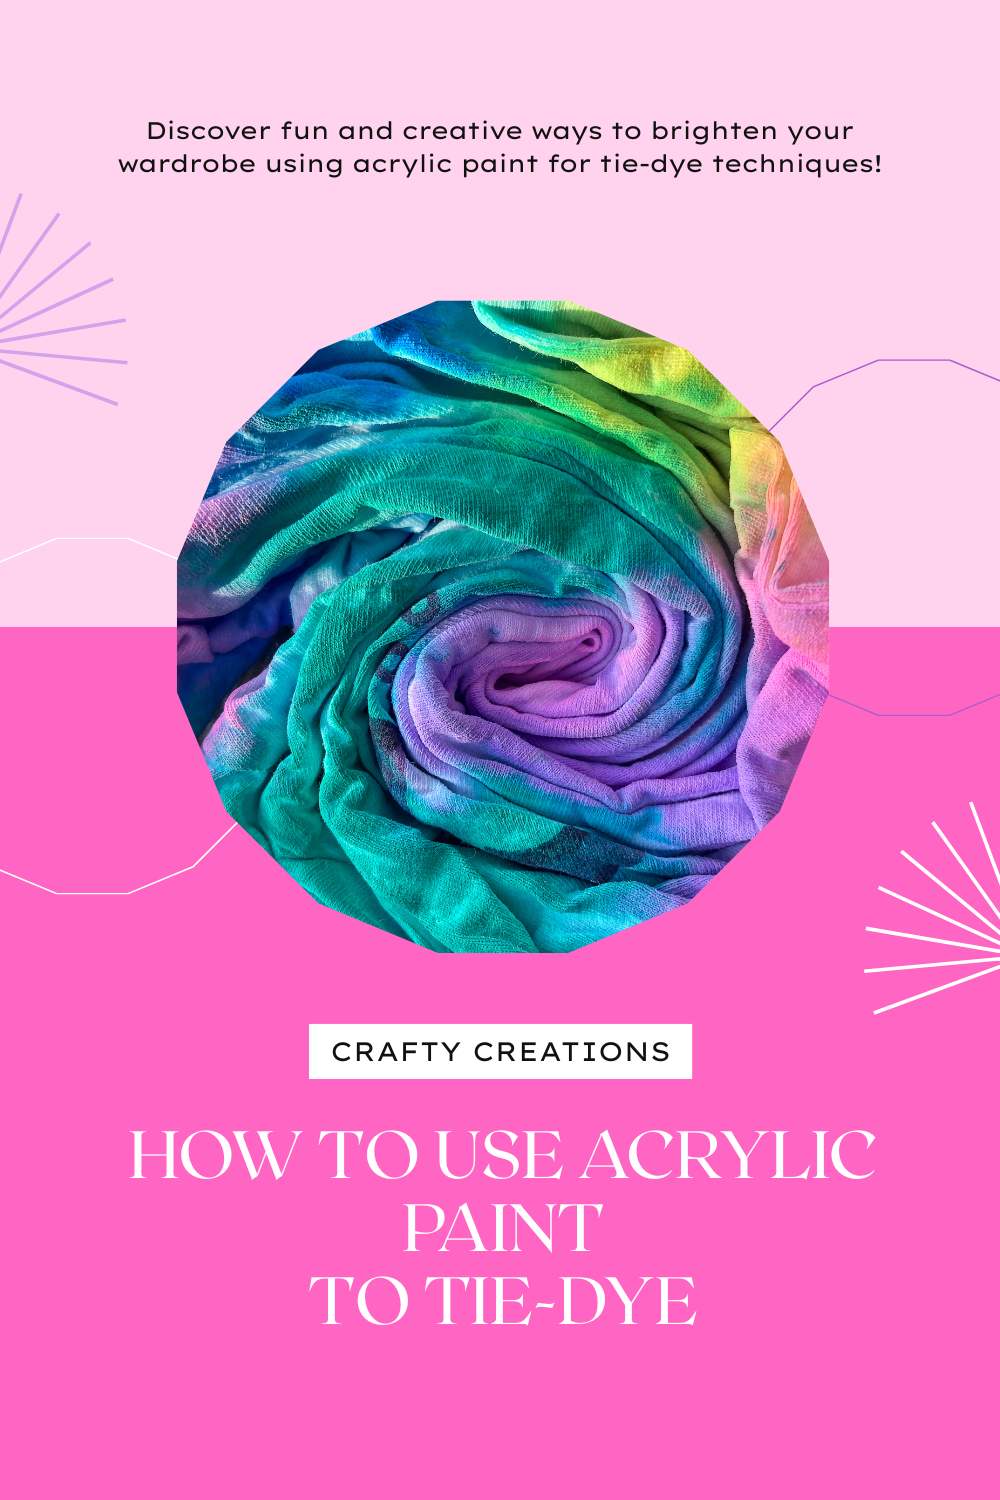
Tie dye has become a go-to craft for many, offering endless possibilities for personal expression. Whether you’re an experienced crafter or someone just getting started, there’s something incredibly satisfying about creating a one-of-a-kind piece of art from a plain fabric.
Traditionally, tie dye involves using fabric dyes, but did you know you can achieve similar vibrant, psychedelic effects using acrylic paints?
In this article, I’ll walk you through everything you need to know about using acrylic paint for tie dye projects, sharing tips, step-by-step instructions, and insights on how to avoid common mistakes.
Why Choose Acrylic Paint for Tie Dye?
Have you ever wondered if there’s a more accessible or affordable way to achieve the tie dye look without having to buy expensive fabric dyes or deal with the messiness of traditional tie dye kits? Acrylic paints offer a wonderful solution to this dilemma.
They are easy to find, versatile, and often more affordable than fabric dye. With a few simple materials, you can transform ordinary fabric into a colorful masterpiece.
What will this article cover? You’ll learn the basics of using acrylic paint for tie dye, how to prepare your materials, step-by-step instructions on the actual process, and even a few tips on how to avoid mistakes along the way.
Plus, I’ll share a few fun ideas to help you get creative with your new skills. Let’s get started!
Optional:
- Fabric Medium: This helps the acrylic paint adhere to the fabric better and ensures that the final product is soft and flexible, not stiff.
- Water Sprayer: To mist the fabric for blending colors more smoothly.
Preparing Your Fabric: The Key to Success
Now that you have all your materials, the first thing you need to do is prepare your fabric. This step is important because it ensures the paint will absorb evenly and create the most vibrant design possible.
Step-by-Step Fabric Preparation:
- Pre-Wash the Fabric: Start by washing the fabric you’re going to use. This step removes any chemicals or dirt that could prevent the paint from adhering properly. Make sure to avoid using fabric softener, as it can leave a residue that affects how the paint bonds with the fabric.
- Dampening the Fabric: Once the fabric is clean and dry, lightly dampen it with water. This will help the acrylic paint spread and blend more smoothly, creating the watercolor effect that makes tie dye so beautiful.
- Set Up Your Workspace: Spread out a plastic tablecloth or drop cloth to protect your surfaces from paint splashes. Make sure the area is well-ventilated, especially if you’re using fabric medium or other additives that could have strong odors.
The Tie Dye Process: Step-By-Step Instructions
Here’s the fun part – actually applying the paint! Using acrylic paint for tie dye may seem intimidating at first, but once you break it down into manageable steps, it’s quite simple.
Step-by-Step Instructions for Acrylic Paint Tie Dye:
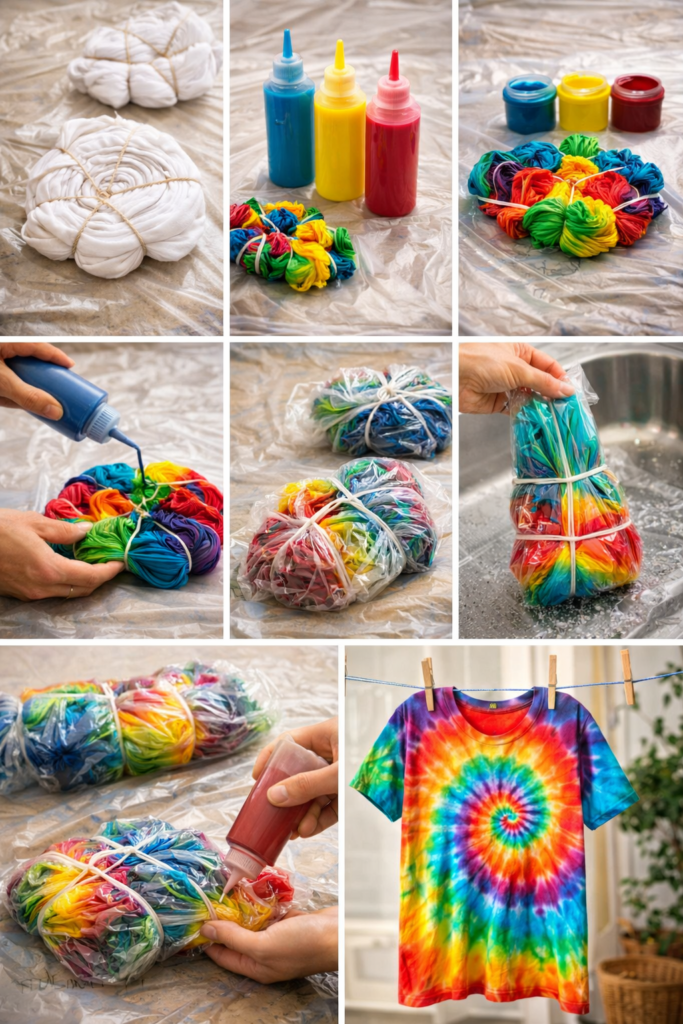
- Twist, Fold, and Bind the Fabric:
- Begin by folding or twisting the fabric in a way that creates the pattern you want. Classic tie-dye patterns include spirals, stripes, and bullseyes. Use rubber bands to secure the fabric tightly.
- Mix Your Acrylic Paint:
- Pour some acrylic paint into your plastic squeeze bottles. You’ll want to dilute the paint with a small amount of water about 2 parts water to 1 part paint. This ensures the paint can be absorbed by the fabric and gives it the fluidity needed for the tie-dye effect.
- Apply the Paint:
- Using the squeeze bottles, apply the diluted acrylic paint to the fabric. Be creative with your color choices! If you’re going for a rainbow effect, layer your colors on top of each other. For a more controlled design, use separate sections for each color.
- Wrap and Let It Sit:
- Once you’re happy with the paint application, wrap the fabric in plastic bags or plastic wrap. This helps keep the paint from drying out too quickly, allowing the colors to blend and “set” properly.
- Wait for the Paint to Set:
- Let the fabric sit for at least 6-8 hours, or overnight if possible. This gives the paint time to fully absorb and dry. The longer the fabric sits, the more vibrant the colors will be.
- Rinse and Dry:
- After the waiting period, rinse the fabric in cold water until the excess paint runs clear. Hang it up to dry, and voila your custom tie-dye creation is ready to wear or display!
Common Mistakes to Avoid When Using Acrylic Paint for Tie Dye
While working with acrylic paint can be incredibly fun, there are a few common mistakes that can affect the quality of your tie-dye project. Let me walk you through a few key things to avoid:
Mistakes to Avoid:
- Using Too Much Paint: Acrylic paint is strong, and too much paint can cause your fabric to become stiff and uncomfortable to wear. Be sure to dilute the paint adequately to ensure a softer, more flexible final product.
- Not Wrapping the Fabric Tightly Enough: If the fabric isn’t tied tightly with rubber bands, the colors won’t blend as seamlessly, and your design may appear too faint or uneven.
- Skipping the Fabric Medium: If you’re planning to use acrylic paint often for fabric projects, consider using fabric medium. Without it, the paint may crack or peel over time.
- Overcrowding Your Design: It’s easy to get carried away with applying every color imaginable, but too many layers of paint can result in a muddy or overcomplicated design. Keep things balanced for the best results.
Tips and Tricks for Stunning Tie Dye Designs
Want to take your tie-dye skills to the next level? Here are some of my favorite tips and tricks that can help you create even more stunning designs:
- Use a Spray Bottle for Blending: To create soft transitions between colors, mist the fabric lightly with water after applying the paint. This helps the colors blend beautifully.
- Experiment with Different Binding Techniques: Try using different methods of folding and binding the fabric to create unique patterns. For example, accordion folding or crumpling the fabric creates beautiful texture in your designs.
- Layering Colors: Layering light and dark colors can add depth and dimension to your design, making it look more dynamic.
- Use Different Fabric Types: Try experimenting with different fabric textures and weights. Lighter fabrics like cotton work great with acrylic paint, but you may get interesting results on heavier materials like denim.
Conclusion:
Using acrylic paint for tie-dye is a fun and creative way to personalize fabric items and express your artistic side.
By following the steps outlined above and avoiding common mistakes, you can create vibrant, eye-catching designs that are sure to stand out. Whether you’re making a unique t-shirt or a custom pillowcase, the possibilities are endless!
Now that you know how to use acrylic paint for tie dye, it’s your turn to give it a try. Have fun experimenting with colors, patterns, and techniques. I’d love to hear about your tie-dye adventures leave a comment below or share your photos with me!
FAQs
Can I use regular acrylic paint for tie-dyeing fabric?
Yes! You can use regular acrylic paint, but for the best results, consider adding a fabric medium to ensure the paint adheres well and remains flexible after drying.
How long does the acrylic paint take to dry on fabric?
Acrylic paint typically dries in about 1-2 hours, but it’s best to wait overnight to ensure the colors set fully.
Will the paint wash off after a few washes?
If you use fabric medium, your paint should stay intact for several washes. However, without it, the paint may start to peel or fade over time.
Can I create tie-dye with fabric paints instead of acrylic paint?
Yes, fabric paint is specifically designed for use on textiles and is a great option if you’re looking for a more flexible, long-lasting result.
Can I use other materials for tie dyeing besides fabric?
While fabric is the most common material used for tie dyeing, you can experiment with other materials like canvas bags, shoes, or even pillowcases.