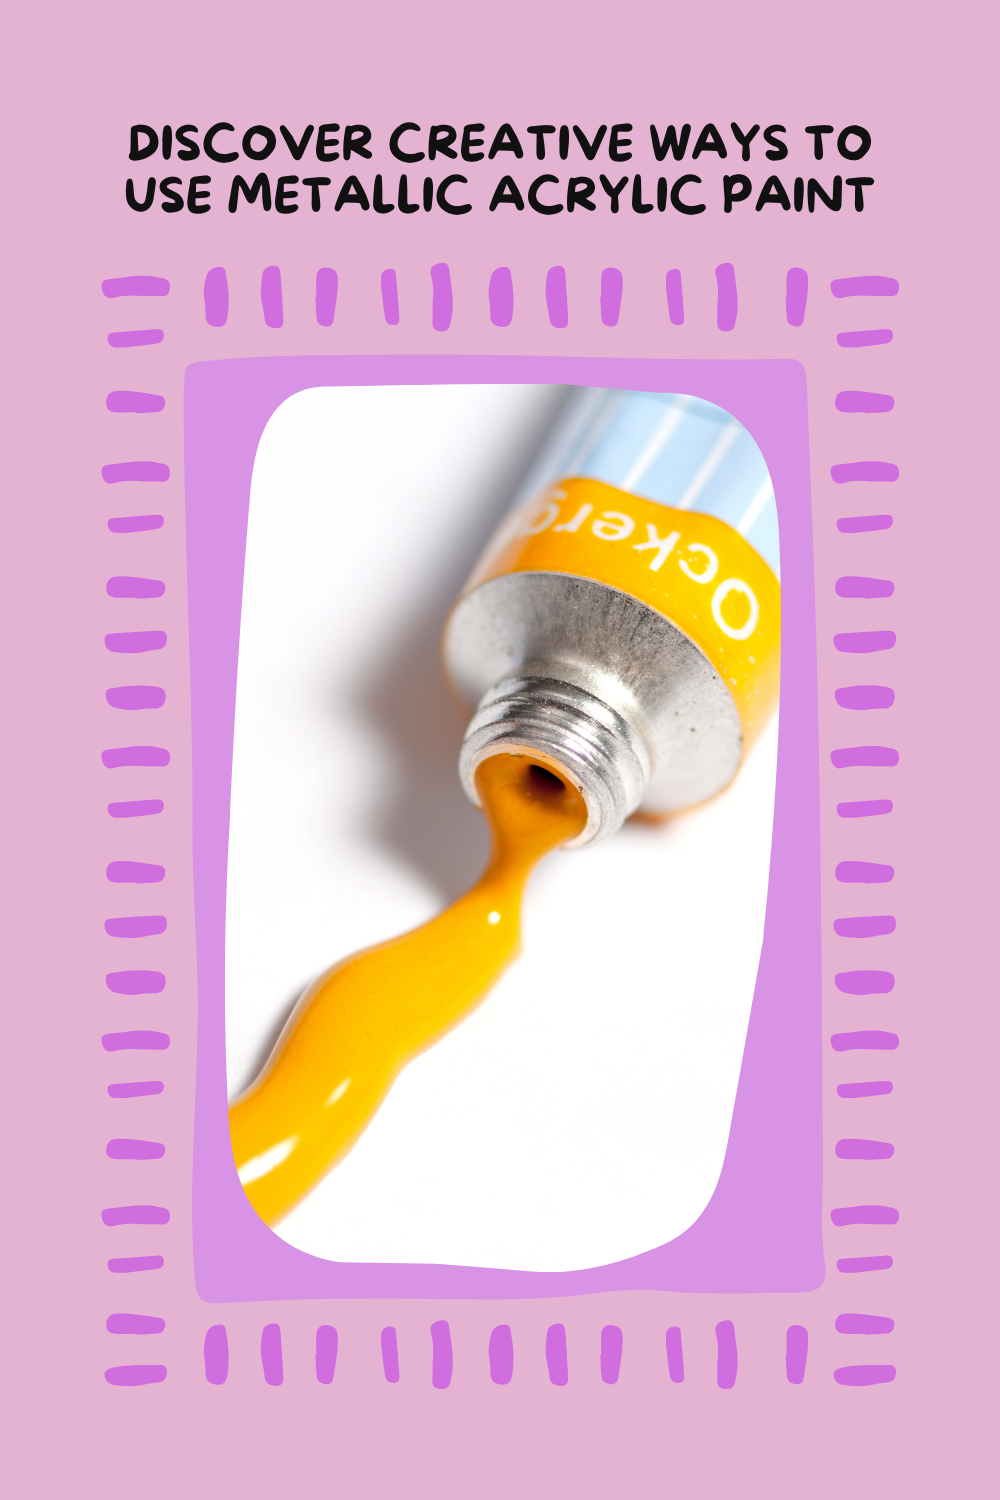
Acrylic paint has been a go-to medium for many artists due to its versatility, quick drying time, and ease of use. But have you ever thought about adding some shimmer and shine to your artwork? That’s where metallic acrylic paints come in!
These vibrant, lustrous paints can add depth and dimension to your work, creating a stunning effect that is sure to catch the eye.
In this guide, I’ll walk you through everything you need to know about using metallic acrylic paints from what they are, how to use them, to common mistakes to avoid.
Whether you’re a beginner looking to explore new techniques or an experienced artist wanting to experiment with a little sparkle, this blog will have you covered!
What Is Metallic Acrylic Paint?
Metallic acrylic paint is essentially acrylic paint that has been mixed with a metallic pigment or fine metallic flakes. This gives the paint a reflective, shiny, and sometimes iridescent finish.
When applied correctly, metallic acrylic paints can mimic the look of metal, giving your artwork a rich and elegant appearance.
Metallic paints come in a range of hues, from gold, silver, and bronze to more unique shades like copper, pearl, and even glitter-infused colors. They can be used on a variety of surfaces, from canvas to wood, fabric, and even ceramic.
What sets them apart is their ability to reflect light, making them perfect for creating highlights, adding texture, or just adding some glam to your project.
Why Should You Use Metallic Acrylic Paint?
Add Depth and Dimension
If you want your artwork to stand out and have a three-dimensional feel, metallic paints can help you achieve that. The reflective quality of metallic paint gives your piece a dynamic, light-catching effect. You can use them to create highlights, shadows, or to emphasize certain parts of your work.
Create Stunning Finishes
Metallic acrylic paints can mimic various materials, from shiny gold leaf to the gleam of polished metal. Whether you’re painting abstract patterns or intricate details, metallic paint can help you create a polished and sophisticated finish.
Versatility
Whether you are working on a canvas, a ceramic mug, a piece of furniture, or even clothing, metallic acrylic paint adheres to a variety of surfaces. It can be used for both fine art and DIY craft projects, making it a go-to for all kinds of creative endeavors.
How to Use Metallic Acrylic Paint: Step-by-Step Instructions
Now that you understand what metallic acrylic paint is and why it’s so awesome, let’s dive into how you can use it effectively. Below, I’ll walk you through the process with detailed instructions.
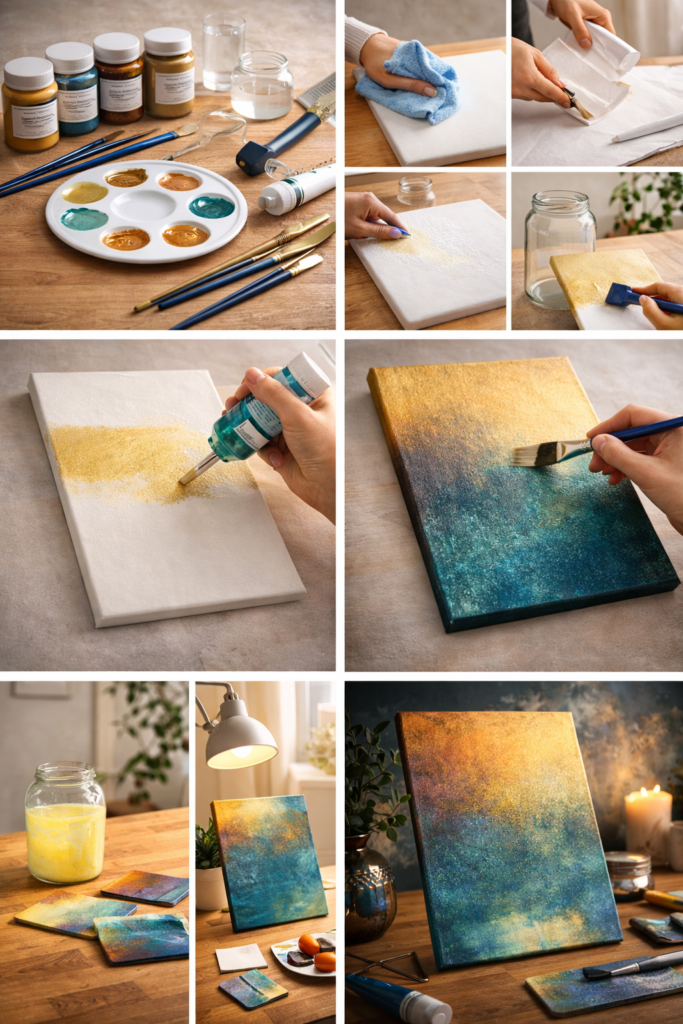
Step 1: Gather Your Materials
Before you start, it’s essential to gather all your supplies. You’ll need:
- Metallic acrylic paint (Choose your desired colors!)
- Canvas or surface of choice (Wood, fabric, glass, etc.)
- Brushes (Different sizes for detail and broad strokes)
- Palette (For mixing paint)
- Water or acrylic medium (To thin the paint if necessary)
- Clear acrylic sealer (For a lasting finish)
- Rags or paper towels (For cleaning brushes)
Step 2: Prepare the Surface
Ensure that your surface is clean and dry before you begin painting. If you’re painting on canvas, wood, or another porous surface, it’s often a good idea to apply a base coat of gesso. This helps the paint adhere better and creates a smoother surface for your metallic paint.
For non-porous surfaces like glass or plastic, you may want to lightly sand the surface to give the paint something to grip onto.
Step 3: Shake and Stir the Paint
Metallic paints often contain metallic particles that can settle at the bottom of the bottle, so make sure to shake your paint well before using it. Stir the paint in the container with a stirring stick to ensure an even distribution of the metallic particles.
Step 4: Apply the Paint
Start by applying a thin, even layer of metallic acrylic paint. Use a flat brush for broad strokes or a fine-tipped brush for details. Keep in mind that metallic acrylics tend to be a bit more translucent than regular acrylics, so you may need to apply multiple layers.
Step 5: Layering and Blending
Once the first layer is dry, you can add more layers for a more intense metallic effect. Be sure to let each layer dry before adding the next, as applying paint to a wet layer can lead to smudging.
If you want to create a blending effect, you can mix your metallic acrylic paint with a bit of matte acrylic paint in complementary colors. This can soften the shine and give you a more subtle metallic finish.
Tips and Techniques for Applying Metallic Paint
1. Dry Brushing Technique
This technique involves loading a dry brush with a small amount of paint and then lightly brushing it across the surface. This creates a textured, rough effect that works well for adding highlights to a painting or creating a metallic patina.
2. Using a Palette Knife
For more texture, use a palette knife to apply metallic acrylic paint. This technique gives the paint a thick, impasto look, which is perfect for adding a more dramatic effect to your artwork.
3. Sponging Technique
To create a smooth, soft metallic effect, you can use a sponge to apply the paint. Dab the sponge into the paint and lightly press it onto the surface. This creates a stippled effect that gives a bit of shine without being too overpowering.
Common Mistakes to Avoid When Using Metallic Acrylic Paint
While metallic acrylics are incredibly fun to use, there are some common mistakes that can affect your final result. Here are a few things to watch out for:
1. Overloading Your Brush
One of the most common mistakes when using metallic acrylics is loading your brush with too much paint. Since metallic paint tends to be thinner than regular acrylics, applying it too thickly can result in uneven coverage and streaks. Always apply thin layers and build up as needed.
2. Not Shaking the Paint Well Enough
Because metallic acrylics contain particles that settle, failing to shake or stir your paint before use can result in an uneven finish. This can make some areas of your artwork look dull, while others may be overly shiny.
3. Not Sealing Your Artwork
Metallic acrylics can be more prone to fading or chipping if not sealed properly. After your artwork dries, be sure to apply a layer of clear acrylic sealer or varnish to protect it. This also helps preserve the metallic sheen over time.
Conclusion: Ready to Add Some Sparkle to Your Art?
Metallic acrylic paints are an exciting and versatile medium that can elevate your artwork and crafts to the next level. Whether you’re painting a canvas, creating DIY projects, or adding some flair to your home décor, these paints will give you that extra shine.
Remember to apply thin layers, use the right techniques, and always seal your work to preserve that beautiful metallic effect. By avoiding common mistakes, you can make the most out of metallic acrylics and create stunning pieces that truly stand out.
FAQs about Metallic Acrylic Paint
Can I use metallic acrylic paint on fabric?
Yes, metallic acrylic paint can be used on fabric! Just make sure to heat-set the paint by ironing the fabric after it’s dry to make it permanent.
Is metallic acrylic paint water-resistant?
Once dry, metallic acrylic paint is water-resistant, but it’s not completely waterproof. For added protection, you can use a clear acrylic sealer.
How do I clean brushes after using metallic acrylic paint?
You can clean your brushes with warm water and soap. If the paint is difficult to remove, try using rubbing alcohol or a brush cleaner to break down the metallic particles.
Can I mix metallic paint with regular acrylic paint?
Yes! You can mix metallic paint with regular acrylic paint to create custom shades with a touch of metallic shimmer. Just keep in mind that the metallic effect will be softer in the mixed areas.