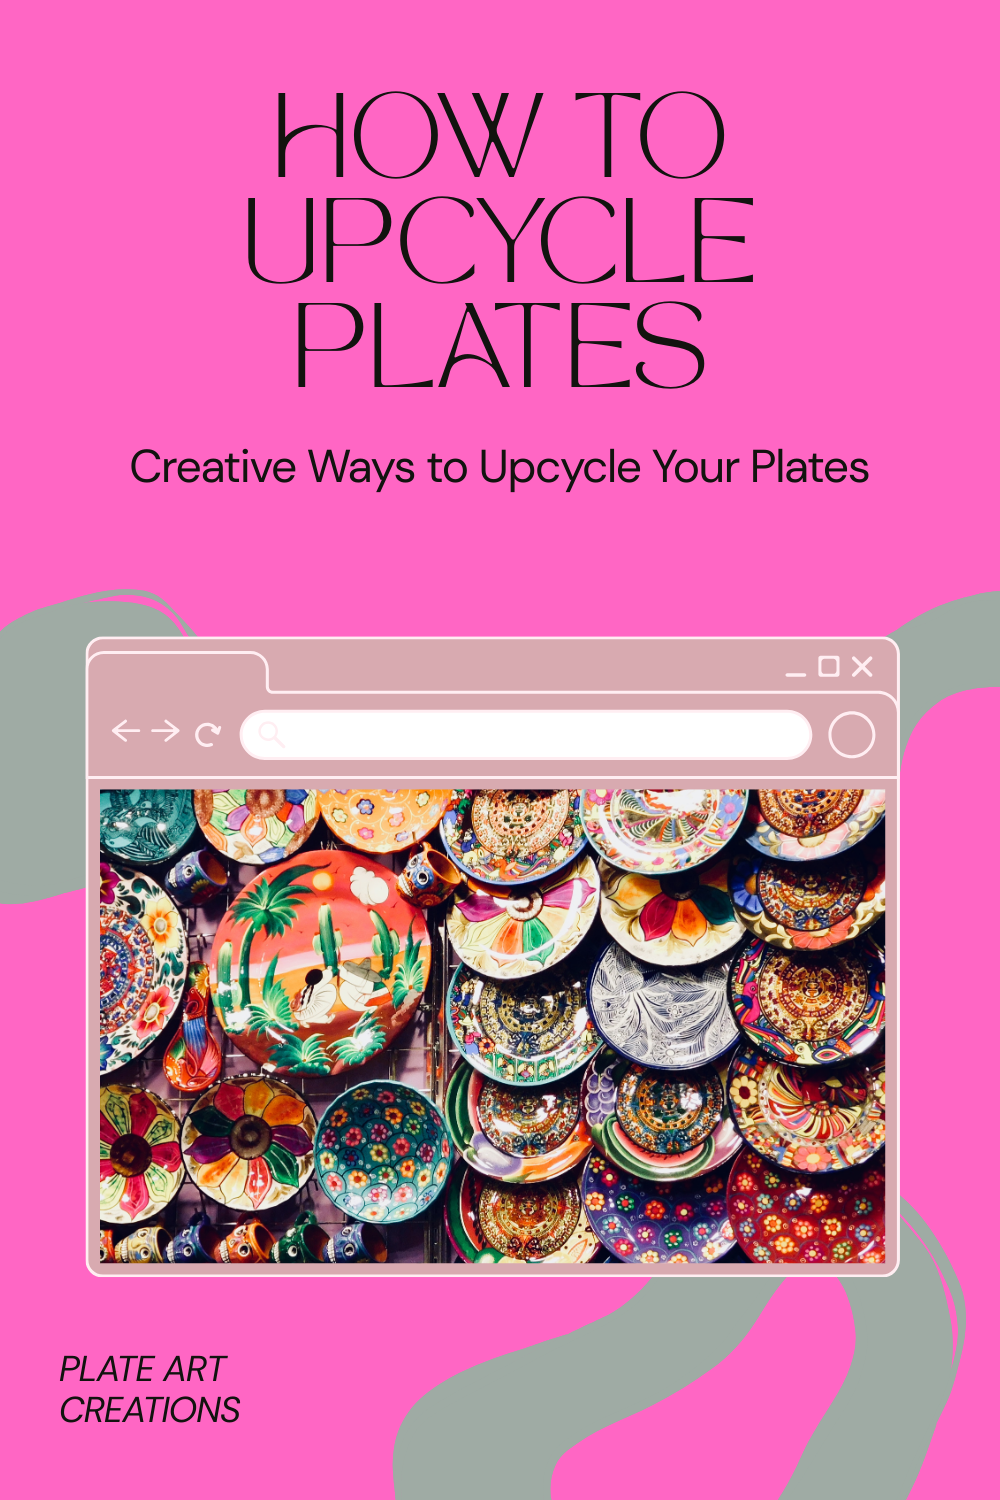
There’s something oddly satisfying about plates, isn’t there? They’re more than kitchen essentials. Plates are like little canvases holding a snapshot of our everyday lives.
They’ve seen every type of meal, from lavish dinner parties to suspicious leftovers you microwaved at 2 a.m. But what happens when these trusted dishware companions crack, chip, or just… fall out of favor with your revamped aesthetic?
I’ll tell you what happens. They transform. Plates, my friends, are prime candidates for fabulous upcycling projects. Some people see an old, chipped plate and think “junk.” I see it and think, “Ah, but what could you become?”
Over the years, I’ve turned plates into everything from garden stepping stones to quirky clocks. Sometimes the transformation is practical, sometimes it’s purely decorative, and sometimes it fits into a gloriously useless “why not?” category. (Seriously, should anyone need a glitter-encrusted plate-hat? No. Did I make it anyway? Absolutely.)
Today, I’m going to help you unlock the untapped potential of your plates. Whether they’re chipped or just no longer match the rest of your collection, they’re waiting for a second chance at life.
This guide is complete with whimsical ideas, detailed instructions, and a sprinkle of humor because upcycling should never feel boring.
Why Should You Upcycle Plates?
First, allow me to present my case for plate upcycling. Beyond the sheer joy of smashing and redesigning, here’s why old plates deserve a second act:
- Sentimental Value. That decorative plate from your grandmother’s cabinet could become a keepsake.
- Eco-Friendliness. Upcycling plates keeps them out of landfills (because the planet deserves a break from all our waste).
- Budget-Friendly Creativity. Skip buying décor or tools when you can craft it yourself.
- Uniqueness. No one else will have the exact same upcycled creation you do. It’s like being an artist, but with dishes!
Are you convinced yet? Good. Now gather those plates and get ready to turn them into something amazing.
Tools and Materials for Plate Upcycling
Take it from someone who once attempted to tile a mirror without goggles—having the right tools is half the battle. Here’s what I recommend for most plate upcycling projects:
Tools:
- Safety Gear (gloves, goggles) because you’re likely dealing with potential shards.
- Tile Nippers or Manual Glass Breakers for breaking plates into smaller pieces (these are surprisingly fun to use).
- Sanding Block or Emery Board for smoothing edges.
- Strong Glue or E6000 Adhesive for bonding pieces together.
- A Drill with Ceramic/Tile Bits for projects requiring holes.
- Ruler and Measuring Tape to keep things accurate.
Materials:
- Plates, obviously. Any type works for upcycling, though porcelain, ceramic, and glass are the most common candidates.
- Paints (like ceramic or chalk paint) for decorative projects.
- Grout and Grout Float (for mosaic designs).
- Felt, Cork, or Foam Sheets (for backing, depending on the craft).
- Decorative Items like beads, rhinestones, or fabric for embellishments.
Gather these, and you’re set to turn ordinary dishware into extraordinary creations.
Upcycling Ideas for Plates
Whether your plates are chipped, stained, or just victim to a kitchen purge, here are some playful and practical ideas for their next life.
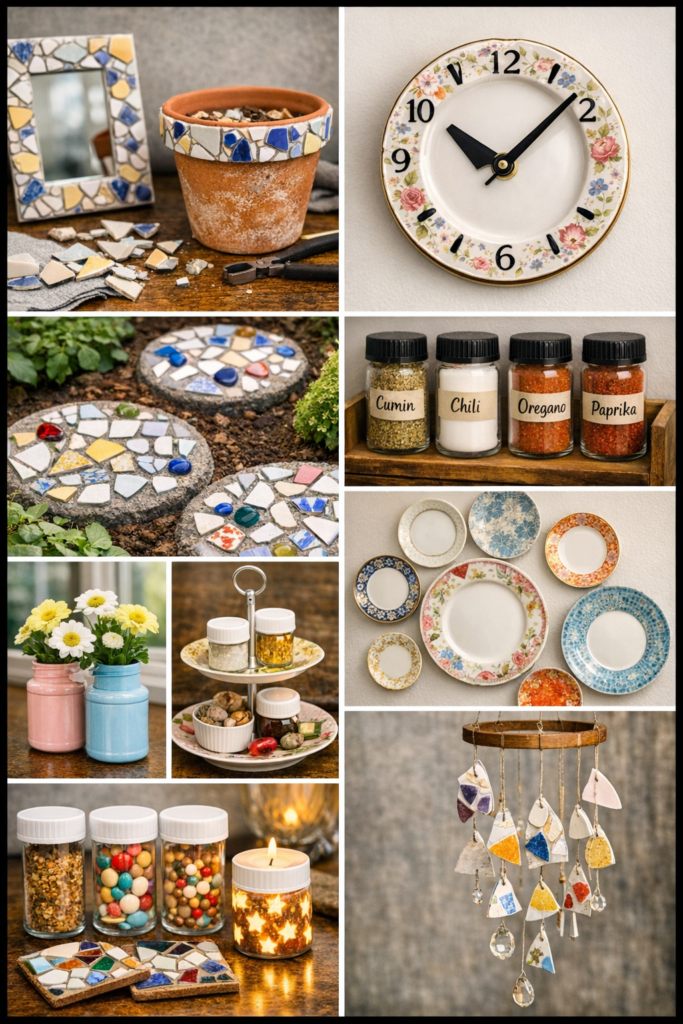
1. Mosaic Magic
If you’ve got mismatched or broken plates, mosaics offer the ultimate second act. This craft turns those plate shards into beautiful, eye-catching designs.
How to Do It:
- Break the Plates. (Arguably the best part.) Wrap them in a towel and use a hammer to gently break them into smaller pieces.
- Plan Your Design. Sketch out your pattern on the surface you’ll be covering. It could be a flower pot, a tabletop, or even a picture frame.
- Adhere the Pieces. Attach each shard to your chosen surface using strong adhesive. Leave some space between pieces for grout.
- Grout the Design. Once the glue is dry, spread grout over the project. Press it into the spaces, then wipe away the excess with a sponge.
- Seal It. Apply a grout sealant to protect your design.
Tip for Extra Fun? Use plate patterns strategically to create flowers, geometric designs, or funky abstract shapes. Mosaics always end up looking incredible, no matter your skill level.
2. Quirky Plate Clocks
I can’t tell you how many boring wall clocks I’ve passed by in stores. Why settle for dull mass-produced designs when you can turn an old plate into a charming, one-of-a-kind timepiece?
How to Do It:
- Choose a plate you adore (bonus points if it already has numbers or a pattern that looks clock-like).
- Drill a hole in the center using a ceramic bit. Go slowly to prevent cracks.
- Insert a clock mechanism kit (widely available online or in craft stores). Attach the hands, and voilà. You’ve got yourself a plate-clock that makes telling time way more interesting.
This also makes for a terrific gift… or maybe I just like giving people decorative items they never knew they needed. Either way, it’s a win.
3. Garden Stepping Stones
Imagine stepping through your garden, guided by pieces of ceramic brilliance peeking out from the soil. Upcycled plate stepping stones are an absolute delight.
How to Make It:
- Use cement or stepping-stone molds as your base.
- Press plate shards into wet cement, arranging them however you like.
- Allow it all to dry completely before adding the stones to your garden path.
Fancy a little extra whimsy? Try including colorful gems, glowing pebbles, or engraved messages alongside your upcycled shards.
4. Plate Wall Art
For plates that are still intact but no longer useful in the kitchen, why not hang them on the wall? Plate walls are making a comeback in design circles because they blend vintage vibes with contemporary style.
What to Do:
- Choose plates with bold patterns or interesting textures.
- Secure plate hangers on the back of each plate. (Look for adhesive ones if you want to avoid drilling.)
- Arrange them on your wall in a way that speaks to your creative spirit. You could go symmetrical, asymmetrical, or even create a shape like a heart or a tree made of plates.
This is a great way to put heirloom pieces on display rather than hiding them in an oversized cabinet.
5. Jewelry Holders and Tiered Trays
Honestly, I think tiered trays deserve more love. Whether you use them for snacks, rings, or perfumes, they’re endlessly handy and gorgeous.
How to Do It:
- Drill holes in the center of your plates (one larger plate for the bottom, mid-sized for the middle, and a small one for the top).
- Use tiered tray hardware to assemble the whole structure.
- Optional: Add paint or gold leaf to the edges for an elegant touch.
My first tray was a mix of vintage floral plates and it’s now my go-to centerpiece during tea parties. You should see the envy on guests’ faces. Priceless.
6. Wind Chimes or Suncatchers
Nothing screams whimsical quite like wind chimes made from old plates. They add charm to windows, porches, or patios, and the sound they make is pure bliss.
How to Do It:
- Break the plates into even, small pieces.
- Drill tiny holes at the top of each shard.
- String them onto fishing line or wire and attach them to a hanging ring or branch.
You’ll end up with a DIY wind chime that’s equal parts calming and unique.
7. Coasters from Plate Shards
Some plates are too pretty to go to waste even as shards. Why not turn those broken pieces into chic coasters?
How to Do It:
- Smooth the edges of your shards with sandpaper.
- Attach felt or cork backing to prevent scratching your furniture.
- Seal them with resin for durability and a nice glossy finish.
Suddenly, your guests will wonder why they’re still using plain old cardboard coasters.
Tips for Upcycling Success
- Safety First. Always use gloves and goggles when breaking or drilling into plates.
- Go Slow with Drills. Patience is key to avoid cracks. Use low speed and steady pressure.
- Mix and Match. Combine plates with other materials like wood or fabric for creative projects.
- Practice Makes Perfect. If you’re nervous, test your ideas on thrift store plates before attempting heirlooms.
Wrapping Up
Upcycling plates has become one of my favorite creative outlets because it mixes nostalgia, sustainability, and artistry into one joyful activity.
Every time I sit down to repurpose an old dish, it feels like I’m rewriting its story. And sometimes that story involves eccentric wind chimes or glitter-covered mosaics that no one asked for (but secretly loves).
If you’ve got plates collecting dust or heading toward the donation bin, think twice. What could they become with a little imagination? Whether practical or playful, the transformation is bound to spark joy.
Go ahead, pry open that cabinet, and give those dishes a brand-new destiny. Just be warned… once you start upcycling plates, it’s hard to stop.