Epoxy resin projects can be incredibly rewarding, whether you’re working on art, home decor, or repairs.
The process of mixing and pouring resin can be quite straightforward, but achieving the perfect finish is another story.
This is where a heat gun comes in. A good heat gun can help remove bubbles, smooth out the surface, and ensure the resin cures correctly.
But with so many heat guns available in the market, how do you pick the best one for your epoxy resin projects? If you’ve ever found yourself overwhelmed by the options, you’re not alone.
In this guide, I’m going to walk you through everything you need to know about choosing the right heat gun, how to use it, and what common mistakes to avoid.
Why You Need a Heat Gun for Epoxy Resin Projects
When it comes to epoxy resin, achieving a smooth, flawless finish is the ultimate goal. The resin mix tends to have tiny bubbles trapped inside, and if left untreated, these can ruin the surface quality of your project. This is where heat guns come into play.
A heat gun uses hot air to gently heat the resin’s surface, allowing trapped bubbles to rise and pop before the resin hardens. It can also help to smooth out the surface and create a glossy, professional look.
However, choosing the wrong heat gun can lead to more harm than good. Overheating or applying heat too unevenly can cause the resin to burn or cure improperly, resulting in a ruined project. That’s why selecting a heat gun with the right settings and features is crucial.
| Product Image | Product Name | Features | Price |
|---|---|---|---|
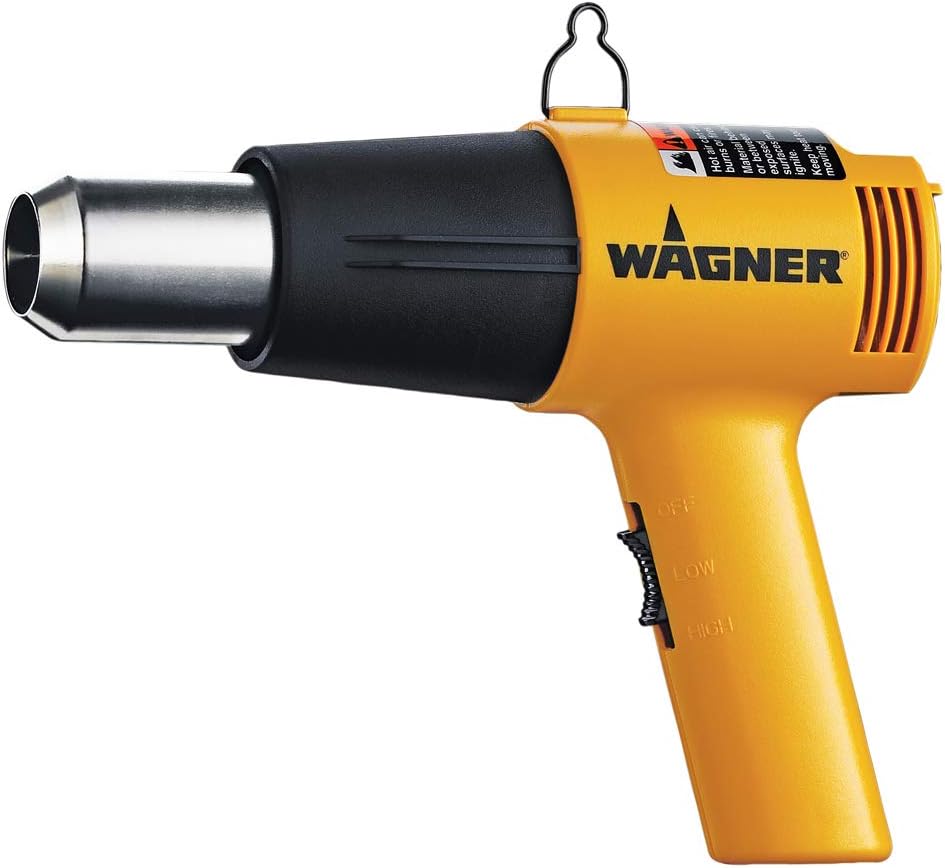 |
Wagner Spraytech 0503008 HT1000 Heat Gun | Dual Temperature Settings Offers 750°F and 1000°F heat levels for versatile use Two fan speeds for customized airflow and control Corrosion-resistant nozzle |
Check Price |
 |
6.56FT Long Heat Gun | Comes with a 6.56 ft (2-meter) cable for flexible movement while crafting Made with high-quality stainless steel interior Lightweight and space-saving Heats up to 200°C in seconds with 110V power |
Check Price |
 |
BLACK+DECKER Heat Gun for Crafts | 1,350 watts of heating power for a wide range of tasks Easily switch between 750°F and 1,000°F settings Comfortable grip and enhanced control Keeps hot nozzle elevated to protect surfaces |
Check Price |
 |
SEEKONE Mini Heat Gun | Offers two heat levels: 500°F (260°C) and 842°F (450°C) verheat protection automatically shuts off power if temperatures get too high Lightweight and easy to handle |
Check Price |
 |
TGK® 1800W Heavy Duty Hot Air Gun | 1800W motor heats up to 1202°F (650°C) in just 1.5 seconds Two airflow modes: Mode I: 122°F–572°F at 250L/min Mode II: 122°F–1202°F at 500L/min Built-in overload protection Non-slip handle |
Check Price |
 |
Mini Hot Air Gun for DIY Crafts | Durable Build & Quality Materials Heats up to 200°C (392°F) in seconds Fixed temperature design One-button activation with optimal heating angle: 45° and 5–6cm distance for best results |
Check Price |
 |
ROMECH 350W Heat Gun with 2 Nozzles | Heats up in seconds with two adjustable modes: 400°F (150L/min airflow) for delicate tasks 660°F (200L/min airflow) for larger project Overheat protection automatically shuts off power at unsafe temperatures Lightweight Pencil-shaped body |
Check Price |
 |
Sumi Living Mini Heat Gun | Compact dimensions: 225×45mm (8.86×1.77in) for easy handling Heats up to 200°C (392°F) in seconds with 110V power Includes a 12-month warranty and 100% satisfaction promise |
Check Price |
Key Features to Look for in a Heat Gun for Epoxy Resin
Choosing a heat gun isn’t just about grabbing the first one you see. There are key factors you should consider to make sure you pick one that will make your epoxy resin work easy and effective. Let’s break down the most important features to look for:
Temperature Control
Epoxy resin doesn’t require extreme heat, but it does need a precise, consistent temperature. A heat gun with adjustable temperature settings allows you to control the heat level to avoid overheating the resin. The best heat guns will offer a range of temperatures that can go anywhere from 200°F to 1,200°F.
Variable Fan Speeds
A heat gun with adjustable fan speed can help you fine-tune the heat application. Low fan speeds are ideal for more controlled heating, while higher speeds allow you to cover a larger surface area more quickly. You want a heat gun that can give you that flexibility.
Nozzle Attachments
Some heat guns come with various nozzle attachments, which can help you focus the heat exactly where you need it.
For resin work, a narrow or concentrated nozzle is ideal for directing heat to specific areas without affecting the rest of your project.
Lightweight and Ergonomic Design
Epoxy resin projects can take a while to complete, and holding a heavy tool for long periods isn’t fun. Choose a heat gun that’s lightweight and has an ergonomic handle, so it’s comfortable to hold during prolonged use.
Safety Features
Safety should always be a priority, especially when working with hot equipment. Look for heat guns that include safety features such as overheating protection, a built-in stand for stability, and heat-resistant materials.
How to Use a Heat Gun for Epoxy Resin: Step-by-Step Guide
Now that you know what to look for in a heat gun, it’s time to dive into how to use it for your epoxy resin projects. Here’s a simple step-by-step guide to help you get the best results:
Step 1: Prepare Your Epoxy Resin
Before you even think about using the heat gun, make sure your resin is properly mixed and poured into the mold or onto the surface.
Follow the manufacturer’s instructions for mixing the resin and hardener to ensure it’s properly activated.
Step 2: Choose the Right Temperature Setting
Set your heat gun to a low to medium temperature, around 300°F to 400°F. High temperatures can cause the resin to burn, so start low and gradually increase the heat if necessary.
Step 3: Hold the Heat Gun at the Right Distance
Hold the heat gun around 6-8 inches away from the resin surface. Don’t get too close to avoid overheating or scorching the resin. Move the heat gun gently across the surface in small, sweeping motions.
Step 4: Move the Heat Gun Constantly
Don’t keep the heat gun in one spot for too long. Keep the gun moving in slow, sweeping motions to ensure even heat distribution. This will prevent hot spots that could cause the resin to bubble or burn.
Step 5: Monitor the Results
As you apply heat, watch for any bubbles that rise to the surface. You’ll notice them popping as they reach the surface. Continue applying heat until all bubbles have been removed, but be careful not to overdo it.
Step 6: Let the Resin Cure
Once all the bubbles are gone, let the resin cure according to the manufacturer’s instructions. You may need to use the heat gun once more during the curing process to ensure a smooth, glossy finish.
Common Mistakes to Avoid When Using a Heat Gun for Epoxy Resin
Using a heat gun seems simple, but there are several common mistakes that can ruin your epoxy resin project. Here are a few to watch out for:
Using Too High of a Temperature
One of the biggest mistakes is using a heat gun that’s too hot for the resin. High temperatures can burn the resin or cause it to cure too quickly, resulting in a poor finish. Always use the lowest possible temperature that gets the job done.
Holding the Gun Too Close
Holding the heat gun too close to the resin will concentrate the heat, leading to uneven curing and possible damage. Keep a safe distance of 6-8 inches, and keep the gun moving to ensure even heat application.
Using the Heat Gun for Too Long
It can be tempting to keep the heat gun on the resin for longer than necessary, but this can cause the resin to overheat or distort. Stick to the recommended time for heating, and if necessary, repeat the process in intervals.
Not Using a Nozzle Attachment
A heat gun with no nozzle attachment can spread heat across a larger area than needed, making it harder to target specific bubbles or imperfections. Always use a narrow or concentrated nozzle for best results.
Conclusion: Perfecting Your Resin Work with the Right Heat Gun
In conclusion, the right heat gun can be a game-changer for your epoxy resin projects. Whether you’re a seasoned artist or just starting, a heat gun helps you achieve that smooth, bubble-free finish every time.
By selecting the best heat gun with adjustable temperature settings, variable fan speeds, and the right nozzle attachments, you’ll be well-equipped for any resin task.
Remember to avoid common mistakes, like overheating or holding the gun too close, and follow the step-by-step guide for flawless results.
Have any questions or tips of your own? Feel free to share them in the comments below. Happy crafting!
FAQ
What temperature should I set my heat gun to for epoxy resin?
For most epoxy resin projects, a temperature range of 300°F to 400°F is ideal. This ensures you get enough heat to remove bubbles without risking overheating or burning the resin.
Can I use a hairdryer instead of a heat gun?
While a hairdryer can work for some small resin projects, it doesn’t provide the level of precision and control needed for larger or more detailed projects. A heat gun is specifically designed for this kind of work and will give you much better results.
How long should I use the heat gun on my epoxy resin?
Typically, 1-2 minutes of continuous use is sufficient to remove most bubbles. If needed, you can repeat the process until the surface is smooth. Avoid keeping the heat gun in one place for too long.
Can I use a heat gun on uncured resin?
Yes, you can use a heat gun to pop bubbles and smooth the surface of uncured resin. However, you should never use it to speed up the curing process, as this can lead to uneven curing and a poor finish.
What are the safety precautions when using a heat gun?
Always wear protective gloves and eye protection when using a heat gun. Keep the gun away from flammable materials, and make sure to follow all safety instructions provided by the manufacturer.