If you’ve ever tried your hand at decoupage, crafting, or even simple DIY home décor, you’ve probably encountered the magic of Mod Podge.
This versatile product is a staple in the crafting world, especially when it comes to working with materials like wood, fabric, and glass.
But, if you’ve ever wondered which the best Mod Podge for glass is, you’re not alone. The wrong choice of finish can lead to disappointing results, from cloudy coatings to sticky surfaces.
In this guide, I’ll walk you through everything you need to know to pick the best Mod Podge for glass projects, as well as share my personal experiences, tips, and tricks for getting a flawless finish every time.
From understanding the different types of Mod Podge to exploring common mistakes, we’ll cover it all.
Mod Podge and Its Uses on Glass
Before diving into which Mod Podge works best on glass, it’s important to understand what Mod Podge is and how it works.
Mod Podge is a water-based sealer, glue, and finish that’s used for a variety of crafting projects. It’s loved for its ability to bond materials, add texture, and provide a protective finish.
When it comes to glass, Mod Podge can be used for:
- Decoupage
- Adding a decorative finish to glass jars, vases, or picture frames
- Sealing painted glass for durability
- Creating custom designs on glass surfaces
| Product Image | Product Name | Features | Price |
|---|---|---|---|
 |
Mod Podge Gloss Sealer | Dries clear with a durable & high-shine coating Quick-Drying & Surface-Friendly Easy Cleanup Non-toxic |
Check Price |
 |
Mod Podge Matte Sealer | Combines glue, sealer, and finish in one convenient formula Versatile Surface Compatibility Durable Matte Finish Quick-Drying & Buildable |
Check Price |
 |
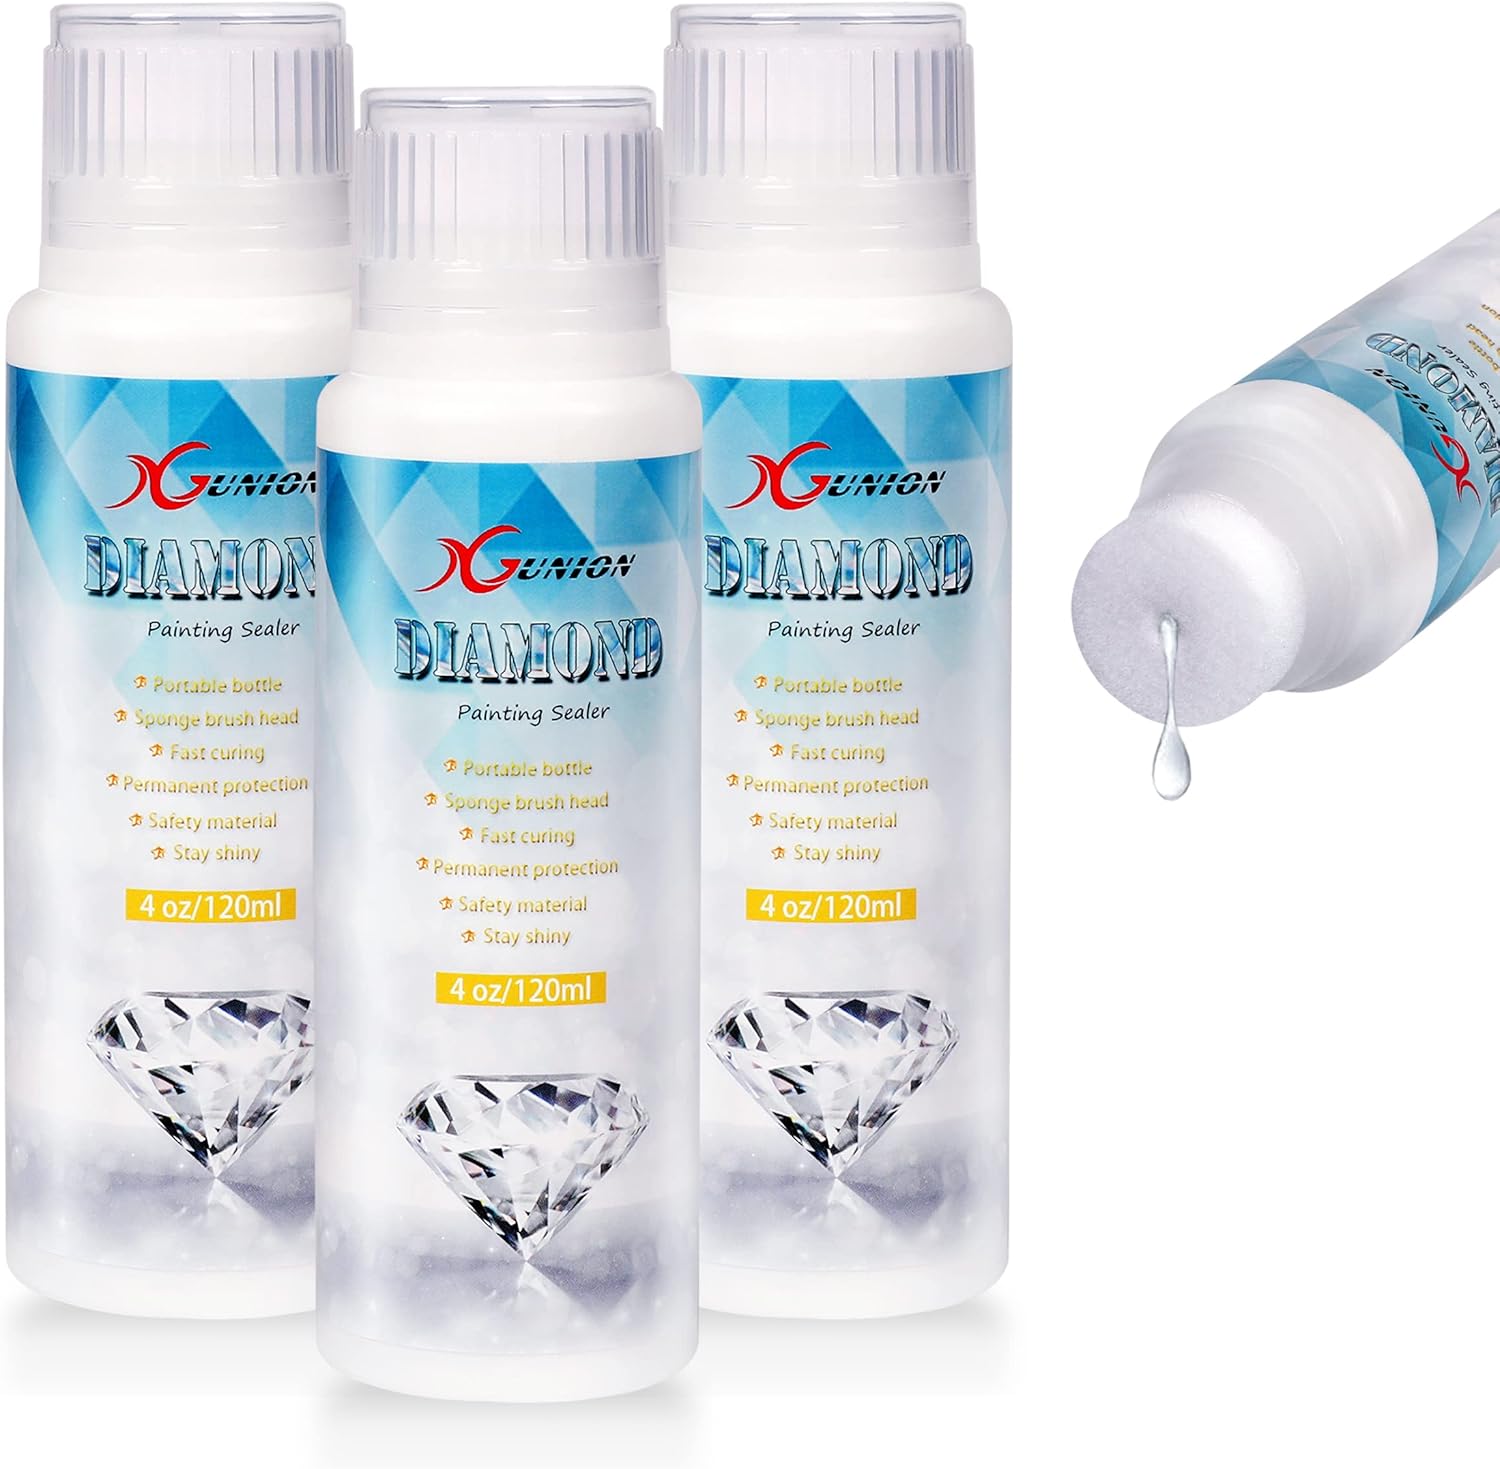
Faburo 2pcs Diamond Painting Sealer | Ready-to-use 120ml bottle Non-Toxic Formula Waterproof & Dust-Proof Protection Prevents diamond paste from falling off |
Check Price |
 |
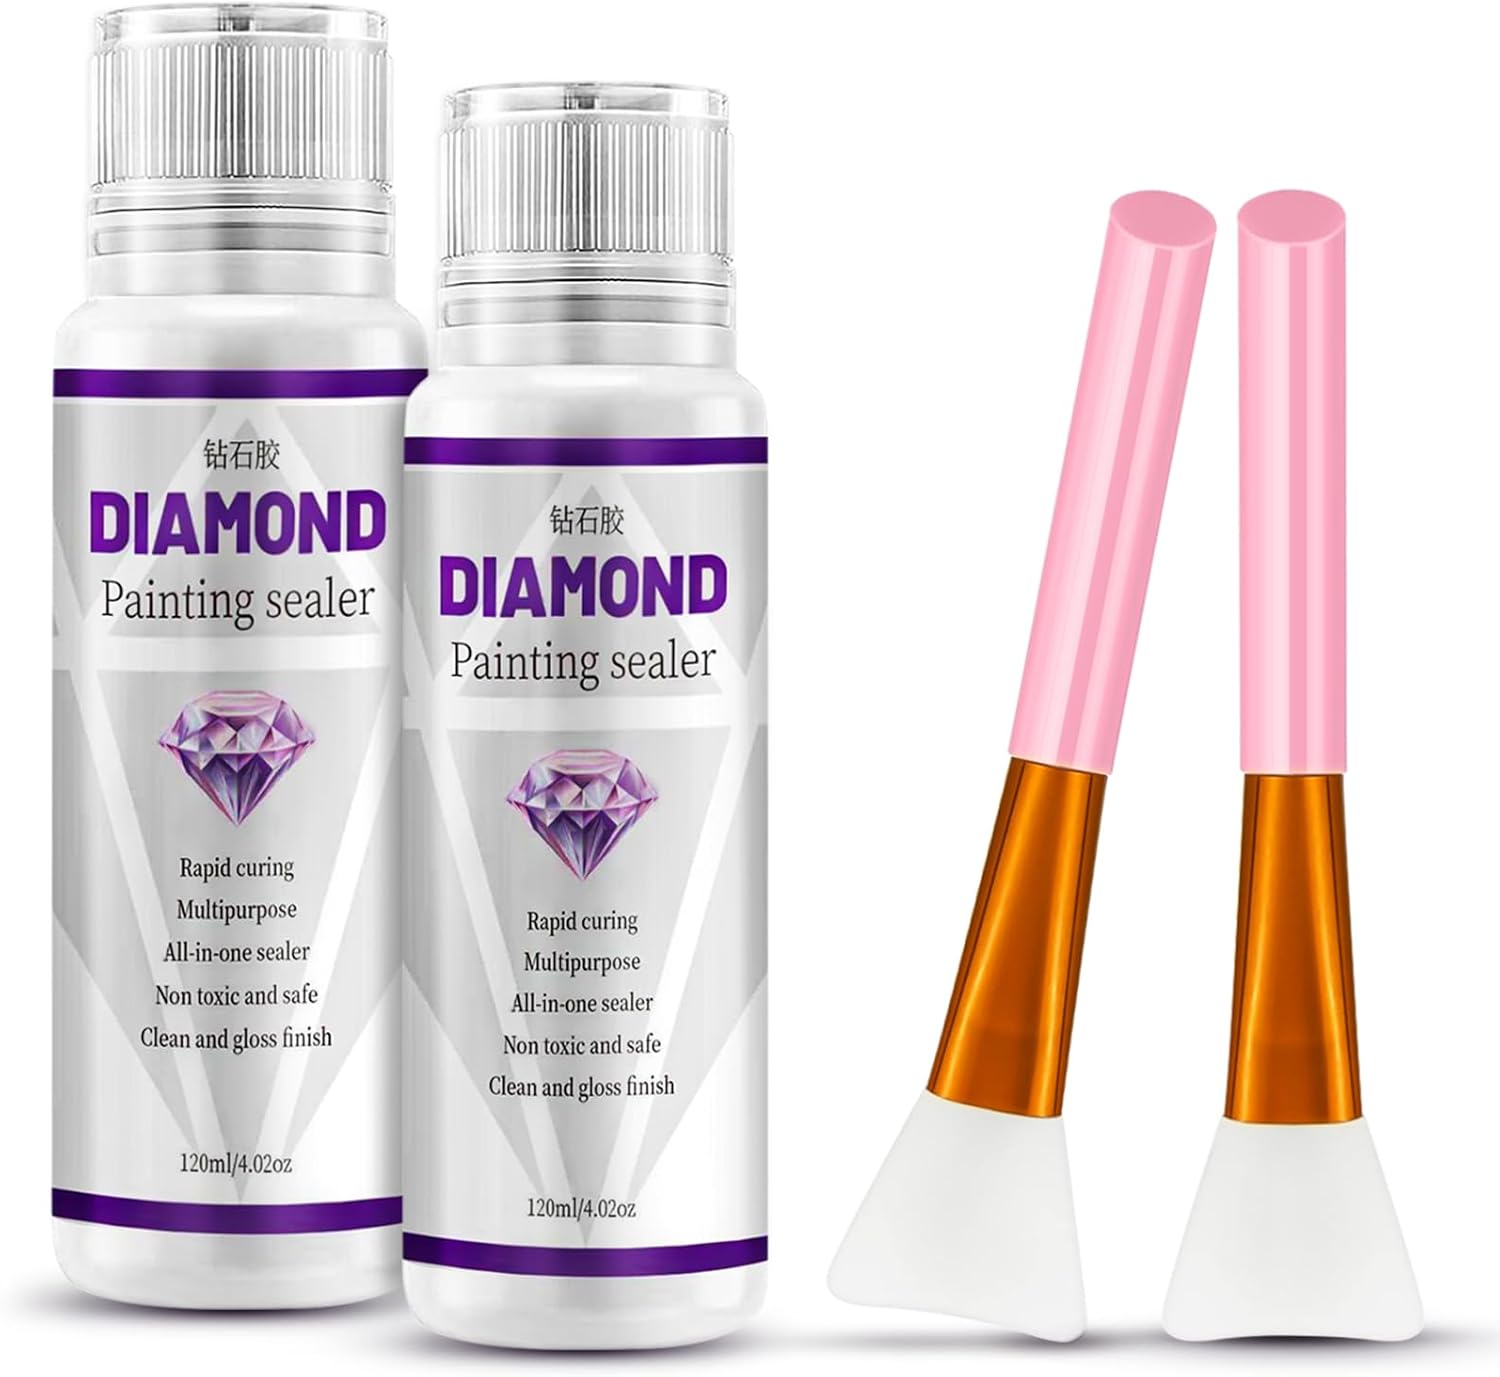
Diamond Painting Sealer 250ML with Silicone Brush | Dries fully in just 2 hours Safe & Non-Toxic Formula Large 250ml bottle covers multiple projects Permanent Hold & Gloss Finish |
Check Price |
 |
ARTDOT 16 oz Diamond Art Sealer Kits for Adults | Quick-Drying for Fast Results Silicone brush ensures smooth, bubble-free coverage Lint roller compacts beads and removes impurities |
Check Price |
 |
Diamond Painting Sealer 3-Pack 360ML | Long-Lasting Shine Safe & Non-Toxic Formula Rapid Curing Time urface cures in just 15 minutes, fully cured in about 30 minutes Adds a high-gloss finish |
Check Price |
 |
SCORCH MARKER – Maker’s Magic Sealer | Crystal-clear gloss finish with mirror-like shine Flexible & waterproof Leaves no clumps or residue Fast-Drying & Easy Cleanup |
Check Price |
 |
Yunnuo Diamond Painting Sealer Kits 240ML with 2 Silicone Brushes | Permanent Hold & Gloss Finish Safe & Non-Toxic Formula Fully cures in about 2 hours Large 240ml (8 oz) bottle |
Check Price |
Different Types of Mod Podge for Glass
Mod Podge comes in a variety of formulas, each suited to different surfaces and finishes. The most popular ones for glass are:
- Mod Podge Gloss: This gives a shiny, glossy finish that enhances the appearance of glass items, making them look vibrant and sleek.
- Mod Podge Matte: If you prefer a non-glossy, flat finish, this formula provides a smooth matte texture for your glass projects.
- Mod Podge Outdoor: Ideal for outdoor glass projects, this formula is water-resistant and adds durability against the elements.
- Mod Podge Dishwasher Safe: If you plan on using your glass item for functional purposes, such as custom mugs or plates, this is the best choice as it’s designed to withstand dishwashing.
Here’s a quick comparison of these types in a table:
| Mod Podge Type | Finish | Best for |
| Mod Podge Gloss | Shiny, glossy finish | Decorative glass projects, vibrant designs |
| Mod Podge Matte | Non-gloss, flat | Subtle designs, avoiding shine on glass |
| Mod Podge Outdoor | Slightly glossy | Outdoor glass items, weatherproof projects |
| Mod Podge Dishwasher Safe | Durable, waterproof | Functional glass items (mugs, plates, jars) |
How to Apply Mod Podge to Glass – Step-by-Step Instructions
Now that you know the types of Mod Podge available, let’s dive into the process of applying it to glass.
Whether you’re creating custom glass jars, vases, or a unique glass centerpiece, the following steps will help you achieve a smooth, durable finish.
Step 1: Prepare the Glass Surface
Before applying Mod Podge, you need to ensure that your glass surface is clean and smooth. Any dust, oil, or dirt can interfere with adhesion, leaving you with an uneven finish. Here’s how you can prepare:
- Clean the glass with a glass cleaner or a mixture of water and vinegar.
- Dry thoroughly with a lint-free cloth to avoid any residue.
- If needed, lightly sand the glass to remove any rough spots.
Step 2: Apply the Mod Podge
Using a soft paintbrush, apply a thin and even layer of Mod Podge to your glass surface. Be sure to work in sections to prevent the Mod Podge from drying too quickly before you’ve had a chance to spread it evenly.
Step 3: Add Your Design (Optional)
If you’re decoupaging, now’s the time to add your paper or fabric. Gently place the design onto the Mod Podge-covered glass and press it down smoothly, removing any air bubbles. If you’re painting, apply your design and let it dry before sealing with Mod Podge.
Step 4: Seal and Finish
Once your design is in place and dry, apply a second layer of Mod Podge over the top. This will seal the paper or paint, providing a protective coating. Let the surface dry for at least 15-20 minutes between coats.
Step 5: Drying and Curing
Allow your finished piece to dry completely. For optimal results, leave it to cure for at least 24-48 hours. This will ensure that the Mod Podge is fully set and that the finish is durable.
Section 3: Common Mistakes to Avoid
When working with Mod Podge on glass, there are a few common pitfalls to watch out for. Here’s a list of mistakes I’ve made (and how I fixed them) to help you avoid them:
1. Applying Too Much Mod Podge
- If you use too much Mod Podge, it can become sticky and take longer to dry, causing uneven results. Always apply thin layers and let each layer dry before applying another.
2. Not Allowing Enough Drying Time
- Impatience is a killer in crafting. If you don’t give enough time for each layer to dry, you risk smudging or ruining your project. Be patient and let each layer dry completely before adding more.
3. Using the Wrong Type of Mod Podge
- Not all Mod Podge is created equal! Always choose the appropriate type of Mod Podge for your glass project. For instance, if you’re working on something that will be washed, make sure you use Dishwasher Safe Mod Podge.
4. Skipping the Preparation Step
- Skipping the cleaning and preparation of the glass surface can lead to poor adhesion and a messy finish. It’s a small step that makes a huge difference.
5. Not Sealing Your Work
- After completing a decoupage or painting project on glass, don’t forget to seal the design with an extra layer of Mod Podge. This adds durability and protects your design from wear and tear.
Tips for Achieving a Professional Finish
Over time, I’ve learned a few tricks that have helped me get that perfect finish when using Mod Podge on glass:
1. Use a Foam Brush for Smooth Application
- Foam brushes help to apply Mod Podge smoothly without leaving brush strokes. This is especially important for large glass surfaces like vases or jars.
2. Take Your Time with Layering
- Don’t rush the process. Apply thin, even coats of Mod Podge and give each layer time to dry properly. This may take some time, but the results will be well worth it.
3. Sand Between Layers (Optional)
- For an ultra-smooth finish, you can lightly sand the glass between coats of Mod Podge. This is especially helpful if you’re aiming for a high-gloss finish.
4. Protect Your Project
- Once your project is completely dry, protect it by storing it in a safe place where it won’t be scratched or damaged. If you plan on using your glass item (like a plate or cup), always follow the instructions on the Mod Podge label for care.
Conclusion
Choosing the best Mod Podge for your glass projects is essential for achieving a flawless finish. Whether you’re making custom glass jars, picture frames, or decorative glassware, Mod Podge provides a versatile and durable solution.
By following the right techniques and avoiding common mistakes, you can create beautiful, professional-quality pieces that will last.
Remember to always choose the right formula for your project, apply thin and even layers, and give each layer time to dry.
I hope this guide has been helpful, and I encourage you to try out these tips on your next glass project. If you have any questions or tips of your own, feel free to share them in the comments below! Happy crafting!
FAQs About Mod Podge on Glass
1. Can I use Mod Podge on food-safe glassware?
- Mod Podge Dishwasher Safe is food-safe after curing, but it’s best to avoid direct food contact on the Mod Podge surface, especially with items like plates or cups. Always check the label for specific instructions.
2. Can Mod Podge be used on clear glass?
- Yes, Mod Podge works well on clear glass, especially if you want to add designs or decals to enhance the look of your glass. Just keep in mind that the finish will slightly change the transparency of the glass.
3. How long does Mod Podge last on glass?
- Once applied and properly sealed, Mod Podge can last for years. However, for glass items that are frequently handled, such as glasses or mugs, the finish may wear down faster.
4. Can Mod Podge be removed from glass?
- Yes! If you need to remove Mod Podge from glass, soak the glass in warm water and gently peel or scrub away the Mod Podge. It may take a little time, but it’s not permanent.
5. Is there a way to make Mod Podge shine more?
- If you want an extra shiny finish, try using a Gloss Mod Podge or add a layer of clear acrylic sealer over the dried Mod Podge for more shine.