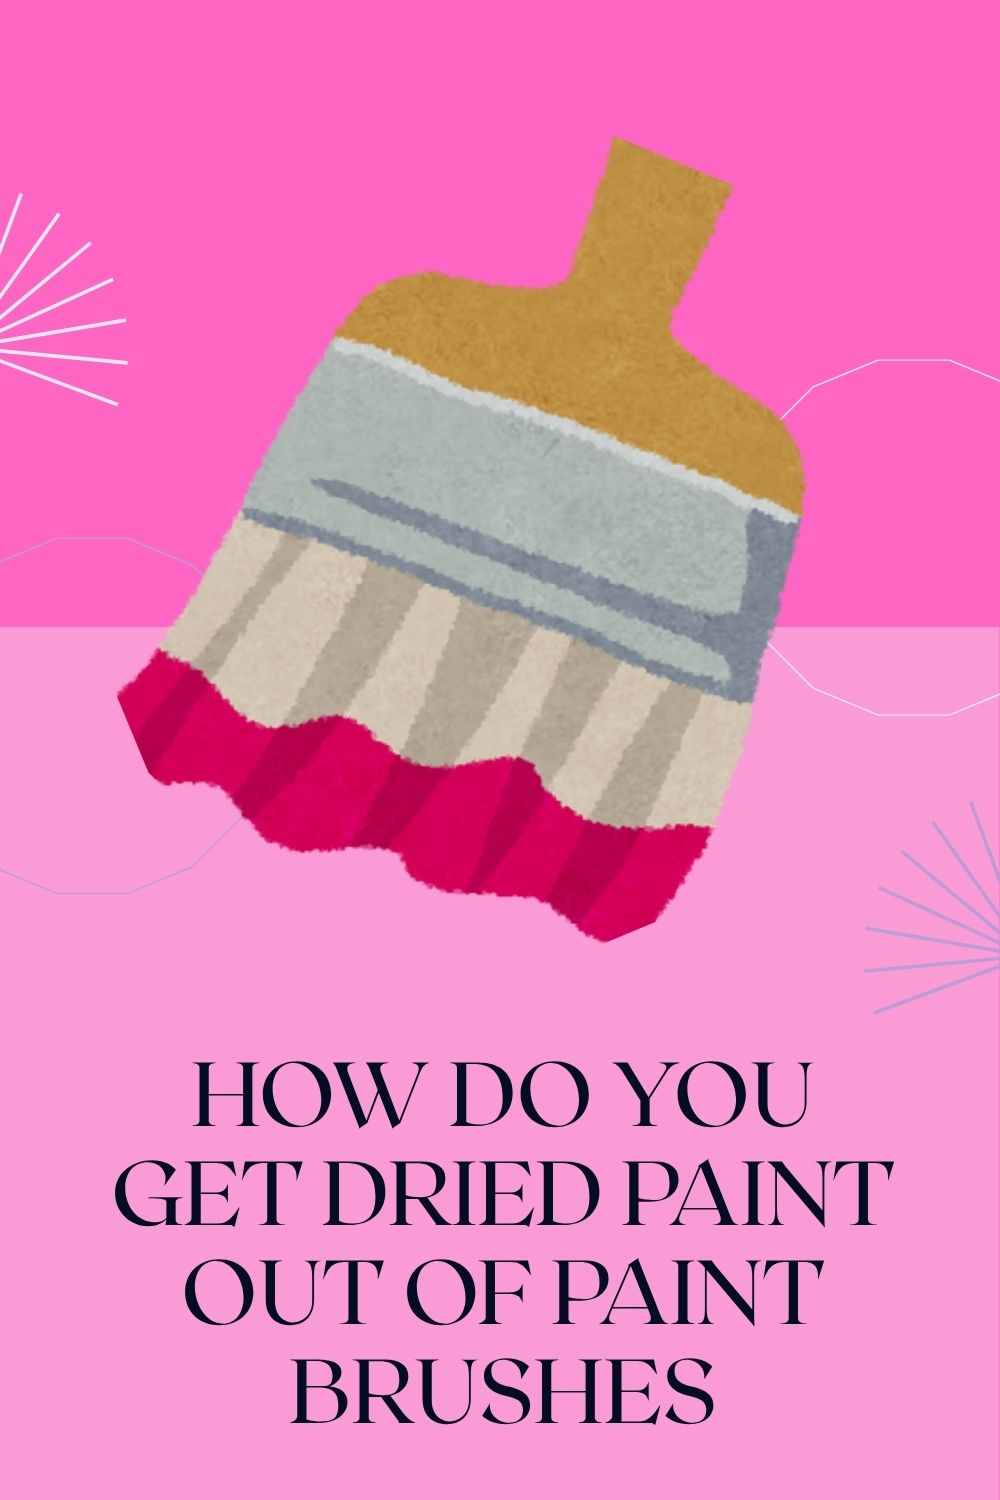
If you’re a painter, whether you’re into DIY projects, home improvement, or just enjoy a little creative painting on weekends, you know how important it is to take care of your paint brushes.
But sometimes, no matter how careful we are, we end up leaving a brush with dried paint on it. The thought of tossing a brush that cost a good amount of money or one that’s been used in countless projects feels wasteful. But don’t worry! You don’t have to part with your brushes just yet.
Getting dried paint out of paint brushes is possible, and in this guide, I’ll show you how to do it. From the basics of what causes paint to dry on your brushes to practical steps and tips for saving them, this post will cover everything you need to know.
Why Do Paint Brushes Get Stuck with Dried Paint?
Understanding why paint dries on your brush can help you avoid it in the future. Paint dries when the solvents or water evaporate, leaving the pigment and binders behind. This happens naturally as the paint is exposed to air or if the brush isn’t cleaned properly after use.
Whether you’re using oil paints, acrylics, or latex paints, each type of paint has its own drying time, and while some dry quickly, others can take a bit longer.
If you’re not cleaning your brushes immediately after use, paint can dry and harden within the bristles, making it tough to remove. Over time, this buildup can damage your brush, leaving it stiff, uneven, and even causing the bristles to fall out.
But don’t fret. There are a few simple techniques and products that can help you restore your brushes and avoid further damage. Let’s break it down!

The Best Methods for Cleaning Dried Paint from Brushes
There are several methods to remove dried paint from your brushes. Below are some of the most effective techniques depending on the type of paint you’ve been using. I’ll also offer step-by-step instructions so you can get started right away.
For Water-Based Paints (Acrylic, Latex, or Watercolor)
Water-based paints are the easiest to clean from your brushes since they can be dissolved in water. However, once they dry, they can create a stubborn, crusty buildup. Here’s how to fix that:
What You’ll Need:
- Warm water
- Dish soap or a brush cleaner
- A container (like a cup or bowl)
- Paper towels or a clean rag
- A brush comb (optional but helpful)
Steps:
- Soak the Brush in Warm Water: Fill a container with warm water, making sure it’s deep enough to submerge the bristles. Let the brush soak for about 10-15 minutes to loosen the dried paint.
- Use Dish Soap or Brush Cleaner: After soaking, pour a small amount of dish soap or a commercial brush cleaner into your palm or a small dish. Gently lather it on the bristles and work it through with your fingers.
- Work the Paint Out: For stubborn areas, you can gently use a brush comb or an old toothbrush to remove the dried paint from the bristles. Be sure to avoid scrubbing too aggressively, as this can damage the brush.
- Rinse and Repeat: Once the paint has been loosened, rinse the brush thoroughly with warm water. If necessary, repeat the process until the brush is clean and the water runs clear.
- Dry the Brush: After cleaning, gently pat the brush dry with paper towels or a clean rag. Reshape the bristles and let the brush dry fully before storing it.
For Oil-Based Paints
Oil paints are more stubborn and require a different approach since they don’t dissolve in water. To clean oil paint from your brushes, you’ll need solvents or oils that break down the paint’s oils.
What You’ll Need:
- Paint thinner or turpentine
- Dish soap or brush cleaner
- A container for the solvent
- Gloves (optional)
- Paper towels or a clean rag
Steps:
- Dip the Brush in Paint Thinner: Pour some paint thinner or turpentine into a container, just enough to submerge the bristles. Dip your brush into the solvent and gently agitate it to dissolve the paint.
- Wipe Off Excess Paint: After the paint begins to break down, wipe the bristles on a clean rag or paper towel to remove the excess paint.
- Clean with Soap and Water: Once most of the paint has been removed, wash the brush with warm water and dish soap to remove any remaining solvent. Be sure to use mild soap to avoid damaging the bristles.
- Dry the Brush: Reshape the bristles and lay the brush flat to dry.
For Specialty Paints (Chalk, Enamel, and Others)
Chalk and enamel paints are popular for certain projects but can also be tricky when it comes to cleaning up. The process is similar to the methods above but requires more time soaking.
What You’ll Need:
- Warm water (for chalk paints)
- Solvent (for enamel or specialty paints)
- Paper towels or a clean rag
- Dish soap
Steps:
- Soak and Dissolve: If you’re dealing with chalk paints, soak the brush in warm water for a longer period of time (30-60 minutes). For enamel paints, you’ll need to use a solvent such as mineral spirits.
- Scrub the Brush: Once softened, gently scrub the brush to remove the dried paint. You can use a brush comb or your fingers to help with this.
- Wash with Soap and Water: After removing most of the paint, wash the brush in soapy water to remove any residue.
- Dry the Brush: Pat the brush dry and reshape the bristles.
How to Prevent Dried Paint from Building Up on Your Brushes
The best way to avoid dealing with dried paint is to clean your brushes properly after each use. Here are some tips for keeping your brushes in top shape and preventing paint from drying on them:
Clean Brushes Immediately
The sooner you clean your brushes after painting, the easier it will be to remove the paint. Leaving brushes unwashed for too long, especially with latex or oil paints, makes them harder to clean and can even damage the bristles. Always try to clean your brushes right after finishing a project.
Use Brush Cleaners
Invest in a good-quality brush cleaner or conditioner. These are specially designed to break down dried paint and condition the bristles, keeping your brushes in prime condition. If you paint frequently, brush cleaners are a worthwhile investment.
Store Brushes Properly
When not in use, store your brushes in a safe place to avoid them getting damaged. For brushes that you plan to reuse soon, wrap them in a damp cloth to prevent the paint from hardening. For long-term storage, make sure your brushes are clean and fully dry.
Helpful Tips for Taking Care of Your Brushes Long-Term
Proper care extends the life of your brushes and ensures they perform well for every project. Here are a few pro tips I’ve picked up over the years:
Avoid Overloading Brushes: It’s tempting to load up your brush with a lot of paint, but overloading it can lead to buildup on the ferrule (the metal part of the brush). Clean the brush frequently to prevent this.
Store Brushes Upright: When drying or storing brushes, always store them upright with the bristles facing up. This helps maintain their shape and prevents any damage to the bristles.
Reshape the Bristles: After each cleaning, reshape the bristles to prevent them from getting bent or splayed. You can use your fingers or a brush comb for this.
Common Mistakes to Avoid When Cleaning Paint Brushes
Even though it’s fairly simple to clean brushes, there are some mistakes that can shorten their lifespan. Here are a few mistakes I’ve made myself, and others to watch out for:
Not Using Enough Solvent: When cleaning oil-based paints, it’s important to use enough solvent to fully break down the paint. Don’t skimp on the solvent – using too little can lead to incomplete cleaning.
Using Harsh Cleaning Products: Some cleaning products, especially those with strong chemicals, can damage your brushes. Stick to gentle soaps or brush-specific cleaners.
Rushing the Drying Process: I’ve been guilty of trying to rush the drying process by leaving brushes in a place where the bristles are bent. This can lead to misshaped brushes. Always let your brushes dry in a relaxed, natural position.
Conclusion
In the world of painting, brushes are some of your most important tools. Properly cleaning and caring for them will save you money and frustration down the line.
Whether you’re dealing with dried acrylics, oils, or specialty paints, there’s always a way to restore your brushes and keep them in good condition.
By following the steps outlined above, you’ll be able to breathe new life into your brushes and avoid the cost of replacing them. Make sure to clean them regularly, avoid common mistakes, and use the proper products for your paint type.