If you’ve ever tried to create custom jerseys, you probably know the power of iron-on vinyl. It’s like the secret sauce that transforms a plain shirt into something unique, often with just a quick press of the iron.
But here’s the thing, not all iron-on vinyls are created equal. So, what should you look for when choosing the best iron-on vinyl for jerseys? Don’t worry, I’ve got you covered. In this post, I’ll walk you through everything you need to know, and by the end, you’ll feel like a vinyl pro.
| Product Image | Product Name | Features | Price |
|---|---|---|---|
 |
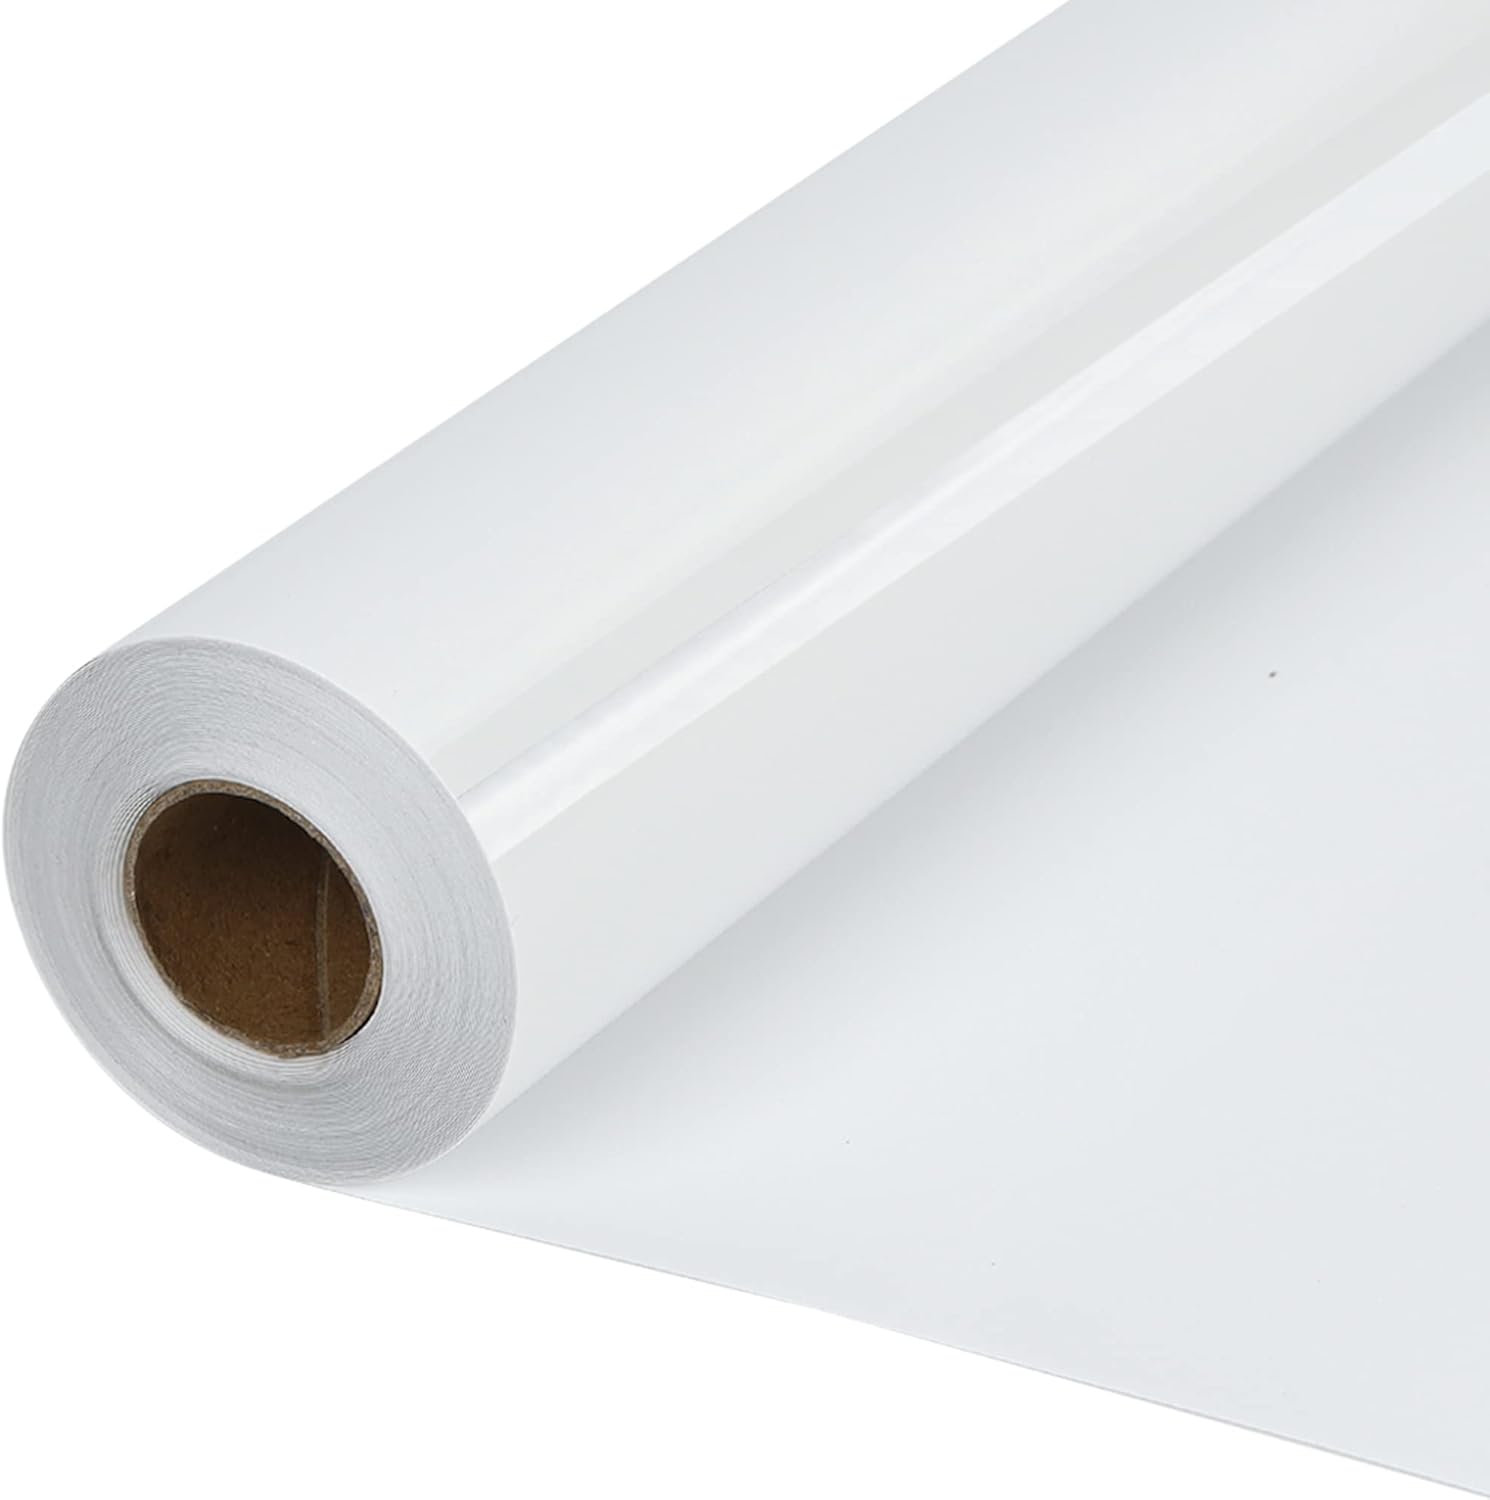
RENLITONG White HTV Iron on Vinyl 12Inch | Made of high-grade polyurethane that is strong, durable, soft, and vibrant. Holds up well after repeated washes without cracking, fading, or peeling. Works with all die-cutting machines, whether professional or hobby-grade. Suitable for household flat irons or any type of heat press machine. |
Check Price |
 |
VinylRus Heat Transfer Vinyl-12” x 20ft | Pressure and temperature-sensitive backing makes it simple to apply designs onto t-shirts and other fabrics. Works on cotton, polyester, and cotton blends. Each roll measures 12″ x 20ft, offering plenty of material for multiple projects. |
Check Price |
 |
Black Cricut Everyday Iron-On Vinyl 12X24 | Designed for smooth, easy application with crisp shapes, letters, and designs. Adheres securely to fabrics, ensuring long-lasting wear without peeling or fading. Simple process makes it suitable for beginners and experienced crafters alike. |
Check Price |
 |
HTVRONT HTV Heat Transfer Vinyl Bundle | Made with non-toxic materials, safe for children’s clothing and everyday wear. Works on cotton, cotton blends, athletic mesh, polyester, textiles, lycra/spandex, and more. Adheres seamlessly to fabric surfaces, holding strong through repeated washes without fading, peeling, or cracking. |
Check Price |
 |
HTVVETUR White HTV Iron on Vinyl 12Inch | Made from high-grade PU material that is strong, durable, soft, and vibrant. Sticky backing makes the weeding process quick and easy, saving time on detailed designs. Extended roll length ideal for large projects, reducing waste and maximizing cost efficiency. |
Check Price |
What Exactly is Iron-On Vinyl?
Before we dive into the details of the best types for jerseys, let’s make sure we’re all on the same page about what iron-on vinyl actually is.
Simply put, iron-on vinyl is a material that you can cut into shapes or letters, then apply to fabric using heat (thanks to your trusty iron or heat press). The heat activates the adhesive on the vinyl, and bam, you’ve got a design that sticks.
So, why do we care so much about this for jerseys? Well, it’s because vinyl’s durability and flexibility are perfect for sportswear, whether you’re making a jersey for yourself, your team, or just for fun.
How to Choose the Best Iron-On Vinyl for Jerseys
Alright, so you’re on the hunt for the best iron-on vinyl for your jerseys. There’s a lot out there, but not all of them are suited for sportswear. Here’s what you need to look out for:
1. Type of Vinyl – Heat Transfer Vinyl (HTV) is your go-to!
Let’s break it down, shall we? There are two common types of vinyl: adhesive vinyl and heat transfer vinyl (HTV). While adhesive vinyl is used for making decals and other projects that don’t involve heat, HTV is your best friend when it comes to jerseys. It’s specifically designed to stick to fabric when heat is applied – and we all know jerseys love a good press.
So, don’t get caught up in the shiny colors of regular vinyl. Always go for HTV if you want your design to stick (literally).
2. Stretch and Flexibility
Jerseys are often made of stretchy, athletic fabric (think polyester, spandex, etc.). That means you need vinyl that won’t crack or peel when the fabric stretches. Look for HTV with a bit of stretch to it. A good quality stretchable vinyl will move with the fabric, so your design doesn’t break when you’re sliding into home base or doing your victory dance.
Pro Tip: Siser EasyWeed Stretch is one of my favorites for sportswear, it has just the right amount of flexibility and durability.
3. Durability – You need something that lasts!
When you’re putting in all that effort to design your jersey, you want it to last, right? Durability is crucial. You don’t want your design to fade after a couple of washes, or worse, peel off during that game-winning touchdown.
Look for HTV that’s known for durability. You want something that can withstand the washing machine (and maybe a little bit of rough handling, depending on your sport). Brands like Siser EasyWeed and Cricut Everyday Iron-On are well-known for their strong adhesive and long-lasting finishes.
Side note: Some vinyl brands even claim their products are machine washable, which is a huge win if you’re making jerseys for a whole team.
4. Smooth Finish vs. Textured Look
Do you want a sleek, smooth finish or something with a little more texture? If you’re after a smooth, professional look, then you’ll want regular HTV. But if you’re looking to add some flair with a textured finish, consider flock or glitter vinyl. Both options give a cool texture to your design – just be sure that it aligns with the overall look and feel you’re going for.
Flock vinyl is particularly popular for sports jerseys because it gives a velvety, plush texture that feels great and looks unique. However, glitter vinyl is perfect for making those bold designs stand out, especially if you’re making a jersey for a team that wants to shine (literally).
5. Adhesion to Fabric
Okay, let’s get real for a second. No one wants to waste time and money on vinyl that won’t stick to fabric. Make sure your vinyl has strong adhesive properties. This ensures that your design won’t peel or lift off, especially after multiple washes. For fabrics like polyester or blends, make sure you’re using HTV that’s specifically designed to adhere to synthetic materials.
A little tip I picked up? Test a small piece of vinyl on your fabric before committing to the entire design. This ensures that it sticks properly and the fabric doesn’t get damaged in the process.
6. Ease of Use
Last but not least, you want something easy to work with, right? If you’re a beginner or just don’t feel like messing around, you’ll want a vinyl that’s easy to cut, weed, and apply. Siser EasyWeed and Cricut Everyday Iron-On are two beginner-friendly options that make this process a breeze.
Cutting it is as simple as putting it through a cutting machine (like a Cricut or Silhouette), and weeding out the excess vinyl is pretty simple too. Plus, both are low-temp applications, so you don’t need to worry about over-heating your jersey.
How to Apply Iron-On Vinyl to Jerseys
Okay, so now that you know what to look for, let’s talk about how to apply it. It’s actually a pretty easy process, but there are a few steps you should follow to make sure everything comes out looking professional. Let’s break it down:
1. Prepare Your Design
First, you’ll need to create your design. Use design software (like Cricut Design Space, Silhouette Studio, or Adobe Illustrator) to create and size your artwork. Be sure to mirror the design before cutting – trust me, you don’t want to mess up your text or intricate designs by forgetting this step.
2. Cut Your Vinyl
Once you’ve got your design set up, load your vinyl into your cutting machine and let it work its magic. If you’re using a regular HTV, remember to cut on the matte side, not the shiny side (that’s the carrier sheet). You’ll want to cut the vinyl mirror-image, so when you press it, the design is facing the right way.
3. Weed the Design
Now for the fun part: weeding. This is the process of removing the excess vinyl that you don’t want on your jersey. Use a weeding tool to peel away the vinyl around your design. You don’t need to be perfect, but be careful with any tiny, delicate pieces – you don’t want to ruin your design by tearing something you need!
4. Apply the Vinyl to the Jersey
Next up, set your iron or heat press to the correct temperature (generally around 305°F). Press the vinyl onto your jersey, using a protective layer (like parchment paper or a Teflon sheet) between the vinyl and the iron or heat press. Press for 10-15 seconds and apply moderate pressure. Once it’s done, let it cool slightly before peeling off the carrier sheet.
For heat press users, it’s even easier – just make sure you’ve got the right settings for pressure and time, and you’re good to go. It’s all about getting that even heat to make sure the vinyl bonds properly.
5. Cool and Finish Up
After you peel off the carrier sheet, let the vinyl cool down completely before you handle your jersey. This ensures that everything is set properly.
Tips for Making Your Vinyl Designs Last
- Pre-wash the fabric: Before applying any vinyl, wash your jersey (without fabric softener) to get rid of any oils or residues that could affect adhesion.
- Avoid ironing directly on the vinyl: If you ever need to iron your jersey after applying vinyl, always iron around the design, not directly on it.
- Use a heat press if you can: It’s a more consistent way to apply pressure and heat, ensuring a longer-lasting design.
- Wait a few days before washing: To be safe, wait 24-48 hours before washing the jersey to ensure the vinyl has fully adhered.
Final Thoughts: The Joy of Custom Jerseys
And there you have it! Now you know everything you need to choose the best iron-on vinyl for your jerseys, plus how to apply it like a pro. No more worrying about your design peeling off mid-game, just choose the right vinyl, follow the steps, and you’ll have jerseys that look great and last.
So, what are you waiting for? Go ahead and create your masterpiece, because, let’s face it, you’re about to make some seriously cool jerseys.