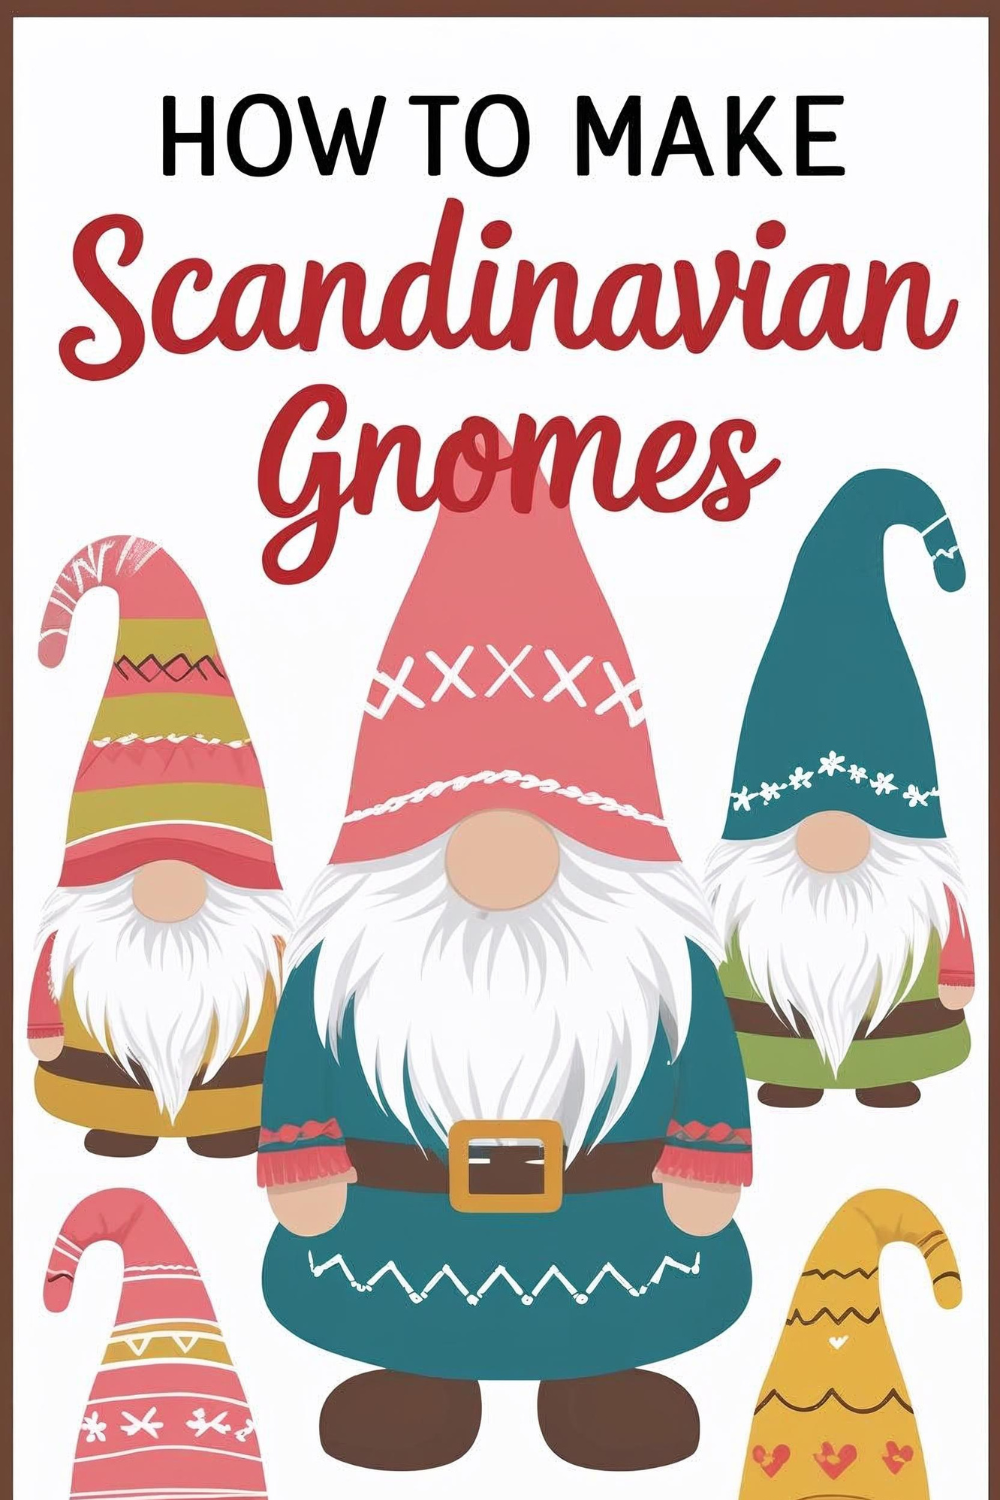
Are you ready to add a touch of whimsy to your home or garden? Scandinavian gnomes are the perfect DIY project, bringing charm and a dash of magic wherever they’re placed.
Whether you’re a seasoned crafter or a beginner, creating these adorable little figures can be surprisingly simple and incredibly rewarding.
In this guide, I’m going to walk you through the step-by-step process of making your very own Scandinavian gnome.
Along the way, I’ll share my personal tips, common mistakes to avoid, and a few creative ideas to make your gnome truly one-of-a-kind. Let’s dive into the world of Scandinavian gnomes and explore how easy it can be to make these delightful creations.
Why Scandinavian Gnomes?
Have you ever looked at a Scandinavian gnome and thought, “I could never make that!”? Well, I’m here to tell you that’s far from the truth.
These little guys might look intricate, but when you break down the steps, they’re actually quite easy to craft. Scandinavian gnomes, or “tomte,” are deeply rooted in Scandinavian folklore.
They’re thought to bring good fortune, and their jolly little faces are often found in homes during the winter months to usher in warmth and happiness.
Making Scandinavian gnomes isn’t just a craft; it’s an experience. They’re fun to create and add a sense of nostalgia and whimsy to any space. Plus, who doesn’t want to add a little magic to their home décor?
Materials You’ll Need
Before you start crafting, make sure you have all the necessary materials. Here’s a simple list of what you’ll need:
| Material | Description |
| Wooden Base | A small wooden ball, block, or round piece (used for the gnome’s base) |
| Felt or Fabric | Use red, white, gray, or other Scandinavian-inspired colors for the body and hat |
| Faux Fur or Cotton Wool | For the beard, you can use faux fur or cotton wool to create the gnome’s signature beard |
| Hot Glue Gun and Glue Sticks | To assemble the gnome and attach accessories |
| Scissors | To cut fabric and felt into the right shapes |
| Wire or Pipe Cleaners | To secure the gnome’s body and arms if you want a poseable gnome |
| Buttons or Beads | For adding decorative accents to the gnome’s outfit |
| Paint or Markers | For painting the gnome’s face or adding details like buttons on the hat |
| Small Wooden Dowel | Optional for the arms, but it helps to give the gnome a sturdy structure |
Once you have all your materials gathered, you’re ready to start! Don’t worry—none of these items are hard to find, and many can be purchased at local craft stores or online.
Step-by-Step Instructions to Make Your Scandinavian Gnome
Now that you have your materials, let’s dive into crafting the gnome. Here’s a simple process to follow, with each step clearly explained.
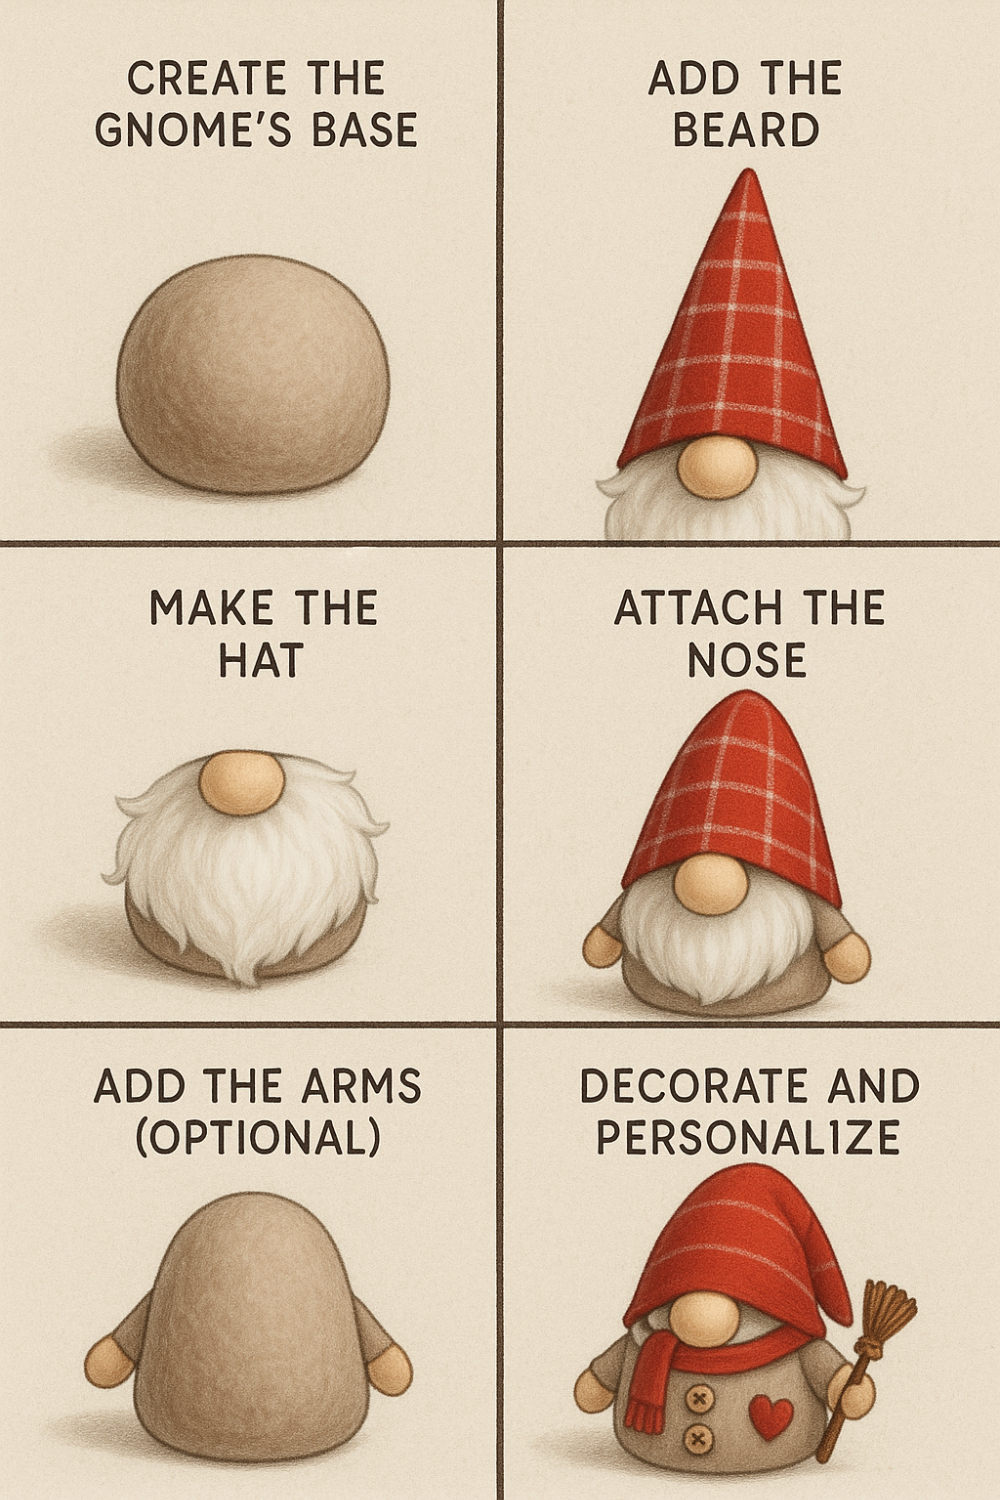
Step 1: Create the Gnome’s Base
- Start with the wooden ball or block for the gnome’s body. If you’re using a wooden ball, this will form the gnome’s head and torso. For a more structured body, you can opt for a small wooden block or cylinder.
- If you’re using a round base, you’ll want to glue it onto a solid surface like a small wooden disc or flat piece to give it stability.
Step 2: Add the Beard
- Cut a piece of faux fur or cotton wool for the beard. The beard should cover the front of the gnome, with some fur cascading down onto the gnome’s chest.
- Attach the beard to the base of the head using hot glue. Press firmly for a few seconds to ensure a secure attachment.
- If you want a full, fluffy beard, trim the fur to your desired length once it’s glued down.
Step 3: Make the Hat
- The iconic Scandinavian gnome hat is tall and pointy, often in shades of red or gray. You can make this by cutting a piece of fabric or felt into a cone shape.
- Roll the fabric into a cone and glue the edges together to form the hat. If you want to add some texture, feel free to sew on little embellishments like buttons or beads.
- Glue the pointy hat to the gnome’s head, right above the beard. Let the glue dry for a few minutes.
Step 4: Attach the Nose
- For the nose, you can use a small wooden bead, a cotton ball, or even a button. The nose should be slightly smaller than the space between the beard and hat.
- Glue the nose to the middle of the beard. Press down for a few seconds to make sure it sticks.
Step 5: Add the Arms (Optional)
- If you’d like to give your gnome arms, use small wooden dowels or pipe cleaners. Simply cut two short pieces of dowel or pipe cleaners, then glue them on either side of the gnome’s body.
- If you’re using pipe cleaners, twist them around the body and form little hands by looping the ends. You can also wrap the arms with fabric or felt for added detail.
Step 6: Decorate and Personalize
- Now comes the fun part: decorating! You can add small buttons or beads along the gnome’s hat or body to make it look more festive.
- You can also add some tiny decorative items, like a miniature broom or a small Christmas ornament, if your gnome is for the holiday season.
Personal Insights and Creativity
What I love about making Scandinavian gnomes is that each one feels like a personal creation. It’s easy to get creative and put your unique spin on each gnome.
For instance, I love experimenting with different fabrics for the hats, adding stripes or plaid patterns, which really gives the gnome a quirky personality.
Another fun twist is customizing the beard. I’ve made gnomes with long, flowing beards, and others with short, spiky ones. The options are endless!
Common Mistakes to Avoid When Making Scandinavian Gnomes
As with any craft, there are a few things to watch out for when making Scandinavian gnomes. Here are some common mistakes I’ve made (and learned from) that you’ll want to avoid:
1. Not Allowing Enough Drying Time for Glue
One mistake I made early on was rushing through the steps and not letting the glue dry properly. If you don’t give the glue enough time to set, your gnome might fall apart before you even finish! Patience is key.
2. Using Too Much Hot Glue
While hot glue is great for attaching pieces, using too much can make the project look messy and cause pieces to shift. A little goes a long way, so use it sparingly.
3. Forgetting to Trim the Beard
When I first started making these gnomes, I forgot to trim the faux fur beard to shape it. It looked too bushy, and the gnome’s face got lost under all the fur! Make sure to trim the beard after gluing it down to get the right look.
4. Overcomplicating the Design
It’s easy to get carried away with adding tons of accessories or fancy details, but remember: simplicity is key. Scandinavian gnomes are meant to be minimalistic and cozy, so don’t overdo it with too many embellishments.
Conclusion: Ready to Craft Your Own Scandinavian Gnome?
I hope this guide has inspired you to try making your own Scandinavian gnome! It’s a fun, creative project that anyone can do, regardless of crafting experience.
The step-by-step instructions will help you create a charming little figure that will add personality to your home or make for a thoughtful gift. Plus, the customization options are endless, so don’t be afraid to experiment and make it your own!
Key Takeaways
- Scandinavian gnomes are easy and fun to craft, even for beginners.
- The basic materials include fabric, faux fur, a wooden base, and glue.
- Personalize your gnome with creative touches, such as unique fabric patterns or decorative buttons.
- Avoid common mistakes like rushing the glue-drying process and overcomplicating the design.
Now it’s your turn! Grab your materials, get crafting, and let me know how your Scandinavian gnome turns out.
FAQs about Making Scandinavian Gnomes
Q: Can I use other materials for the gnome’s beard?
A: Absolutely! While faux fur is most common, you can also use cotton wool, yarn, or even felt for a more minimalist beard.
Q: How can I make my gnome more festive for the holidays?
A: You can add tiny accessories like mini snowflakes, tiny gift boxes, or a little scarf to make your gnome more Christmas-themed.
Q: Can I make a larger gnome?
A: Definitely! Just scale up your materials and follow the same steps. The larger the gnome, the more room you have to get creative with the design.
Q: What if I don’t have a hot glue gun?
A: If you don’t have a hot glue gun, you can use regular craft glue or fabric glue. Just be patient and allow the glue to dry completely.