Adirondack chairs are iconic symbols of relaxation, comfort, and the great outdoors. If you’ve ever spent an afternoon lounging in one, you know how perfect they are for enjoying a cup of coffee, a good book, or just soaking in the fresh air.
But like all outdoor furniture, Adirondack chairs can begin to show signs of wear over time. Fading colors, peeling paint, and the inevitable effects of weather can leave your once-beautiful chairs looking tired and neglected.
But don’t worry! Painting your Adirondack chairs is a simple and rewarding DIY project that can breathe new life into them, transforming them from worn-out to wonderfully refreshed.
In this blog post, I’ll guide you through the step-by-step process of painting your Adirondack chairs, covering everything from preparation to finishing touches.
So, whether you want to give your old chairs a facelift or are looking to change their color entirely, this guide will ensure your chairs get the makeover they deserve.
Are Your Adirondack Chairs Ready for a Refresh?
Think about your Adirondack chairs right now. Are they still as vibrant as the day you bought them? Or have they faded under the harsh sun, endured the beating of rainstorms, or suffered from the occasional spill or scuff?
If you’re nodding along, it’s time to give them a fresh coat of paint. Not only will it improve their look, but it will also protect the wood or plastic, making them last even longer.
But here’s the thing: painting Adirondack chairs isn’t as simple as grabbing a can of paint and going to town. There are key steps you need to follow to ensure that the new paint sticks well, looks smooth, and lasts for seasons to come.
And trust me, it’s worth it. There’s nothing quite like a freshly painted chair to brighten up your porch, backyard, or patio!
What You’ll Need: Your Painting Supplies
Before you dive into the actual process, you’ll need to gather your supplies. While the list may vary slightly depending on the type of chair you have and the look you’re going for, here’s a general list of what you’ll need to get started:
| Item | Purpose | Recommendation |
| Sandpaper (Medium & Fine) | To prep the surface | Start with 120-grit, finish with 220-grit |
| Cleaning Supplies | To remove dirt and grime | Soap, water, and a cloth or sponge |
| Paint (Outdoor/Waterproof) | To apply color and protection | Use high-quality exterior paint (acrylic latex or oil-based) |
| Paint Primer | To create a smooth surface | Choose a primer suitable for wood or plastic |
| Paintbrushes or Sprayer | To apply the paint | Use a 2-3 inch brush or a spray gun for larger areas |
| Drop Cloth or Plastic Sheeting | To protect surfaces around you | Keep the work area tidy and clean |
| Painter’s Tape | To mask off areas | Great for clean lines on edges |
| Clear Sealer (optional) | To protect the paint finish | Optional, but great for long-lasting results |
Step-by-Step Guide to Painting Your Adirondack Chairs
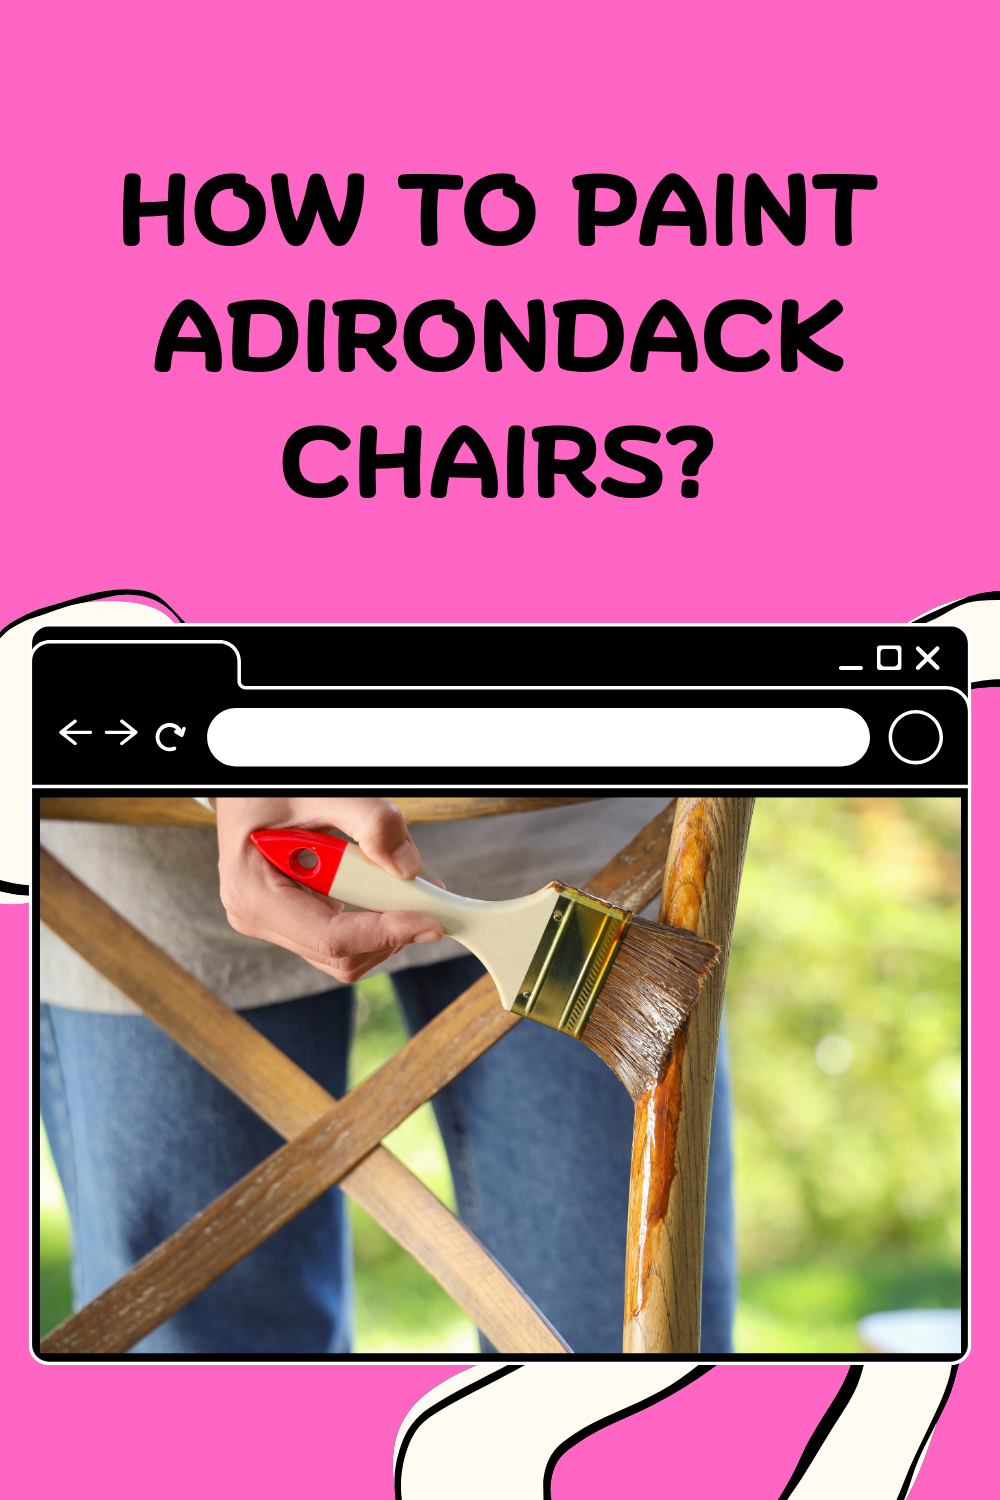
Step 1: Preparing the Surface
You may be tempted to skip this step, but preparation is key to a flawless finish. The quality of your paint job depends largely on how well you prep the surface. Here’s how to do it right:
- Clean Your Chairs:
Use warm, soapy water to clean the chairs thoroughly. Wipe away dirt, dust, and debris. For extra tough grime, you can use a power washer on a low setting, especially if your chairs are wooden. Plastic chairs may not require this, but still, ensure they are free of any dirt or old paint. - Sanding the Surface:
Once the chairs are dry, it’s time to sand them. Start with a medium-grit sandpaper (120 grit) to remove any old paint, then finish with a fine-grit sandpaper (220 grit) for a smooth surface. Sanding helps the primer and paint adhere better. Be sure to sand along the grain of the wood if you’re working with wood Adirondack chairs. If you’re painting plastic chairs, light sanding will still help the paint stick better. - Remove Dust and Debris:
After sanding, wipe down the surface with a damp cloth to remove any dust created by the sanding process. Let it dry before moving on.
Step 2: Applying Primer
Primer is essential for ensuring that your paint sticks well and lasts longer. Skip this step at your own risk without primer, the paint may not adhere properly and could peel or flake off much sooner.
- Choose the Right Primer:
Make sure you pick a primer designed for your specific chair material (wood or plastic). For wooden Adirondack chairs, an oil-based primer works best. For plastic, look for a bonding primer. - Apply Evenly:
Using a paintbrush, apply an even coat of primer to all areas of the chair, paying special attention to any corners and crevices. Let the primer dry for the time recommended on the product label (usually 1-2 hours). - Light Sanding After Primer:
Once the primer is dry, lightly sand the surface again with fine-grit sandpaper. This helps to smooth out any bumps and imperfections in the primer, ensuring a flawless final coat of paint.
Step 3: Painting Your Adirondack Chairs
Now comes the fun part! Here’s how to apply the paint and get a smooth, even finish:
- Pick Your Paint:
For the best results, use outdoor paint that’s designed for furniture. Acrylic latex paint is a great choice for wooden chairs, while plastic Adirondack chairs work well with spray paint made specifically for plastics. - Choose Your Application Method:
You can either use a paintbrush or a spray gun to apply the paint. For wooden chairs, a brush is ideal, while a spray gun can be a good option for a faster, more even coat on both wood and plastic chairs. - Apply Thin, Even Coats:
Whether you’re brushing or spraying, it’s important to apply thin, even coats of paint. Avoid globbing on too much paint at once, as this can lead to drips and an uneven finish. Let each coat dry fully before applying the next one this is usually around 2 hours for acrylic latex paint. - Multiple Coats for Durability:
Don’t be afraid to apply multiple coats, especially if the color is dark or if you’re painting a lighter color over a darker one. Two to three coats will give you a solid finish. Allow each coat to dry completely before applying the next.
Step 4: Adding the Finishing Touches
Once your chairs are dry and you’re happy with the color, it’s time to add a finishing touch:
- Apply a Clear Sealer (Optional):
If you want your paint job to last longer and stand up against the elements, consider adding a clear sealer or topcoat. This will add a protective layer, helping the paint resist fading and chipping. - Final Touches:
Inspect the chairs for any touch-ups that may be necessary. This could be small spots that were missed or areas where the paint didn’t adhere well. Use a small brush to touch up these spots, and let everything dry.
Common Mistakes to Avoid When Painting Adirondack Chairs
While painting Adirondack chairs is fairly simple, there are a few common mistakes you should watch out for. Avoid these, and you’ll have a professional-looking finish:
- Skipping the Prep Work:
One of the biggest mistakes people make is not properly cleaning and sanding the chairs before applying paint. This step ensures that the paint adheres properly and that the finish is smooth and even. - Using the Wrong Type of Paint:
Don’t make the mistake of using interior paint or cheap outdoor paint. Always go for high-quality, outdoor-rated paint. It’s designed to withstand the elements, ensuring your chairs look great for years. - Rushing the Drying Time:
While it’s tempting to rush through the process, it’s essential to let each coat of paint dry fully. Applying a new coat before the previous one has dried can cause streaks, smudges, or uneven coverage. - Overloading the Paintbrush:
When painting, it’s important to load your brush with the right amount of paint. Too much paint can cause drips and uneven texture, while too little will result in streaks and thin coverage.
Conclusion: Freshen Up Your Outdoor Space with a New Coat of Paint
Painting your Adirondack chairs is a simple yet rewarding way to revitalize your outdoor space. By following the right steps cleaning, sanding, priming, and painting you’ll have chairs that look brand new in no time.
Not only does a fresh coat of paint improve the aesthetic of your chairs, but it also protects them from the elements, ensuring they’ll continue to bring comfort for years to come.
Plus, there’s something undeniably satisfying about stepping back and seeing your handiwork your freshly painted chairs will be the pride of your patio!
So, grab your supplies, roll up your sleeves, and give your Adirondack chairs a fresh makeover. Don’t forget to share your finished project with friends and family (or in the comments below)—I’d love to see how your chairs turned out!
FAQs:
Q: Can I paint plastic Adirondack chairs?
Yes! Plastic Adirondack chairs can be painted. Make sure to use a primer and paint specifically made for plastic surfaces. A spray gun is ideal for a smooth finish on plastic chairs.
Q: How long does it take for the paint to dry?
It typically takes about 2 hours for each coat of paint to dry. However, drying times can vary depending on the paint type and weather conditions, so always check the manufacturer’s instructions.
Q: Should I use a sealer after painting?
While it’s optional, applying a clear sealer will provide extra protection and help your paint last longer, especially if the chairs are exposed to harsh weather conditions.
Q: How often should I repaint my Adirondack chairs?
It depends on the weather conditions and how often the chairs are used. A good rule of thumb is to repaint every 2-3 years or whenever the paint starts to fade or peel.