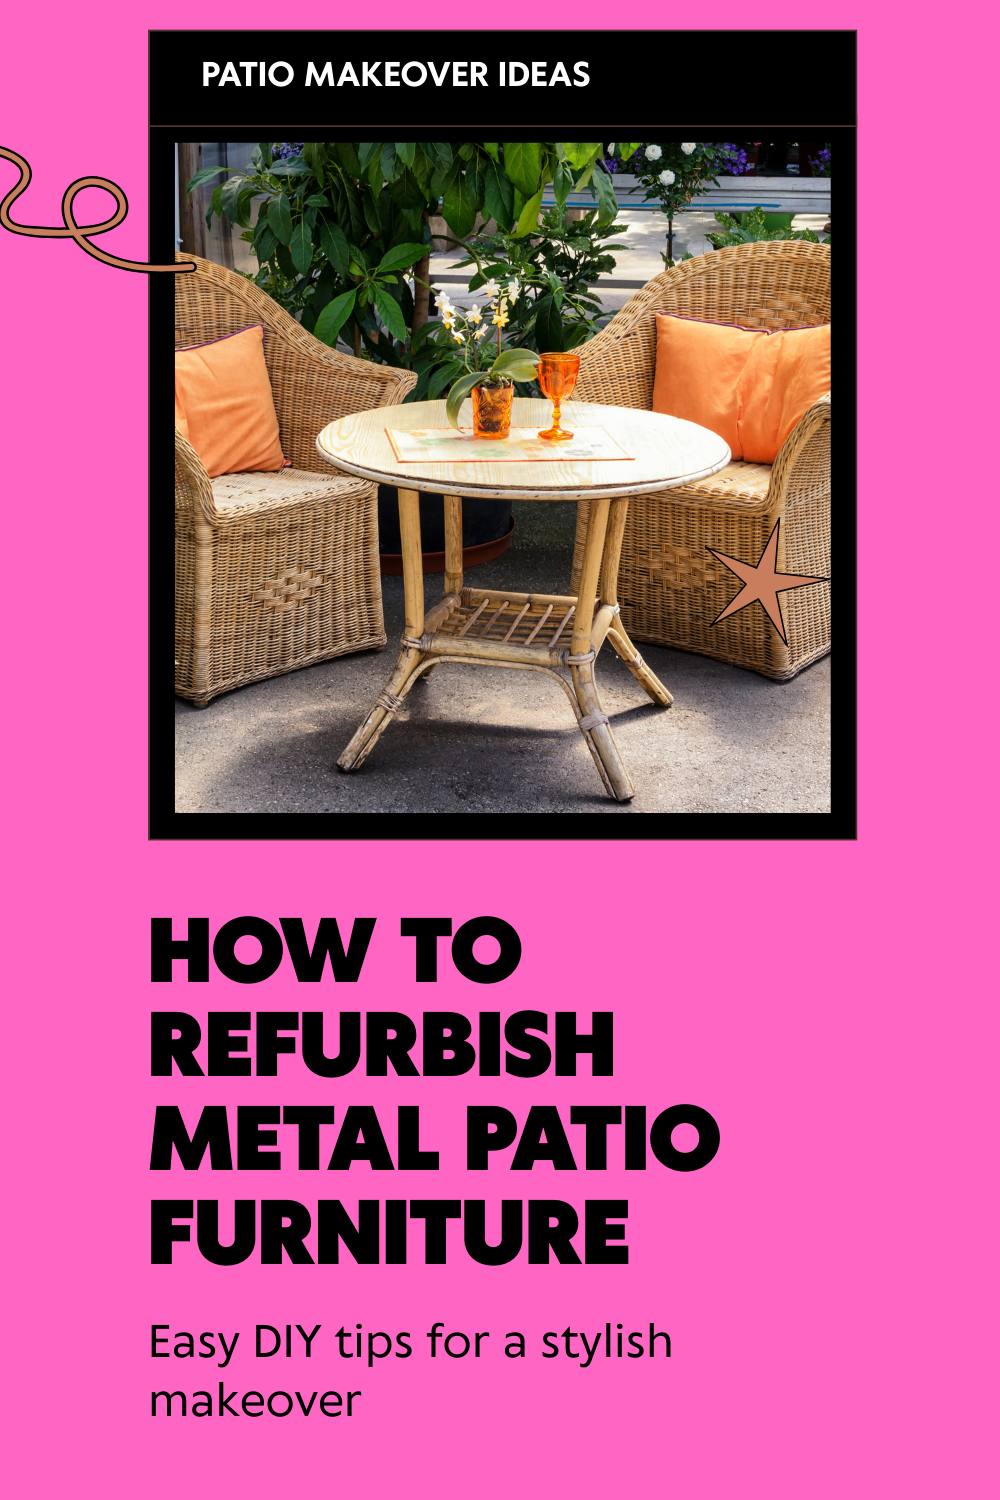
If you’ve ever had a set of metal patio furniture, you know that it can endure harsh weather conditions, constant use, and even the occasional spill or stain.
Over time, though, your once-beautiful outdoor set may start to look worn out, rusty, or outdated. Instead of throwing it away and investing in a whole new set, why not refurbish it?
Refurbishing metal patio furniture is not as difficult as it might sound. With the right tools, a little time, and a bit of elbow grease, you can transform your old, rusty furniture into a stunning, revitalized set.
In this guide, I’ll walk you through everything you need to know, from cleaning and sanding to painting and reupholstering, to give your furniture a fresh look that’ll last for seasons to come.
Why Should You Refurbish Metal Patio Furniture?
We all know how expensive outdoor furniture can be, especially if you’re going for a high-end set. Refurbishing metal patio furniture can save you a considerable amount of money while also giving you the satisfaction of revitalizing something that you already own.
Not only does it allow you to breathe new life into your existing furniture, but it also helps reduce waste, making it an eco-friendly choice.
If you’re wondering whether the process is worth it, think about this: have you ever had a piece of furniture that you loved but eventually got a bit beat up over time?
Well, refurbishing can restore that original charm and give it a new, customized look that matches your taste and style.
Cleaning and Preparing the Furniture
Before you dive into any refurbishing work, the first thing you need to do is properly clean your furniture. This may seem like an obvious step, but trust me—thorough cleaning is key to a successful refurbishing project.
Step 1: Gather Your Cleaning Supplies
Here’s what you’ll need for cleaning:
- Dish soap or mild detergent
- Water (a hose is very helpful)
- A scrub brush or sponge
- A microfiber cloth
- A degreaser (if needed)
Step 2: Remove Cushions and Accessories
Take off any cushions, pillows, or other accessories from your furniture. You don’t want to get them wet or dirty during the cleaning process. If you have removable cushions, you can wash them or clean them separately.
Step 3: Wash the Metal Frames
Start by rinsing the furniture with water to remove loose dirt, dust, or debris. After that, apply a mild detergent solution to the metal frames and scrub away any grime.
You can use a sponge or scrub brush to get into the crevices. If your furniture has stubborn grease or oils, a degreaser will help break it down.
Step 4: Dry the Furniture
Once you’ve cleaned the frames, use a microfiber cloth to wipe them down. It’s important to remove all moisture to prevent new rust from forming.
Removing Old Paint and Rust
Over time, metal furniture is prone to rust and peeling paint, especially if it has been left outside. In this section, we’ll focus on how to effectively remove any old paint or rust that’s accumulated.
Step 1: Inspect the Furniture
Look over your metal furniture carefully to check for any areas where the paint has chipped or where rust has started to form. Identifying these areas early will make the refurbishing process much easier.
Step 2: Remove Loose Paint
If your furniture has chipped or peeling paint, you’ll need to remove it before applying fresh paint. You can use a paint scraper, wire brush, or a chemical paint remover to get rid of old paint. Be sure to wear gloves and work in a well-ventilated area if you’re using chemical strippers.
Step 3: Sanding the Metal
Sanding is one of the most important steps in refurbishing metal furniture. You want to remove as much rust as possible and smooth out the surface for painting. Here’s what you’ll need:
- Sandpaper (preferably 80-120 grit for rust removal)
- A sanding block or power sander (optional)
- A wire brush or steel wool
Start by using the sandpaper to remove the rust and any remaining paint. If you’re dealing with particularly stubborn rust, use the wire brush to scrape it off before continuing with the sandpaper. Be sure to focus on the areas that need the most attention, such as corners and edges.
Step 4: Remove the Dust
Once you’ve sanded the metal, use a microfiber cloth to wipe down the surface and remove all sanding dust. This ensures that the surface is clean and ready for priming.
Sanding and Priming the Metal
After cleaning and sanding your furniture, it’s time to prep the metal for painting. Priming is an important step, as it ensures that the paint will stick properly and last longer.
Step 1: Apply a Metal Primer
Use a rust-resistant metal primer to create a smooth surface for the paint to adhere to. You can find these primers at most home improvement stores.
Make sure to choose a primer that is designed for outdoor use, as it will be more durable and resistant to weather elements.
Apply the primer in light coats, using a paintbrush or spray can. Allow each coat to dry for the recommended time before applying another coat. Typically, two to three coats of primer should be sufficient.
Step 2: Let the Primer Dry Completely
It’s essential to let the primer dry fully before you start painting. Rushing this step can cause the paint to not adhere properly, leading to an uneven finish or peeling later on.
Painting Your Metal Furniture
Now comes the fun part: painting! Whether you want to keep the original color or try something new, painting your metal furniture is a great way to freshen it up. Here’s how to do it right.
Step 1: Choose the Right Paint
For outdoor furniture, it’s important to choose a high-quality, weather-resistant paint. Look for paints that are specifically made for metal and are labeled as rust-resistant. You can choose either spray paint or brush-on paint, depending on your preference.
Step 2: Apply the Paint
Start by applying the paint in thin, even coats. If you’re using spray paint, hold the can about 12-18 inches away from the surface and spray in short, even bursts. If you’re using brush-on paint, use long, even strokes to cover the surface.
Allow each coat to dry completely before adding another. Most metal furniture will require two to three coats of paint.
Step 3: Let the Paint Dry
After applying the final coat, let the paint dry for at least 24 hours before handling or using the furniture. This will ensure that the paint has cured properly and will be more resistant to chips or scratches.
Reupholstering Cushions (Optional)
If your metal patio furniture has cushions that are starting to look worn out, you can reupholster them to match your newly refurbished frames. Here’s how to do it:
Step 1: Remove the Old Fabric
Take off the old fabric from the cushions, being careful not to damage the foam or batting inside. Use a seam ripper to remove any staples or stitching.
Step 2: Measure and Cut New Fabric
Measure the cushions and cut your new fabric accordingly. Be sure to leave a little extra fabric on each side for folding over and stapling.
Step 3: Staple the New Fabric
Once your new fabric is cut, stretch it over the cushion and staple it into place, starting from one side and working your way around. Use a heavy-duty stapler to make sure the fabric stays in place. Trim any excess fabric and make sure the corners are neatly tucked in.
Table: Quick Overview of steps
| Step | Tools/Materials Needed | Key Tips |
| Cleaning the Furniture | Mild detergent, scrub brush, microfiber cloth, degreaser | Thoroughly clean to remove dirt, oil, and grime. |
| Removing Paint & Rust | Paint scraper, wire brush, sandpaper (80-120 grit) | Focus on rusty or chipped areas, use a degreaser if needed. |
| Priming the Furniture | Rust-resistant metal primer, paintbrush, spray can | Apply 2-3 coats, allowing each to dry fully. |
| Painting | Outdoor metal paint (spray or brush-on), paintbrush | Use thin, even coats and let each layer dry completely. |
| Reupholstering Cushions | Fabric, heavy-duty stapler, seam ripper | Replace old fabric with new, ensuring tight corners. |
Common Mistakes to Avoid While Refurbishing Metal Patio Furniture
While refurbishing your metal patio furniture, there are a few common mistakes that you should watch out for to ensure a successful project:
- Skipping the Prep Work: Skipping cleaning, sanding, and priming may seem like a time-saver, but it will lead to poor adhesion and shorter-lasting results.
- Using the Wrong Paint: Make sure to use paint designed for metal and outdoor use. Regular interior paint won’t hold up to the weather.
- Rushing the Drying Process: Be patient! Rushing through the drying times for primer or paint can ruin the finish and lead to uneven results.
- Not Applying Enough Coats: One thin coat of paint isn’t enough to protect your furniture. Be sure to apply multiple coats for durability.
Conclusion: Your Patio Furniture, Refurbished and Ready to Shine
Refurbishing your metal patio furniture is a cost-effective and rewarding project that can breathe new life into your outdoor space. By following the steps outlined in this guide, from cleaning and sanding to painting and reupholstering, you can restore your furniture to its former glory.
Remember, patience is key throughout the refurbishing process. Taking your time ensures that the finished product will not only look great but will also last for many seasons to come.
Have you refurbished your patio furniture before? Share your tips or ask questions in the comments below! Don’t forget to share this guide with friends who might want to tackle a similar project.


