If you’ve ever tried to add a personal touch to your sewing projects with fabric markers, you know it’s not as simple as picking up any old marker and hoping for the best. Fabric markers can be a game-changer for your designs, but picking the right one can feel like trying to find a needle in a haystack.
Don’t worry I’m here to make that decision a lot easier for you. Whether you’re customizing a pair of jeans or creating a one-of-a-kind quilt, let’s chat about everything you need to know about fabric markers for sewing. Trust me, you’ll be marking like a pro in no time.
| Product Image | Product Name | Features | Price |
|---|---|---|---|
 |
LEONIS Water Erasable Fabric Marking Pen Blue 5 Count Pack | Designed for precise marking, giving sewists and crafters confidence in every line. High-quality Japanese ink dissolves or washes away with water, leaving no trace behind. Narrow, firm pen tip ensures smooth, accurate lines for detailed sewing and craft work. |
Check Price |
 |
Mr. Pen- Fabric Markers for Sewing | Includes 5 pens with specialized water-soluble ink for temporary fabric marking. Ink washes away with water, leaving no permanent stains or residue. Ensures projects look clean and polished by removing markings before completion. Avoid ironing before erasing; heat may set the ink permanently. |
Check Price |
 |
12 PCS Tailors Pencil Se | Includes 12 tailor pencils plus 2 high-quality sharpeners, ensuring long-term usability. Each pencil measures 17.6 cm (6.93 inches), offering comfortable grip and extended service life. Produces crisp, visible sewing lines that are easy to follow without smudging or dirtying hands. |
Check Price |
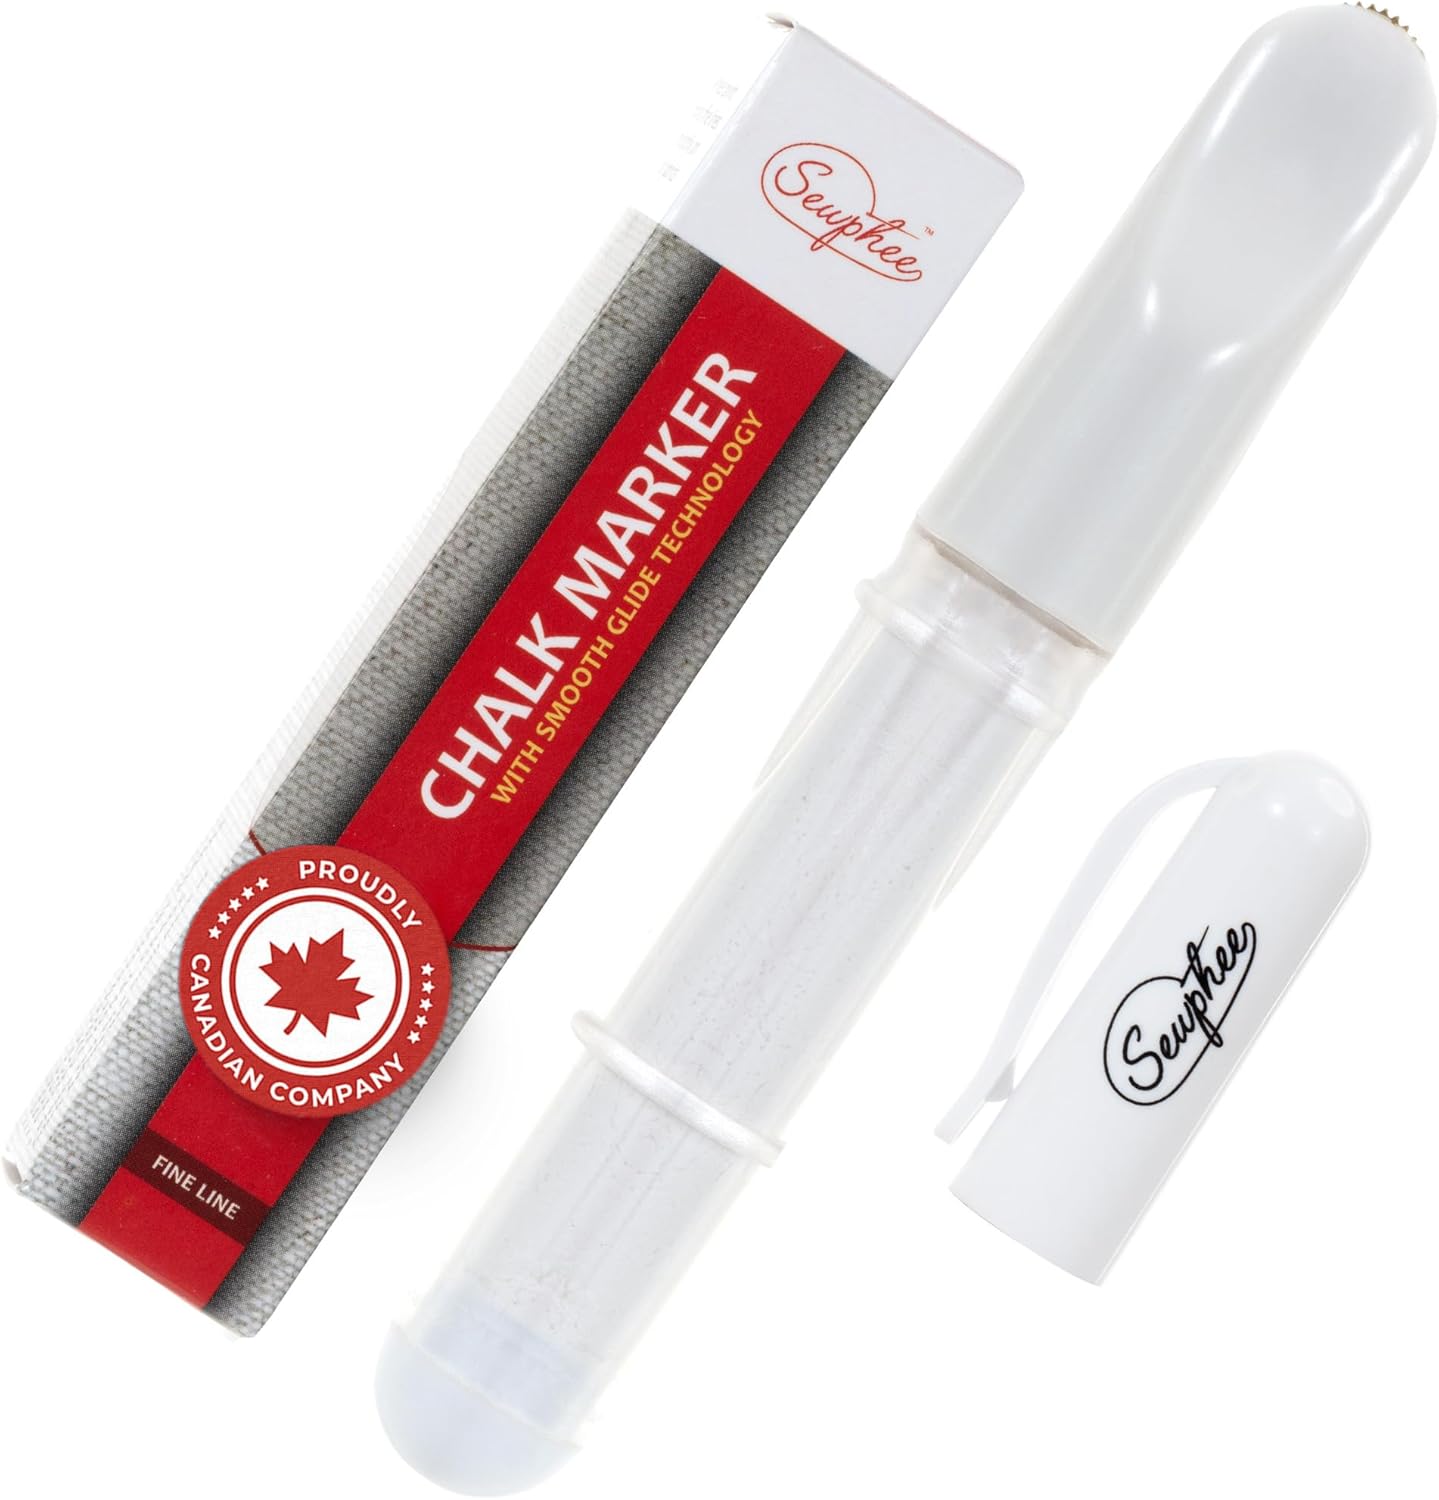 |
Fabric Markers for Sewing | Lines are intentionally light to protect fabric integrity and allow safe removal. Ergonomic design reduces strain, offering better control and accuracy for sewing and embroidery. Easy cleanup with water; White is ideal for delicate fabrics like silk, nylon, or chiffon. Works smoothly on cotton, knit, leather, and more (not suitable for silk or nylon). |
Check Price |
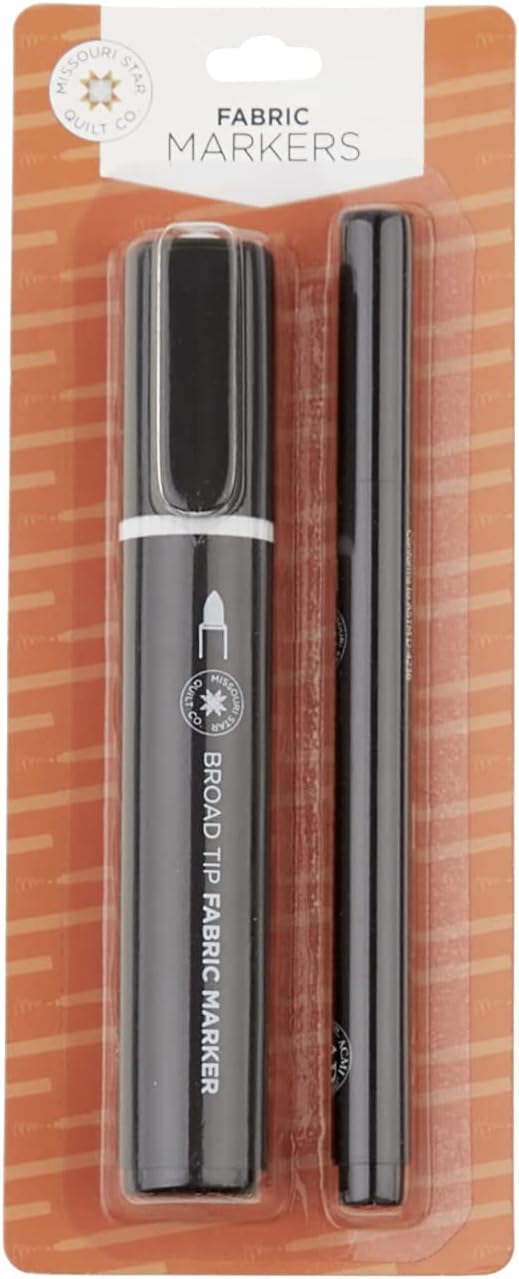 |
Black Fabric Markers 2 Pack | Water-Resistant & Durable. No steam or ironing required; ink dries quickly for hassle-free creativity. Perfect for quilt labels, clothing customization, and fabric crafts. Fine tip allows for detailed outlining, while broad tip is ideal for bold strokes. |
Check Price |
 |
Lange & König Heat Erasable Fabric Marking Pens for Sewing | Each pen includes 3 refills, covering up to 1300 feet of markings for long-lasting use. Disappears cleanly with zero residue, leaving fabric pristine and professional-looking. A must-have for quilting, tailoring, embroidery, and sewing machine projects. Perfect for detailed patterns, cutting guides, and stitch lines. |
Check Price |
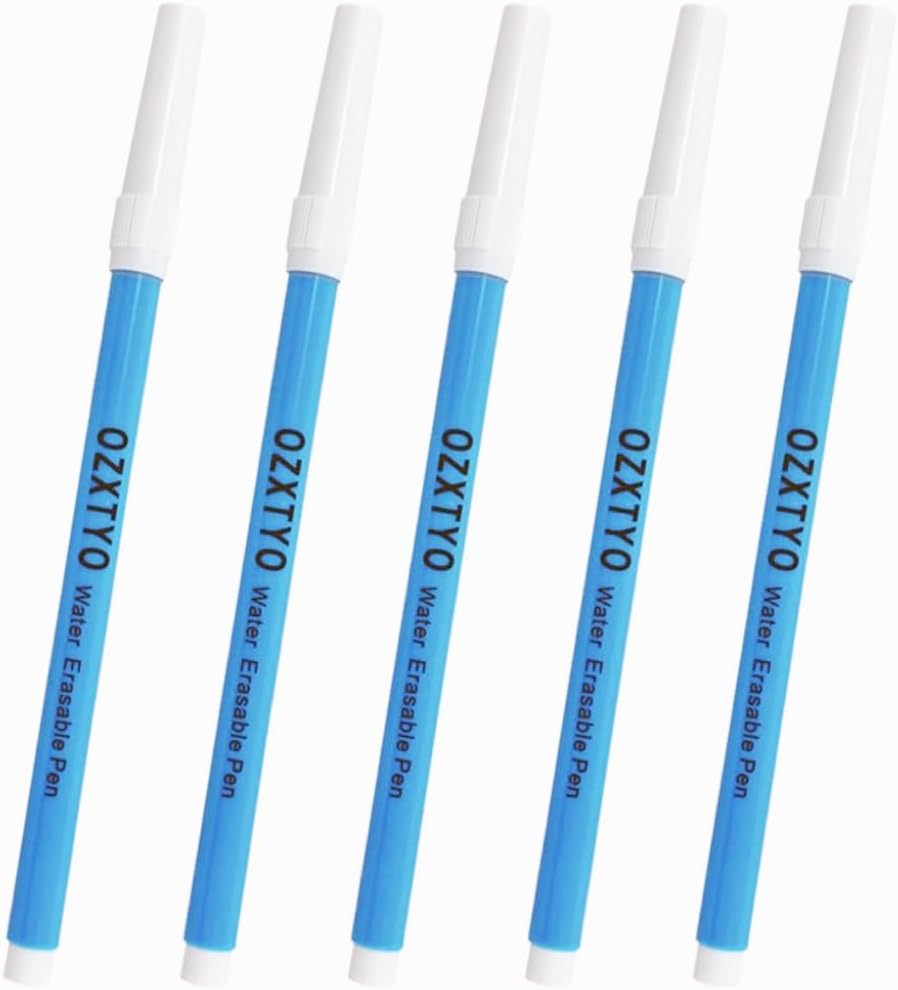 |
Washable Fabric Markers for Sewing | Includes 5 blue fine-point pens, perfect for multiple sewing and craft projects. Each pen measures 6.5 inches, offering comfortable grip and extended usability. Fine point delivers sharp markings for accurate cutting, stitching, and design transfer. Avoid ironing before erasing, as heat may set the ink permanently. |
Check Price |
 |
SINGER 04371 Fine Point Disappearing Fabric Marking Pen | Includes two fine-point pens in pink and blue, each measuring 5.75 inches. Marks disappear with water, leaving fabric clean and residue-free. Fine tips deliver sharp markings for accurate design and pattern creation. Perfect for creating designs and patterns on fabric without permanent staining. |
Check Price |
What Makes Fabric Markers Special for Sewing?
You might be wondering, “Why can’t I just use a regular marker?” And look, you could, but that’s like trying to use a butter knife as a screwdriver. Regular markers are not made to withstand the wear and tear of fabric.
Fabric markers, however, are designed specifically for textiles. They’re built to last, stay vibrant, and most importantly, they won’t bleed through your fabric like a bad breakup.
Fabric markers are typically made with a special ink that’s both flexible and resistant to fading. This makes them perfect for sewing projects where you need the colors to stay put. Plus, they come in various nib types, from fine tips for detailed line work to broad ones for covering large areas.
Types of Fabric Markers to Consider
Not all fabric markers are created equal. Depending on your project, you’ll want different features. Let’s break down the types of fabric markers out there:
1. Water-Based Fabric Markers
- Great for Detail Work: Water-based markers are perfect for fine lines and intricate designs.
- Easy to Use: You don’t need to worry about fixing them in place—just let them dry.
- Washable: These are great for projects you want to be able to wash without the color fading away.
These markers are the go-to if you’re working on a small project, like custom patches, embroidery, or adding details to a garment. They also tend to dry quickly—always a bonus in my book!
2. Oil-Based Fabric Markers
- Durability: These guys are ideal for permanent designs. Once the ink sets, it’s pretty much there for the long haul.
- Best for Dark Fabrics: If you’re working on dark-colored fabric, oil-based markers have superior opacity.
If you’re designing a bag, a jacket, or anything that will get lots of wear and tear, these are your best bet. Oil-based markers work their magic on heavy-duty fabrics, and the designs stay vibrant even after multiple washes.
3. Dual Tip Fabric Markers
- Versatility: Dual tip markers are the Swiss Army knives of fabric markers. One side usually has a broad tip, while the other has a fine point.
- Great for Mixing Detail and Color Blocks: If you’re working on something complex, these markers give you the flexibility to tackle any part of the design.
Ever wanted to create a fine line detail and fill in a large area with color without grabbing two different pens? Yeah, these markers can do that. It’s like a dream come true for multi-step designs.
How to Choose the Right Fabric Marker for Your Sewing Project
Okay, now that we know the types of markers, let’s figure out which one is best for your project. No more guessing here’s what you need to look at.
Consider Your Fabric Type
Not all fabrics are created equal, and the fabric you’re working with should influence your choice of marker. For example:
- Cotton & Linen: These fabrics are super absorbent, which means you’ll want a marker that won’t bleed too much. Water-based markers work great here.
- Silk or Satin: These delicate fabrics need a gentler touch. Go for markers with a finer tip and be mindful of your pressure to avoid damaging the fabric.
- Denim or Canvas: For heavy-duty materials like denim, an oil-based marker will give you vibrant, long-lasting designs.
Think About Color Intensity
The color intensity is key. If you’re working with light fabrics, you might get away with lighter shades or water-based markers. But for darker fabrics, an oil-based marker is going to stand out more and show up well.
The Tip Matters!
- Fine Tip: Go for fine tips if you’re looking to add intricate, detailed designs (think embroidery or lace).
- Broad Tip: For larger areas or bold designs, a broad tip marker will make it easier to cover bigger sections quickly.
Tips for Using Fabric Markers Like a Pro
Now that you know the markers you need, it’s time to talk technique. I’ve got a few tips that will take your fabric design game from “meh” to “wow!”
Prep Your Fabric
You can’t just pick up a fabric marker and start drawing. Well, you can, but it’ll look like you rushed through it. Here’s how to prep:
- Wash Your Fabric: Fabric markers adhere better to clean fabric. Give your fabric a good wash to remove any oils or residues.
- Iron Out the Wrinkles: A smooth surface is key. Wrinkles can make your design look messy, so give your fabric a quick iron before you start.
- Use a Barrier: If you’re drawing on a shirt or something with a back, place a piece of cardboard or scrap fabric under the area you’re drawing on. This prevents any bleeding through to the other side.
Test Your Markers First
Before you go all-in on your project, try out the markers on a scrap piece of fabric. This will give you a good idea of how the color turns out and how the ink absorbs into the fabric. Trust me, this step saves so many headaches.
Let It Dry
The temptation to touch your design right after it’s done is real. But patience, my friend. Let your design dry completely before you even think about moving it around. Otherwise, you’ll risk smudging your work. No one wants to ruin a masterpiece because they were too impatient.
Fix the Ink (Optional)
If you want to make your design permanent, you can heat-set it. After it’s dry, simply press it with an iron on the reverse side of the fabric. This helps the ink bond with the fabric, making it more resistant to washing and wear.
How to Care for Fabric Marked Projects
You’ve done the hard work of creating a beautiful design, so now it’s time to take care of it.
- Wash Gently: Use cold water and a gentle cycle when washing fabric with marker designs. This helps preserve the color and keeps your design intact.
- Avoid the Dryer: If you can, let your item air dry. Heat from the dryer can fade the ink over time.
- Iron Carefully: If you need to iron your design, turn your fabric inside out and avoid directly ironing over the marker.
Common Mistakes to Avoid with Fabric Markers
Even the most seasoned crafters can make a few slip-ups when working with fabric markers. Here are some things to watch out for:
1. Using the Wrong Marker for the Fabric
Choosing a marker that’s not suited to your fabric can cause issues like bleeding or fading. Always check the label or test your markers beforehand.
2. Not Allowing Enough Drying Time
I get it you’re excited to see your project come to life. But rushing the drying process can lead to smudging or uneven marks. Be patient!
3. Skipping the Pre-Wash Step
This one’s huge. If you skip washing your fabric before marking, the ink might not set as well. Clean fabric is always the way to go.
4. Overloading on Color
Fabric markers are designed to be vivid, but sometimes less is more. Overloading a design with too many colors can make it look busy and chaotic. Stick with a few colors that complement each other for the best effect.
Wrapping It Up
Choosing the right fabric marker doesn’t have to be complicated. Whether you’re making a t-shirt with a custom design or adding some flair to a quilt, knowing the types of markers and how to use them will make your sewing projects a breeze.
Take your time, experiment with different techniques, and most importantly, have fun with it. Your fabric projects deserve the best, and now, armed with this knowledge, you’re ready to make your designs shine.
So, what’s your next sewing project going to be? Grab those fabric markers and let your creativity run wild!