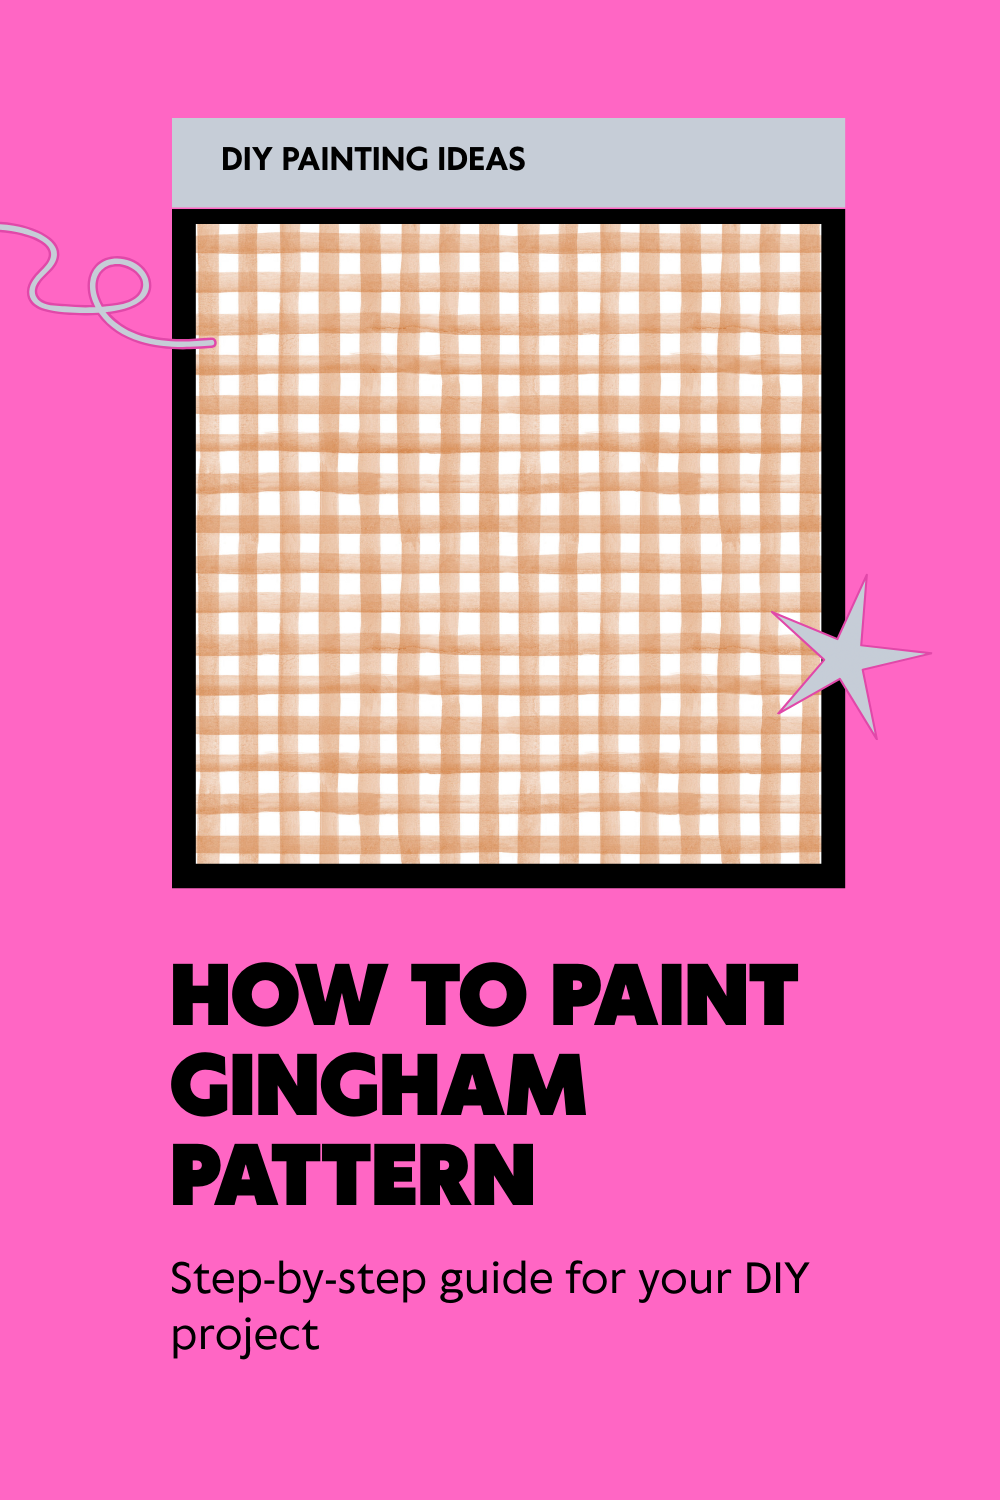
If you’ve ever wandered down the aisles of a craft store or scrolled through Pinterest, you’ve likely come across gingham a timeless pattern that can make any project feel fresh and cozy.
Whether you’ve seen it on a picnic blanket, a tea towel, or a set of throw pillows, gingham has a charm that’s hard to resist. But what if I told you that you can create this classic pattern yourself, right at home?
Imagine walking into your living room and seeing a vibrant gingham-patterned tablecloth that you painted yourself. Doesn’t that sound like the perfect DIY project for a cozy afternoon?
Painting your own gingham pattern might seem intimidating at first, but trust me once you break it down step-by-step, it’s simpler than it looks.
In this post, I’ll guide you through the process of painting a gingham pattern, from prepping your materials to creating the final touches. You’ll feel like a pro by the time you’re done. So, let’s dive in and create that perfect gingham pattern!
Materials You’ll Need: Let’s Get Ready to Paint
Before we start, let’s gather everything you’ll need. The good news? You likely already have some of these items in your craft stash.
| Item | Why You Need It | Where to Get It |
| Painter’s Tape | To create crisp lines and sections | Craft stores, online |
| Acrylic Paint (2 colors) | For your gingham squares | Craft stores, online |
| Paintbrushes | For filling in your squares | Craft stores, online |
| Ruler or Measuring Tape | To measure your sections accurately | Home improvement stores |
| Pencil/Chalk Marker | To draw guidelines for your pattern | Craft stores, online |
| Foam Roller (Optional) | To quickly cover large areas | Craft stores, online |
| Clear Varnish (Optional) | To protect your painted surface | Craft stores, online |
Preparing the Surface and Tools: Laying the Groundwork
Now that we have all our materials ready, let’s start by prepping the surface where you’ll be painting. Whether you’re working with a wooden table, fabric, or canvas, proper preparation is crucial for a smooth finish.
Step 1: Clean Your Surface
Before you begin painting, ensure the surface is clean and smooth. Use a damp cloth to wipe away any dust or dirt. If you’re working on fabric, make sure it’s washed and ironed to remove wrinkles. This gives you a pristine surface to work on and ensures that your paint will adhere properly.
Step 2: Tape off Your Area
Using painter’s tape, outline the area where you want to create your gingham pattern. For this tutorial, I recommend working with a square or rectangular area think placemats, table runners, or a piece of fabric.
The size of the sections will determine how big your squares are, so take time to measure and tape off your design.
Step 3: Mark Your Grid
Take your ruler or measuring tape and lightly mark the sections of your grid with a pencil or chalk marker.
Gingham is traditionally made up of evenly spaced squares, so you’ll want to ensure they’re all the same size. Depending on your project, you can decide whether you want small, medium, or large squares.
Step-by-Step Instructions for Painting Gingham: Let’s Get Creative
Now that you’ve prepared your surface, let’s dive into the actual painting process. This part is where the magic happens!
Step 1: Paint Your First Color
Start by painting the vertical lines of your grid in one color. You can use any color that matches your aesthetic, but traditional gingham often uses a white and red or blue combination.
Choose your first color, and carefully paint the spaces between your taped lines using a small brush or a foam roller.
I suggest starting with a light coat to prevent the paint from bleeding under the tape. If you’re using a foam roller, this step will be a breeze, as it covers larger areas more quickly.
Step 2: Let It Dry
Once you’ve painted the first layer, let it dry for at least an hour or until it’s no longer tacky. The drying time may vary depending on the paint you’re using, so check the manufacturer’s instructions for the recommended drying time.
Step 3: Tape Off the Horizontal Lines
Once the vertical stripes are dry, it’s time to add the horizontal stripes. Carefully tape over the vertical lines, making sure to line them up perfectly. This is where the ruler comes in handy for precision!
Step 4: Paint the Horizontal Lines
Now, repeat the process with your second color. Using the same brush or foam roller, fill in the horizontal sections of the grid. Again, be careful with the tape to avoid paint smudges, and don’t rush the painting process.
Step 5: Remove the Tape
Once both colors are dry, carefully remove the painter’s tape. Be gentle as you peel the tape away to ensure you don’t pull up any paint from the surface. If you’re working on fabric, be extra cautious wet paint on fabric can sometimes pull away.
Common Mistakes to Avoid: Watch Out for These Pitfalls
While painting a gingham pattern is relatively straightforward, there are a few mistakes that can trip up even the most experienced DIYers. Let’s go over the common mistakes to avoid:
1. Skipping the Tape
It might be tempting to “eyeball” your grid, but skipping the tape can lead to crooked or uneven lines. Trust me, tape is your friend here.
2. Overloading Your Brush
When painting, avoid loading your brush with too much paint. It can cause the paint to drip or smudge. Instead, dip the brush lightly and use multiple layers to build up the color gradually.
3. Not Letting Paint Dry Between Layers
It’s easy to get excited and try to move on to the next layer before the paint has dried, but this will only cause smudging and uneven surfaces. Patience is key!
4. Choosing the Wrong Paint
Make sure the paint you choose is appropriate for your surface. For fabric, use fabric paint to ensure it doesn’t crack when washed. For wood or canvas, acrylic paint is a great choice.
Tips for Adding Your Personal Touch
Once you’ve mastered the gingham pattern, it’s time to get creative! You can add personal flair to your design in several ways:
1. Custom Color Palettes
Don’t feel tied to traditional colors. You can create a gingham pattern in any color combination you like. Consider using pastel hues for a soft, vintage look or bold, bright colors for a modern twist.
2. Add Accents or Borders
Consider adding a contrasting border or accent stripes to your gingham pattern. This can give your project a unique, customized feel.
3. Incorporate Texture
If you’re painting on fabric, you can create a textured effect by using a fabric medium mixed with your paint. This helps maintain the fabric’s softness while still providing a painted design.
Conclusion: You’ve Mastered Gingham!
Congratulations! By now, you should have a beautiful gingham pattern painted on your surface. Whether you’re making a table runner, a set of coasters, or just adding some charm to a piece of furniture, you’ve successfully mastered this classic pattern.
Remember, the key to a flawless gingham pattern is patience and precision. Take your time, measure carefully, and don’t rush the process.
And when you’re done, you’ll have a beautiful, hand-painted gingham piece that adds a personal touch to your home decor.
FAQs: Let’s Clear Up Any Questions
1. Can I paint gingham on fabric?
Yes! Acrylic paint can be used on fabric, but make sure to use fabric medium for flexibility and durability. Just ensure you heat-set the paint after it dries to prevent fading.
2. Can I make a larger gingham pattern?
Absolutely! If you’re working on a large surface, like a table, use a larger tape measure and increase the size of your grid to create a bigger gingham design.
3. How long does it take for the paint to dry?
Drying time varies depending on the paint you use, but generally, it should take around 1-2 hours. Always check the manufacturer’s instructions for precise drying times.


