
A tiny scratch on a beautiful table can annoy you more than it should. I know, because I’m Stella, and I have absolutely stared at a small furniture mark like it personally betrayed me. One minute your coffee table looks polished and grown-up, and the next minute one chair scrape makes it look like it survived a house move, a toddler party, and a wild cat attack.
That’s exactly why furniture touch up markers deserve a spot in your home repair drawer. They help cover scratches, scuffs, faded edges, small nicks, and worn corners without turning your living room into a full DIY workshop. No sanding machine. No dramatic renovation. No “why did I start this?” moment at 11 PM.
The trick, though, is choosing the right marker set. Some work better for light scratches. Some include wax sticks for deeper marks. Some give you natural wood tones, while others help with black, white, gray, or painted furniture. So, how do you pick the right one without buying random pens and hoping for furniture magic? Let’s talk about it like normal people.
| Product Image | Product Name | Features | Price |
|---|---|---|---|
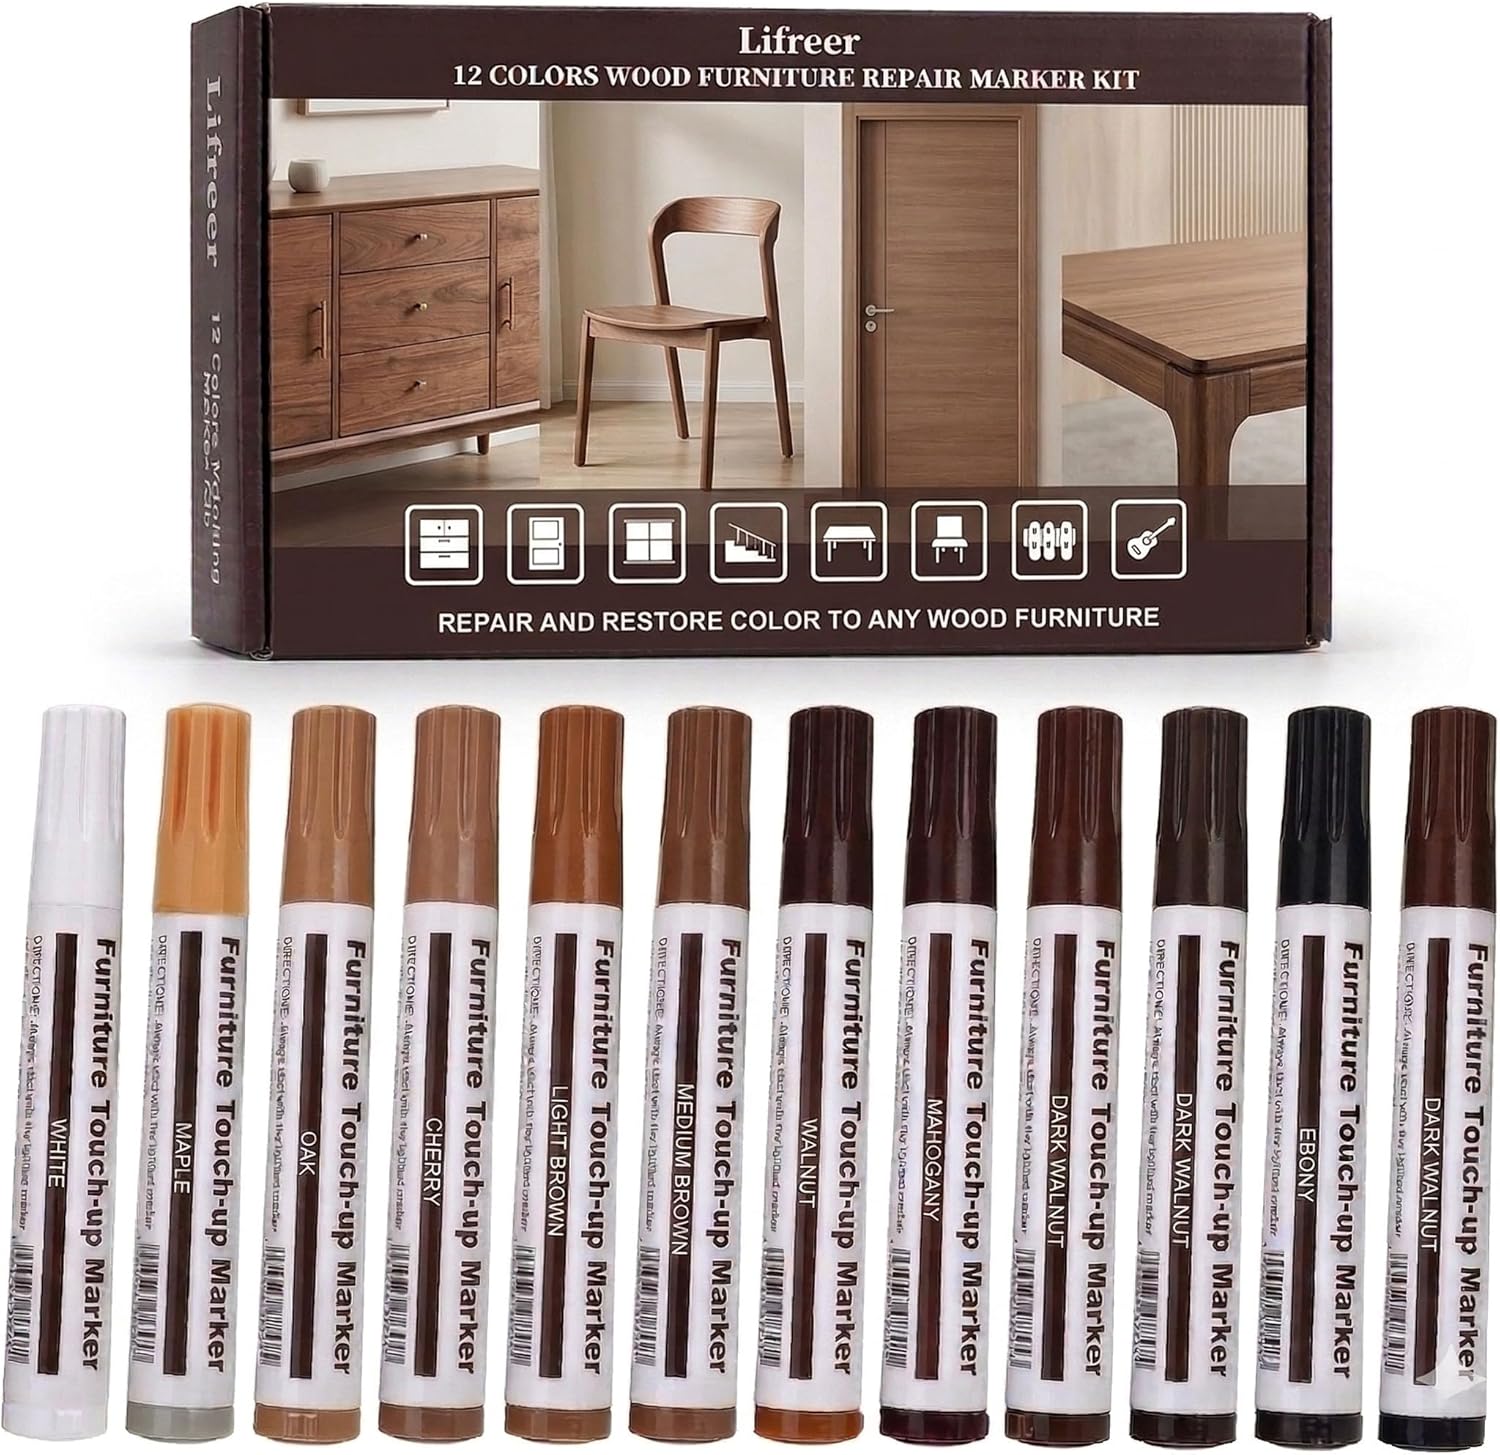 |
Lifreer 12 Colors Furniture Touch Up Markers | 12 Common Wood Tones. Works on furniture, cabinets, wood floors, tables, doors, trim, and bedposts. Easy to Use. Durable & Eco‑Friendly |
Check Price |
 |
DEWEL Furniture Markers Touch Up | Complete 17‑Piece Kit. Wide Color Range. Quick touch‑ups for surface scratches and scuffs.. |
Check Price |
 |
Rejuvenate Exact Match Wood Furniture | Covers scratches, scuffs, and damage on wood furniture and hardwood floors.. Includes Maple, Oak, Cherry, Walnut, Mahogany, and Espresso. Lightweight markers. |
Check Price |
 |
13-Piece Wood Stain and Scratch Repair Kit | Complete 13‑Piece Kit. Maple, Oak, Cherry, Walnut, Mahogany, and Black. Covers light, medium, and dark wood finishes. |
Check Price |
 |
Allary Furniture Touch-Up Markers | 3 Wood Tone Colors: Light Brown, Medium Brown, & Dark Brown. Designed for furniture, cabinets, floors, and trim. Scrub‑resistant formula ensures long‑lasting coverage. |
Check Price |
 |
BOPOVA Furniture Markers Touch Up | Covers both modern finishes (gray/white/black) and classic wood tones (brown shades). Instantly hides blemishes, chips, and nicks. Ink dries quickly and resists leaking. |
Check Price |
 |
Varathane 347840 Wood Stain Repair Marker Kit | Works on furniture, cabinets, floors, doors, and trim. Provide precise application in hard‑to‑reach areas. Warm Tones Kit: Maple, Gray, Cherry, Walnut, Mahogany, Black. |
Check Price |
What Furniture Touch Up Markers Actually Do
Furniture touch up markers work like color-correction tools for wood and wood-look surfaces. You use them to fill color into scratches, worn spots, scuffs, and faded areas. They do not rebuild missing chunks of wood, but they can make everyday damage look much less obvious.
Think of them as makeup for furniture. A good concealer does not change your entire face, but it sure helps hide that one annoying spot. Furniture markers work the same way. They blend the scratch with the surrounding finish so your eye stops noticing the damage immediately.
Most sets include shades like:
- Maple
- Oak
- Cherry
- Walnut
- Mahogany
- Espresso
- Black
- White
- Gray
Some kits also include wax sticks, which help fill slightly deeper scratches, chips, or small dents. If your furniture only has surface-level marks, markers alone can work beautifully. If the scratch has a groove you can feel with your fingernail, a marker-and-wax kit usually makes more sense.
Where You Can Use Them
You can use furniture repair markers on many household pieces, including:
- Coffee tables
- Dining tables
- Chairs
- Cabinets
- Dressers
- Bed frames
- Bookshelves
- Wooden doors
- Baseboards
- Wood-look flooring
- Laminate surfaces
Still, you should always test first. I know testing feels boring, but so does turning one tiny scratch into a weird dark patch. Pick a hidden area, test the shade, let it dry, then decide.
How To Choose The Right Furniture Touch Up Marker
Picking the right furniture marker kit sounds simple until you realize “brown” has about 500 personalities. Warm brown, cool brown, reddish brown, yellow oak, espresso, walnut, chestnut honestly, wood tones love drama.
Here’s how I choose the right kit when I want a clean result.
Match The Finish, Not Just The Color
Do not only look at the scratch. Look at the full furniture piece. Does it have a warm golden tone? Does it lean red? Does it look dark and cool? Does it have gray undertones?
A marker that looks close in the cap may look totally different once you apply it. That’s why multi-color sets usually work better than single-color pens. You can start lighter, layer slowly, and blend until the repair looks natural.
My personal rule: choose the lighter shade first. You can darken a repair with another layer, but you cannot easily undo a marker that goes too dark. Furniture has trust issues after that.
Choose Markers For Surface Scratches
If your damage looks like a thin line, a light scuff, or a faded edge, a marker-only set can do the job. These sets work best when the surface still feels smooth. You simply color the scratch, wipe excess product, and let it dry.
Marker-only sets also suit quick touch-ups before guests arrive. You know that moment when you clean the house and suddenly notice every scratch you ignored for six months? Yeah, that moment.
Choose Wax Sticks For Deeper Marks
If the scratch feels rough, dented, or slightly carved into the surface, choose a repair kit with wax sticks. Wax helps fill the gap, while the marker adds color. Together, they create a better-looking repair.
A kit like the DEWEL 17-piece option gives you both markers and wax sticks, so it works for more than one kind of furniture damage. That makes it useful for homes with kids, pets, renters, moving boxes, or anyone who has ever dragged a chair without thinking. So basically, everyone.
Consider Your Furniture Style
Not every home has classic brown wood furniture now. Many people use black side tables, white cabinets, gray dressers, or modern painted wood pieces. For those, a traditional oak-walnut-cherry set may not help much.
If your furniture leans modern, look for:
- Black markers
- White markers
- Gray markers
- Cool-tone stain markers
- Painted furniture touch-up options
BOPOVA’s black, white, and gray marker set suits this type of furniture better than warm wood kits. It makes more sense for modern cabinets, monochrome furniture, office desks, and painted surfaces.
Best Ways To Use Furniture Touch Up Markers
Furniture markers look simple, but technique matters. If you scribble over the scratch like you’re signing a birthday card, you may create a darker blotch. A little patience gives a cleaner result.
Step-By-Step Method
Here’s the method I use:
- Clean the surface first
Wipe away dust, oil, crumbs, polish, or mystery sticky stuff. A clean surface helps the marker apply evenly. - Test the color in a hidden spot
Try the marker on the underside, back edge, or inside corner. Let it dry before judging the color. - Start with the lightest matching shade
Apply lightly over the scratch. Do not press hard. - Wipe away excess quickly
Use a soft cloth and blend the edges before the color dries fully. - Layer if needed
Add a second light layer if the scratch still shows. Slow layering gives a more natural result. - Use wax for deeper scratches
Rub wax into the groove, remove extra wax, then use a matching marker if the color needs help. - Let it dry properly
Give the repair time to settle before touching, cleaning, or placing décor on top.
That’s it. No need to wear safety goggles and act like you host a renovation show. Though if you want to feel dramatic, I support you emotionally 🙂
Example: Fixing A Scratched Coffee Table
Let’s say your walnut coffee table has a pale scratch across the top. First, you clean the surface with a soft cloth. Then you test walnut and espresso markers underneath the table. Walnut looks close, but espresso looks too dark.
You apply the walnut marker lightly across the scratch, then wipe the excess with a cloth. The scratch still shows a tiny bit, so you add one more thin layer. Now the line blends into the wood grain instead of screaming for attention.
That’s the kind of repair furniture markers handle best. They do not make the table brand new, but they make the damage much harder to notice. And honestly, that’s usually enough.
Example: Repairing A White Cabinet Edge
White cabinets show scuffs so easily. One bump from a pan or a vacuum handle, and suddenly the cabinet edge looks tired. For this type of repair, a regular brown wood kit will not help.
You need a white or light gray marker. Apply it gently along the damaged edge, then blend with a clean cloth. If the edge has a small chip, use a filler or wax product first, then color-match over it. FYI, white repairs can look patchy if you rush, so apply thin layers.
Common Mistakes To Avoid
Furniture touch up markers can help a lot, but small mistakes can make the repair look worse. I’ve made a few of these myself, so let me save you the tiny regret spiral.
Choosing A Shade That Looks Too Dark
Dark markers can make scratches more visible if they don’t match. Many people grab walnut or espresso because they think their furniture looks “dark brown.” Then the repair turns into a bold line. Cute? Not really.
Start lighter, then build depth. A soft match beats a harsh match every time.
Skipping The Test Spot
I get it. You want the scratch gone now. But wood finishes react differently, and some markers dry darker than they look when wet. Always test first.
That one hidden test mark can save the front of your table from looking like a craft project gone rogue.
Applying Too Much Product
Furniture markers work best with thin layers. If you overload the scratch, the color can pool around the damaged area. Then you don’t hide the scratch; you frame it. Very artistic, but not useful.
Use light pressure and wipe extra product away.
Ignoring The Type Of Damage
Markers fix color issues. They do not fully repair deep gouges, peeling veneer, or broken corners. If your furniture has missing material, use wax sticks, wood filler, or a proper repair compound before using color.
A marker can hide a scratch, but it cannot replace a missing chunk of your dresser. Sadly, we still need reality sometimes :/
Forgetting About The Finish
Some furniture has matte finish, while other pieces have glossy or semi-gloss surfaces. A marker may match the color but not the shine. If the repair still looks visible, the finish difference may cause that.
For high-gloss furniture, you may need a finishing polish or clear touch-up product after the color dries. Use this carefully, and test first.
My Personal Buying Advice
If you only want one simple product for everyday wood scratches, choose a multi-shade wood marker set. It gives you flexibility across tables, chairs, cabinets, and floors.
If you want the most practical household kit, choose one with markers plus wax sticks. That combo handles both color loss and shallow dents. IMO, this type gives the best value because furniture damage rarely follows one neat category.
If you own modern black, white, or gray furniture, do not force a brown marker kit to work. Get a set made for those shades. A gray dresser needs a gray touch-up marker, not a walnut pen pretending it understands the assignment.
Here’s a simple buying shortcut:
- Light scratches: marker-only set
- Deeper scratches: marker + wax kit
- Modern furniture: black/white/gray set
- Mixed wood tones: 8–12 color set
- Stained wood or laminate: stain repair marker kit
- Quick cheap fix: small 3-marker brown set
The best furniture touch up marker depends on your furniture, not just the product name. If your home has different wood tones, buy a broader color set. If your home has one main finish, a smaller targeted set may work fine.
FAQs About Furniture Touch Up Markers
Do furniture touch up markers really work?
Yes, they work well for small scratches, light scuffs, faded edges, and surface marks. They help the damaged area blend with the surrounding finish. They will not fully repair deep gouges or broken wood, though.
Should I use a marker or wax stick first?
Use the wax stick first if the scratch has depth. Fill the groove, remove extra wax, then apply marker if you need color correction. For light surface scratches, use the marker alone.
Can I mix two marker colors?
Yes, you can layer shades carefully. Start with the lighter shade, let it dry, then add a slightly darker shade if needed. This works especially well on wood with natural grain variation.
Can I use furniture markers on laminate?
Many people use them on laminate furniture and wood-look surfaces. You should test first because laminate finishes can vary. Some glossy surfaces may need extra blending.
How long does the repair last?
A good touch-up can last a long time on low-contact areas. Tabletops, chair legs, and floor spots may need occasional reapplication because daily use creates friction.
What if the marker looks too dark?
Wipe it immediately with a clean cloth. If it dries too dark, you may need a gentle cleaner or furniture-safe solvent, but test carefully. Next time, start with a lighter shade and build slowly.
Conclusion
Furniture touch up markers make small wood repairs quick, affordable, and surprisingly satisfying. They help cover scratches, scuffs, faded edges, and everyday wear without turning your home into a repair zone. The key is simple: match the shade carefully, test first, apply lightly, and choose wax sticks for deeper damage.
For most homes, I prefer a kit with several wood tones because it gives more room for blending. For deeper scratches, I would choose a marker-and-wax kit. For modern furniture, I would pick black, white, or gray markers instead of trying to make brown shades work where they clearly do not belong.
Try one small repair first and see how much cleaner your furniture looks. And if you’ve used furniture touch up markers before, share your best trick or funniest repair fail because let’s be honest, we all have at least one DIY moment we pretend never happened.