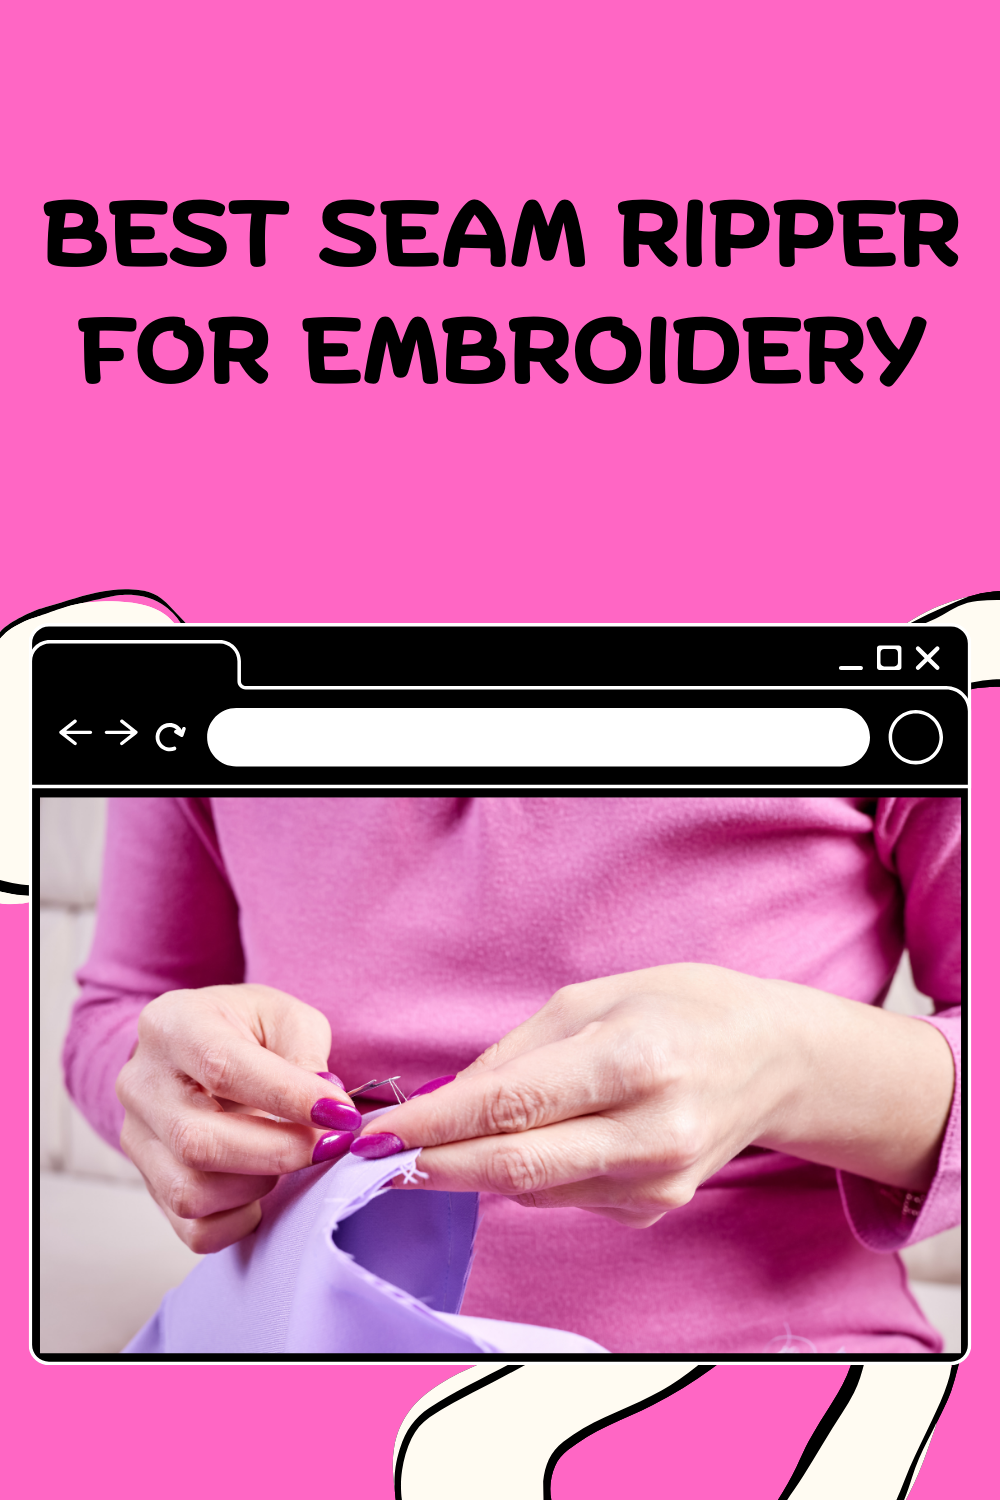
If you’ve ever worked on an embroidery project, you’ll know that even the most skilled hands can make mistakes.
Whether it’s a stray stitch or a design that didn’t come out as expected, removing these errors without damaging your fabric can feel like a delicate operation.
Enter the seam ripper an embroidery essential that every crafter should have in their toolbox. But with so many options available, how do you choose the best seam ripper for your needs?
In this guide, I’ll take you through everything you need to know about seam rippers for embroidery – from their different types, how to use them effectively, to common mistakes to avoid.
By the end, you’ll not only have a better understanding of this handy tool, but you’ll also know how to choose the right one for your embroidery projects.
| Product Image | Product Name | Features | Price |
|---|---|---|---|
 |
2PCS Seam Rippers | Two Convenient Sizes Sharp & Long-Lasting Blades Non-Slip Ergonomic Grip Fabric-Safe Design |
Check Price |
 |
Clover White Ergonomic Seam Ripper | Precision Seam Removal Comfortable grip reduces hand fatigue during extended use |
Check Price |
 |
Seam Ripper Kit 7 Pcs | Complete Stitching Toolkit Designed with easy-to-hold handles Durable & Sharp Performance Foldable Measuring Tape |
Check Price |
 |
BEADNOVA Seam Ripper | Compact & Precise Design Includes 4 vibrant seam rippers in blue, green, yellow, and red Features a sharp metal blade and durable plastic handle |
Check Price |
 |
Dritz 665 Seam-Fix Seam Ripper | Sharp blade quickly cuts unwanted stitches Easy to Use Includes one seam ripper with protective cap Designed for comfort and control during detailed stitch work |
Check Price |
 |
SINGER ProSeries Folding Seam Ripper | Multi-Tasking Sewing Tool Cushioned handle reduces hand fatigue during long sewing sessions Protective red ball tip lifts stitches gently and cuts cleanly |
Check Price |
 |
DODOGA 40pcs Colorful Seam Ripper | Designed for ease and comfort Durable & Long-Lasting Build Curved blade with extra-sharp concave point and red mini ball tip ensures clean seam removal Includes 40 seam rippers in 4 colors |
Check Price |
The Essential Tool for Every Embroiderer
When it comes to embroidery, a seam ripper is far more than just a tool for undoing mistakes. It’s a tool that can help you achieve the perfect finished piece, save time, and protect your fabric from damage. But not all seam rippers are created equal. Let’s explore what makes this tool so essential.
What is a Seam Ripper?
A seam ripper is a small tool with a sharp blade that helps remove stitches from fabric. It’s primarily used for undoing seams but is also a lifesaver when you need to fix mistakes in embroidery.
Its design includes a pointed end that allows you to gently lift stitches without damaging the underlying fabric, and it typically has a small ball to prevent the blade from snagging the fabric.
Why You Need One for Embroidery
In embroidery, precision is key. And while most of us strive for perfection, even experienced embroiderers make mistakes. A stray stitch, a crooked line, or a design that’s slightly off can all be easily corrected with the right seam ripper.
The tool allows you to make repairs without affecting the rest of your work, ensuring your final product looks professional.
Types of Seam Rippers: Which One Should You Choose?
Not all seam rippers are designed the same, and selecting the right one can make all the difference. Here’s an overview of the various types, so you can find the best fit for your embroidery projects.
| Type | Description | Best For |
| Standard Seam Ripper | A basic tool with a small, sharp blade. | Beginners or light embroidery jobs. |
| Ergonomic Seam Ripper | Designed for comfort, with a handle that reduces hand strain. | Long projects or repetitive use. |
| Double-Ended Seam Ripper | Offers two different types of blades for different stitch removal. | Versatility for varying thread types. |
| Adjustable Seam Ripper | Features a retractable or adjustable blade for customizable cutting depth. | Delicate fabrics or precise stitching. |
Standard Seam Ripper
This is your basic, no-frills seam ripper. It’s often the one most people start with. It’s effective for removing basic stitches, but it can be harder on your hands if you’re working on larger projects for extended periods. It’s an excellent option for beginner embroiderers who just need something simple and affordable.
Ergonomic Seam Ripper
If you’re working on embroidery projects for hours at a time, an ergonomic seam ripper can be a game-changer.
These are designed with comfort in mind, featuring handles that are easy to grip, reducing hand strain. This is especially helpful if you have joint issues or simply want to work without discomfort.
Double-Ended Seam Ripper
This type is perfect for versatility. With two blades, you can switch between different types of stitch removals, making it easier to tackle different thread types and fabric weights. If you often work with multiple fabrics or thread types, this may be the right tool for you.
Adjustable Seam Ripper
An adjustable seam ripper allows you to customize the blade length, which is perfect when working with delicate fabrics.
This tool gives you the precision needed to remove stitches from lightweight or fine materials without causing any damage to the fabric.
How to Use a Seam Ripper for Embroidery: Step-by-Step Guide
Now that you know the different types of seam rippers, let’s look at how to use this tool effectively. Follow these simple steps to make your embroidery stitch removal quick and precise.
Step 1: Assess the Area
Before starting, take a moment to assess the embroidery you want to fix. Determine whether you’re just removing a single stitch, a small section of thread, or an entire design. The method you use may differ based on the amount of fabric involved.
Step 2: Insert the Seam Ripper
Gently insert the pointed tip of your seam ripper under the stitch you want to remove. Be sure to place the blade just beneath the stitch, not through the fabric. If you’re working with an embroidery thread, make sure the blade is under the stitch itself.
Step 3: Cut the Stitch
Once the seam ripper is in position, gently slide the blade through the stitch, being careful not to apply too much pressure. The sharp tip should easily cut through the thread. Pull gently as you cut to avoid pulling the fabric.
Step 4: Remove the Stitches
After cutting through the thread, carefully lift the stitch free from the fabric. If the stitches are stubborn, try working from both sides to loosen them completely. Once the stitch is completely removed, inspect the area to make sure there are no remnants of thread.
Step 5: Clean the Area
After you’ve removed the stitches, use a lint roller or a soft brush to clean up any stray threads that may be left behind. This will help ensure the fabric remains smooth and ready for the next step in your embroidery process.
Common Mistakes to Avoid with a Seam Ripper
Even though a seam ripper is a relatively straightforward tool to use, there are still some common mistakes that can lead to frustration or damage. Here are a few to watch out for:
1. Using Too Much Force
It’s tempting to push hard on the seam ripper when trying to remove stubborn stitches, but using too much force can damage your fabric. Always allow the blade to do the work gently.
2. Not Positioning the Blade Correctly
If you insert the blade incorrectly or too deep into the fabric, you risk damaging the fibers. Make sure the blade only touches the threads you want to remove, not the fabric underneath.
3. Not Cleaning the Area
After using your seam ripper, make sure you clean the area of any remaining threads. Leaving loose threads behind can lead to uneven stitching when you go over the area again.
4. Not Choosing the Right Seam Ripper
Choosing the wrong seam ripper for your fabric or embroidery project can lead to a frustrating experience. For instance, a basic seam ripper might not be suitable for delicate fabrics. Always choose a tool that matches your project.
Tips for Choosing the Best Seam Ripper for Your Embroidery Needs
Selecting the right seam ripper for your embroidery needs can make all the difference in your crafting experience. Here are some tips to help you choose wisely:
1. Consider Your Comfort
If you plan to use a seam ripper for extended periods, comfort should be a priority. Look for ergonomic handles that reduce strain on your hand.
2. Think About Fabric Type
Different fabrics require different types of seam rippers. If you’re working with delicate fabrics, opt for a fine-tipped, adjustable seam ripper to avoid damage.
3. Assess the Amount of Detail in Your Work
If your embroidery projects are intricate or involve lots of detailed stitches, a double-ended seam ripper may be the most versatile choice. This will allow you to tackle various types of stitches without switching tools.
Conclusion:
The seam ripper is an essential tool for every embroiderer, whether you’re a seasoned pro or just getting started.
By understanding the different types of seam rippers and how to use them correctly, you can ensure that your embroidery projects are always neat, precise, and beautiful.
Remember to choose the right seam ripper for your project, avoid common mistakes, and practice using the tool to gain more confidence.
If you found this guide helpful, share it with fellow crafters, or drop a comment with your favorite seam ripper tips!
Frequently Asked Questions (FAQs)
1. Can a seam ripper be used for removing embroidery mistakes?
Yes, a seam ripper is specifically designed to remove stitches from fabric, making it perfect for fixing embroidery mistakes.
2. How do I avoid damaging my fabric while using a seam ripper?
Make sure to insert the blade gently under the stitches and avoid pressing too hard. Always use a seam ripper designed for the fabric you’re working with.
3. What’s the best seam ripper for beginners?
For beginners, a standard seam ripper is a great starting point. It’s simple to use and affordable while still being effective for most embroidery projects.
4. How can I improve my accuracy when using a seam ripper?
Practice! The more you use the seam ripper, the better you’ll become at positioning it precisely and making clean cuts without damaging the fabric.
5. Is it worth investing in an ergonomic seam ripper?
If you plan to do a lot of embroidery, an ergonomic seam ripper can reduce hand strain and make your work more comfortable, making it a worthwhile investment for long-term use.